
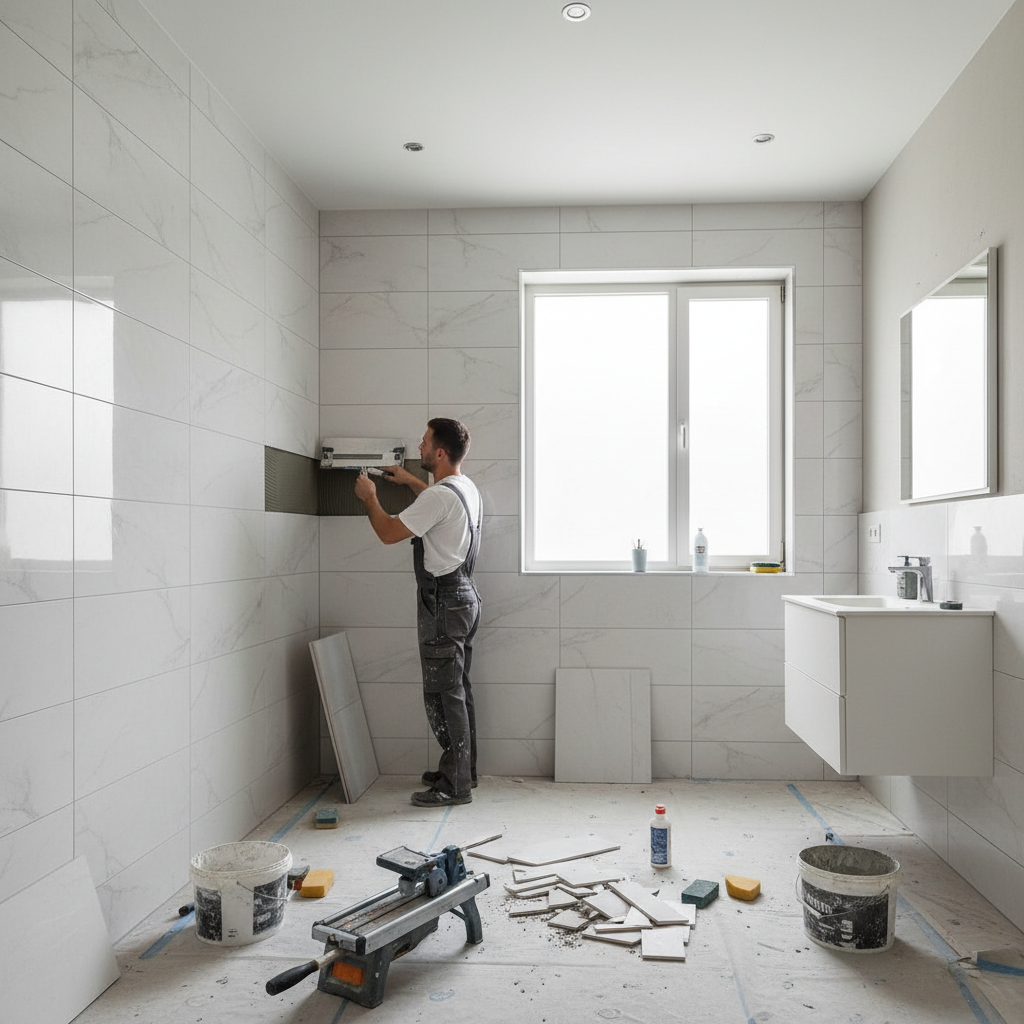
Tiling Over Plaster in Bathrooms: The Complete Guide
Plenty of London bathrooms are hiding a problem behind the paint: ageing plaster that's cracked, stained, or simply tired. Rather than a full replaster followed by a repaint, many homeowners are choosing to tile directly over that plaster — and when it's done correctly, the results are durable, waterproof, and genuinely transformative.
But tiling over plaster isn't as straightforward as it sounds. Done badly, tiles crack, adhesive fails, and you're left with an expensive mess. Done properly — with the right surface assessment, prep, and materials — it's a project that can last decades. Here's what you actually need to know.
Is Your Plaster Wall Suitable for Tiling?
This is the first question to answer, and it's non-negotiable. Not every plaster wall is structurally capable of supporting ceramic or porcelain tiles, and getting this wrong at the start will cost you far more later.
Plaster Types and Suitability
Cement render is the most reliable base for tiling. It's hard, dimensionally stable, and bonds well with tile adhesive — provided it's smooth and fully sound.
Gypsum plaster (the standard multi-finish skim you'll find in most London homes) can work, but it must be properly sealed and primed before any adhesive is applied. Without priming, gypsum absorbs moisture from the adhesive too quickly, weakening the bond.
Traditional lime plaster, common in Victorian and Edwardian properties across Islington, Hackney, and similar areas, is generally too soft and flexible for tiling. If you're dealing with original lime plaster, the safer route is to remove it and apply cement board or fresh plasterboard before tiling.
What to Look For Before You Start
- Cracks: Hairline cracks can often be filled, but larger structural cracks indicate movement that will eventually cause tiles to pop.
- Blown plaster: Tap across the wall with your knuckles. A hollow sound means the plaster has separated from the substrate — that section must be repaired or replaced before tiling.
- Moisture: Use a moisture meter. Tiles laid over damp plaster will fail. Excess moisture in a bathroom wall needs to be diagnosed and resolved before any surface treatment.
- Flaking or friable surfaces: If the surface crumbles when you press it or sand it lightly, it isn't strong enough to hold tiles.
If your walls are in genuinely poor condition, it's worth considering a wall skimming service to bring them back to a sound, flat finish before you tile. Our wall skimming cost guide explains current London pricing — typically starting around £20 per square metre for skim work.
Preparing the Surface Properly
Good preparation is what separates a tile job that lasts twenty years from one that starts lifting within eighteen months. Don't rush this stage.
Cleaning the Wall
Remove all dust, grease, and debris. A solution of warm water and a small amount of washing-up liquid works well for most plaster surfaces. If there's any mould or mildew present — common in poorly ventilated London bathrooms — treat it with a specialist bathroom mould remover and allow the wall to dry fully before proceeding. Never tile over mould.
Repairing Cracks and Holes
Fill any cracks or holes with a suitable filler and allow it to cure fully according to the manufacturer's instructions. Sand down any high spots or rough areas so the surface is as flat as possible. An uneven base will show through your tiles and make achieving straight grout lines much harder.
Priming
This step is critical when tiling over gypsum plaster. A good tile primer seals the surface, slows moisture absorption from the adhesive, and dramatically improves bond strength. Budget around £15–£25 for a quality primer. Apply it evenly and allow it to dry fully before moving on — cutting corners here is one of the most common causes of tile failure.
Choosing the Right Tiles
For bathrooms, tile choice matters beyond aesthetics.
Ceramic tiles are the most affordable and widely available option. They're perfectly suitable for most bathroom walls and come in an enormous range of styles.
Porcelain tiles are denser and less porous than ceramic, making them the preferred choice for high-moisture areas — particularly around showers and baths. They're harder to cut but considerably more durable.
Natural stone tiles — marble, slate, travertine — offer a premium finish but require sealing and more careful ongoing maintenance. They're also heavier, which is an additional consideration when assessing whether your plaster base can bear the load.
For most London bathrooms, a quality porcelain tile gives the best balance of durability, water resistance, and aesthetic flexibility.
The Installation Process
Tools You'll Need
- Notched trowel
- Tile adhesive (appropriate for wet areas)
- Tile cutter or angle grinder with diamond blade
- Tile spacers
- Spirit level
- Grout and grout float
- Sponge and bucket
- Tape measure and pencil or chalk line
Planning the Layout
Measure your walls carefully and calculate how many tiles you need — always add 10% for cuts and breakages. Mark your layout with chalk lines before you begin. Starting from the centre of the wall and working outwards gives the most symmetrical result, which matters most in bathrooms where visual balance is immediately obvious.
Applying Adhesive and Setting Tiles
Mix your adhesive according to the manufacturer's instructions. Apply it in manageable sections — if you spread too large an area at once, the adhesive will begin to skin before you've placed your tiles. Use a notched trowel to create even ridges in the adhesive, which helps with grip.
Press each tile firmly into place with a slight twisting motion to ensure full contact. Use spacers to maintain consistent grout lines. Check regularly with a spirit level — corrections are easy early on and impossible once the adhesive has set.
Grouting
Allow the adhesive to cure fully (typically 24 hours, though check the product instructions) before grouting. Apply grout with a rubber float, working it firmly into the joints at a diagonal. Wipe off excess with a damp sponge before it hardens, rinsing frequently. For bathrooms, use a waterproof or anti-mould grout formulation.
Finish with silicone sealant at all internal corners and the junction between tiles and the bath or shower tray. This allows for slight movement without cracking — and it's the detail that often separates a professional-looking finish from an amateur one.
When Tiling Over Plaster Isn't the Right Answer
Tiling over existing plaster is a sensible approach when the underlying surface is sound. But there are situations where it's genuinely the wrong call:
- Old lime plaster in poor condition — better removed and replaced with plasterboard or cement board
- Significant water damage — the source must be identified and fixed before any surface work
- Multiple layers of old plaster — adding tiles to an already thick build-up increases the risk of failure
- Heavily uneven walls — tiling over a lumpy surface will show every imperfection through the finished tiles
In these cases, a professional replastering or re-skim is a better starting point. We've carried out this kind of preparatory work across London — see our full house re-skim project in Croydon, where a Victorian terrace with decades of damaged plaster was brought back to a perfectly flat, tile-ready finish throughout.
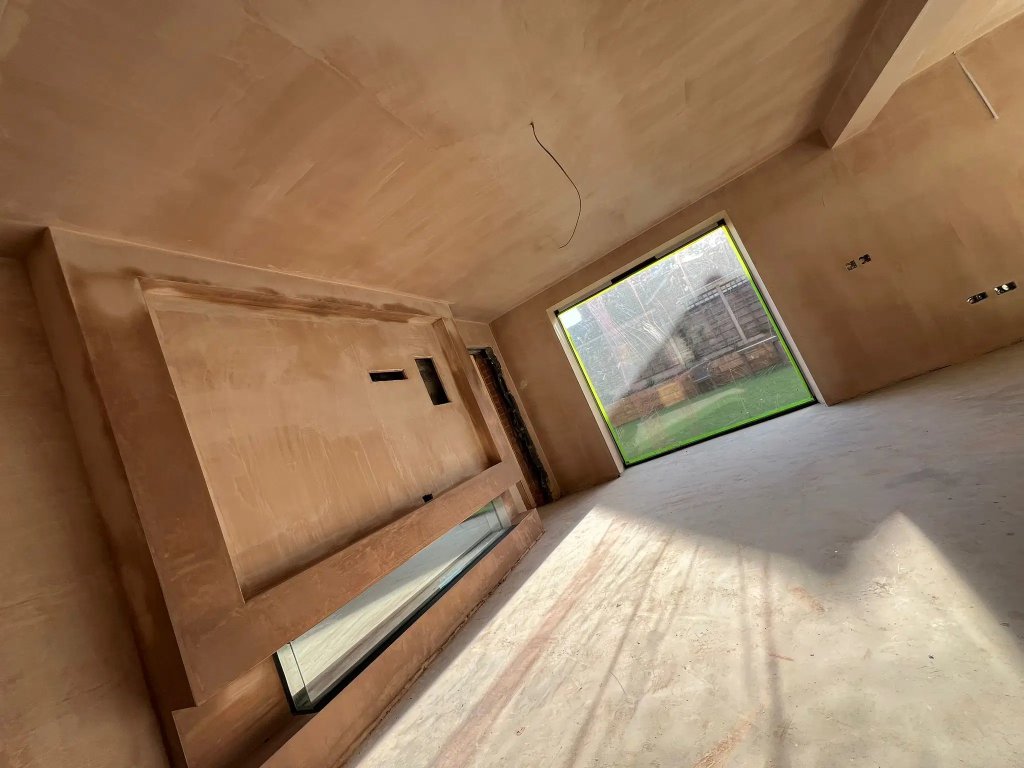
Similarly, our Bromley full house re-skim involved extensive prep work — removing damaged sections, patching plasterboard, and achieving a two-coat finish across 180 sqm — before the homeowner could proceed with decorating and tiling.
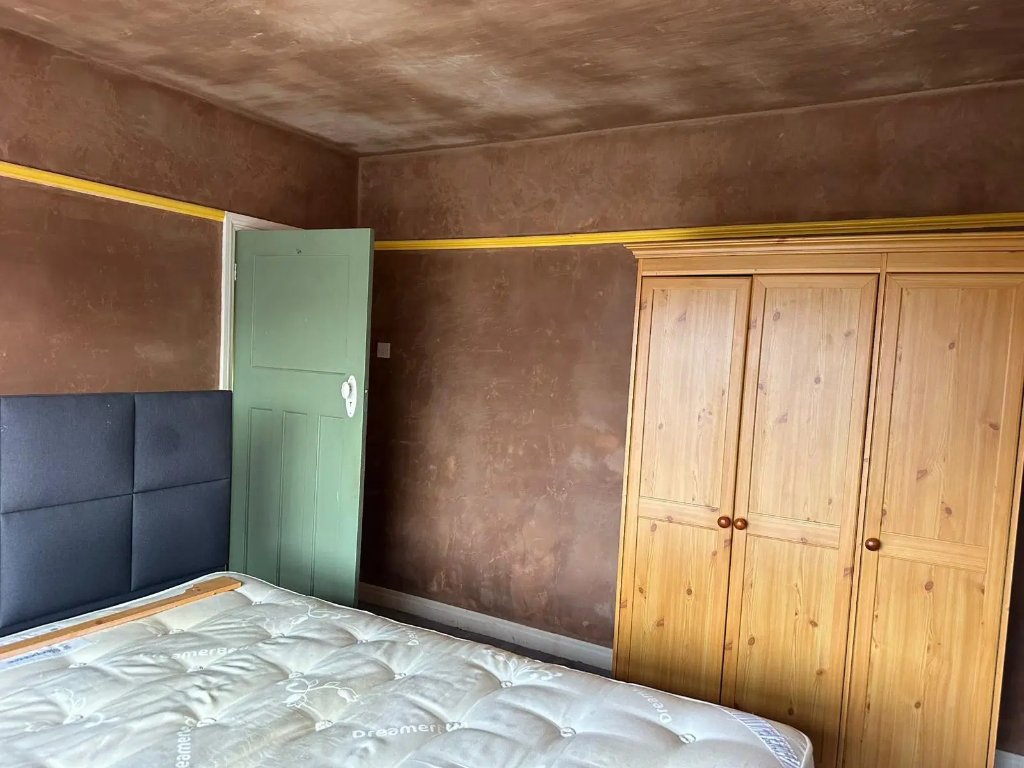
If you're unsure whether your plaster is in a condition suitable for tiling, it's worth getting a professional assessment before you invest in tiles and adhesive.
Plastering Costs to Factor In
If your bathroom walls need remedial work before tiling, here's a rough guide to current London pricing:
- Wall skimming (per sqm): From £20
- Plaster crack repair: From £75–£150 depending on extent
- Full bathroom replaster: Varies significantly by size — see our wall plastering cost guide for detailed breakdowns
- Tile primer: £15–£25 for a standard tin
For a more accurate picture of what preparatory plastering work might cost for your bathroom, our plastering cost calculator is a useful starting point.
FAQ
Can I tile directly over gypsum plaster?
Yes, but only if the plaster is fully sound, dry, and properly primed. Gypsum plaster absorbs moisture rapidly, which weakens tile adhesive if the surface isn't sealed first. Use a good-quality tile primer and allow it to dry fully before applying adhesive.
Do I need to remove old tiles before tiling over plaster?
If there are existing tiles on the wall, you should remove them and assess the plaster beneath before retiling. Tiling over existing tiles adds considerable weight and can hide problems with the plaster underneath.
How do I know if my plaster is strong enough for tiles?
Tap across the surface — any hollow or drum-like sound indicates blown plaster that must be repaired. Also check for crumbling, flaking, or visible movement cracks. If in doubt, get a professional to assess the wall before you invest in tiles.
What adhesive should I use for tiling over plaster in a bathroom?
Use a flexible, waterproof tile adhesive rated for wet areas. Standard grey tile adhesive is fine for most walls, but in shower enclosures or areas of direct water contact, opt for a fully waterproof formulation. Always follow the manufacturer's instructions for mixing and open time.
Is wall skimming necessary before tiling?
Not always — but if the surface is uneven, damaged, or has blown sections, skimming the wall first will give you a much better foundation and a more professional result. See our skimming cost guide for current London pricing.
Get Professional Help With Your Bathroom Walls
Whether your plaster needs a full re-skim before tiling or you've discovered water damage that needs addressing first, London Plastering Service works across all 32 London boroughs. We carry out everything from plaster crack repairs to full bathroom wall replastering — giving you a properly prepared surface that tiles will bond to cleanly and last for years.
Contact us today for a free quote, or explore our plastering prices to get a better sense of what your project might cost.
Related Plastering Guides & Services
Need Professional Plastering?
Get expert plastering services in London. Free quotes within 60 minutes.