
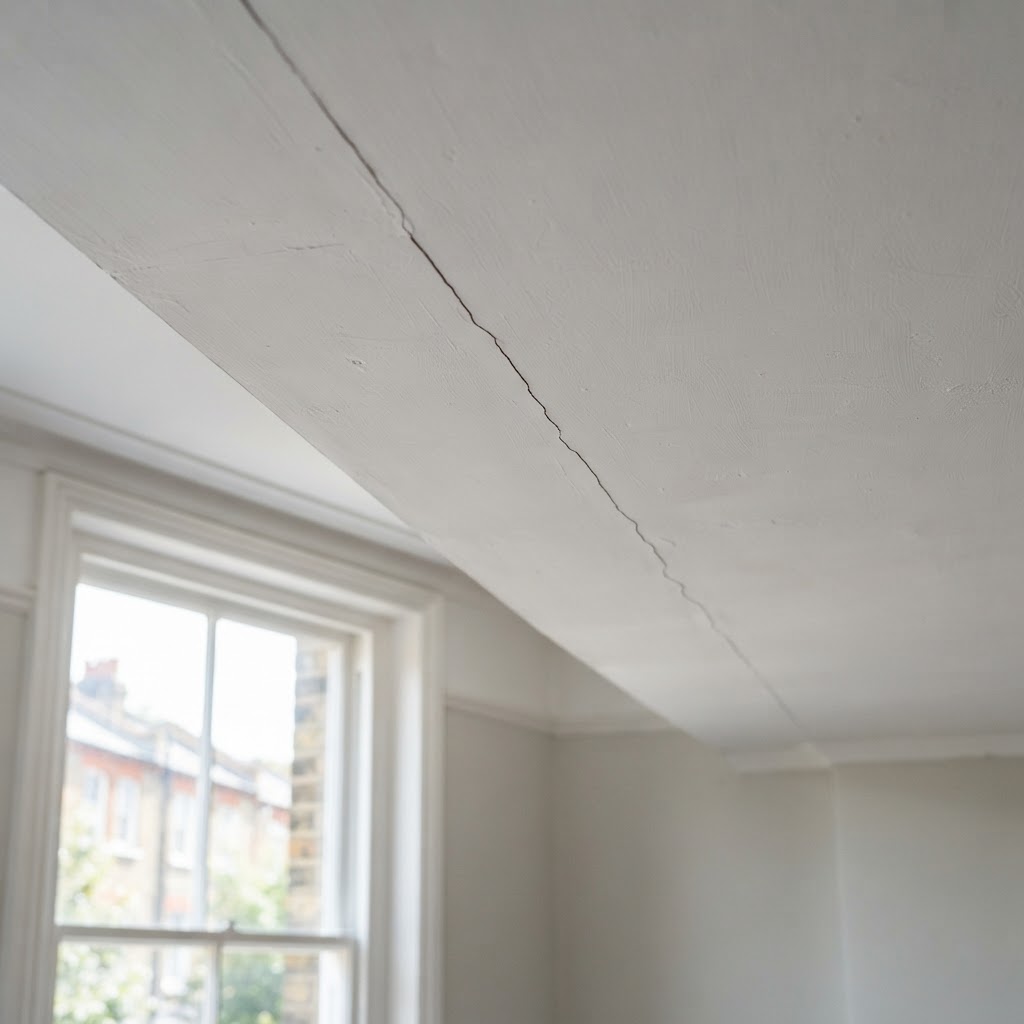
Fixing Cracks in Plasterboard: A London Guide
Cracks in plasterboard are one of the most common calls we get across London homes, from Victorian terraces in Clapham to new-build flats in Stratford. Most are harmless hairline cracks caused by normal settlement or temperature changes, but some signal a bigger problem with the boarding, joists, or structure behind the wall. Fixing cracks in plasterboard properly means more than slapping filler over the gap — it means understanding why the crack appeared, choosing the right repair method, and finishing it so it doesn't reappear within a few months.
This guide walks through everything a London homeowner or landlord needs to know: what causes plasterboard cracking, how professionals fix it, materials involved, realistic costs and timescales, and when it's worth calling in a tradesperson rather than reaching for a tub of filler yourself.
What Is Fixing Cracks in Plasterboard and When Is It Needed?
Plasterboard (also called drywall in the US, but always plasterboard in the UK trade) is the sheet material used to line stud walls and ceilings before being skimmed with a thin coat of plaster. Cracks typically appear in one of three places: along the joint between two boards, along a skim coat on the board's face, or at a corner/ceiling junction.
Repairing cracks in plasterboard is needed when:
- Hairline cracks appear after a new plasterboard installation "cures" and the house settles
- Cracks run along ceiling joints, often where boards weren't properly staggered or taped
- Movement cracks appear around door frames, window reveals, or where an extension meets the original structure
- Cracks keep reopening after a previous DIY filler repair
- Damp or a leak has weakened the board, causing cracking alongside bubbling or staining
In London's older stock — Victorian terraces, Edwardian semis — timber floor and ceiling joists naturally flex with humidity and temperature, which is a very common cause of recurring ceiling cracks. In newer developments, cracking often comes from board joints that weren't taped and jointed ("mudding wall" technique) correctly during the original fit-out.
Why Fixing Cracks in Plasterboard Matters for London Properties
Ignoring plasterboard cracks isn't just a cosmetic issue. A crack left untreated can widen, let dust and debris through, and in some cases indicate an underlying structural movement issue that's worth catching early. For landlords across any of the 32 London boroughs, unaddressed cracks can also affect how a property presents at inspection or viewing — tenants and buyers notice ceiling and wall damage quickly.
London's mix of housing stock makes this especially relevant. Converted Victorian properties often have a patchwork of old lath-and-plaster and newer plasterboard sections, meaning cracks can appear exactly where the two meet. Edwardian semis with loft conversions frequently show stress cracks where new plasterboard ceilings join original walls. Modern flats, especially in taller developments, can experience minor structural settlement in the first few years that shows up as fine cracking along board joints.
Types of Plasterboard Cracks and Repair Options
Not every crack needs the same fix. Broadly, there are four categories:
1. Hairline Surface Cracks
Thin cracks in the skim coat, usually under 1mm wide. These are cosmetic and typically caused by the plaster drying or minor seasonal movement. A simple fill-and-skim repair resolves these.
2. Joint Line Cracks
Cracks that run in a dead-straight line, usually along a ceiling or wall where two plasterboard sheets meet. This suggests the joint tape or scrim wasn't properly bedded in during the original mudding wall process, or that the boards have slightly separated. These need the joint re-taped and re-skimmed, not just filled.
3. Corner and Angle Cracks
Cracks at internal corners, around door architraves, or where a ceiling meets a wall. These are usually movement-related and benefit from flexible filler or scrim tape rather than rigid filler, which will crack again under the same movement.
4. Structural or Recurring Cracks
Wide cracks (over 3-5mm), cracks that reopen repeatedly, or cracks accompanied by doors sticking, sloping floors, or external wall cracks. These warrant a proper inspection, as the plasterboard itself may be a symptom rather than the cause.
For badly damaged areas — multiple cracks, sagging boards, or cracking combined with past water damage — a full patch repair or partial re-boarding is often more cost-effective long-term than repeated filling.
How Fixing Cracks in Plasterboard Works: Process and Methods
A proper repair follows a consistent sequence, whether it's a small hairline crack or a full joint repair:
1. Inspect and rake out the crack. The crack is opened slightly with a scraper or filling knife to remove loose material and create a clean edge for the new filler to bond to. Simply painting over a crack without raking it out almost always leads to it reappearing.
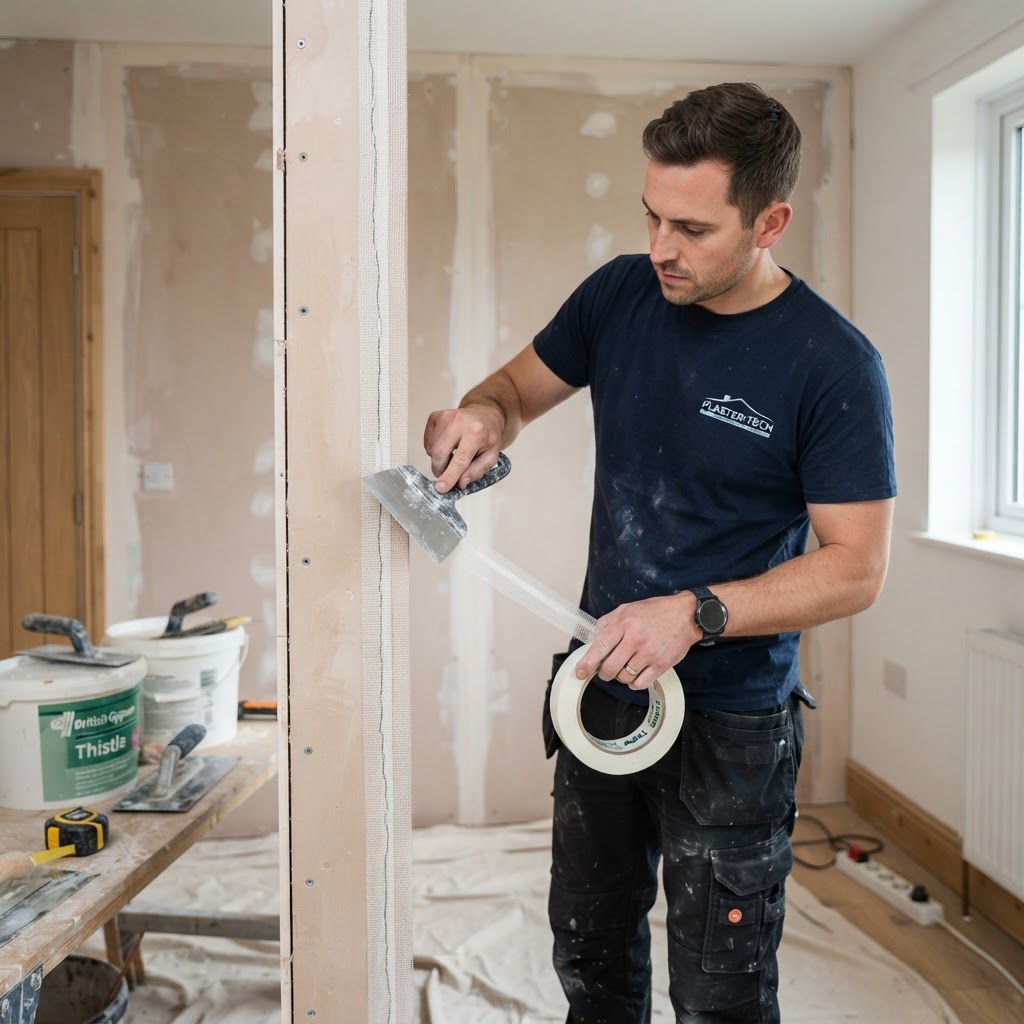
2. Apply scrim tape for anything beyond hairline cracks. Self-adhesive fibreglass mesh tape is pressed over the crack to bridge the gap and prevent it reopening as the board flexes. This step is skipped for genuinely cosmetic hairline cracks but is essential for joint and corner cracks.
3. Fill or skim over the tape. This is where the "mudding wall" process comes in — joint filler or finishing plaster is applied in thin coats over the scrim, feathered out wider than the crack itself so there's no visible ridge once painted. Two to three thin coats, each left to dry, give a far better result than one thick application.
4. Sand and prepare. Once fully dry, the area is sanded back smooth, checked under raking light (a torch held at an angle) to spot any remaining imperfections, and dusted off.
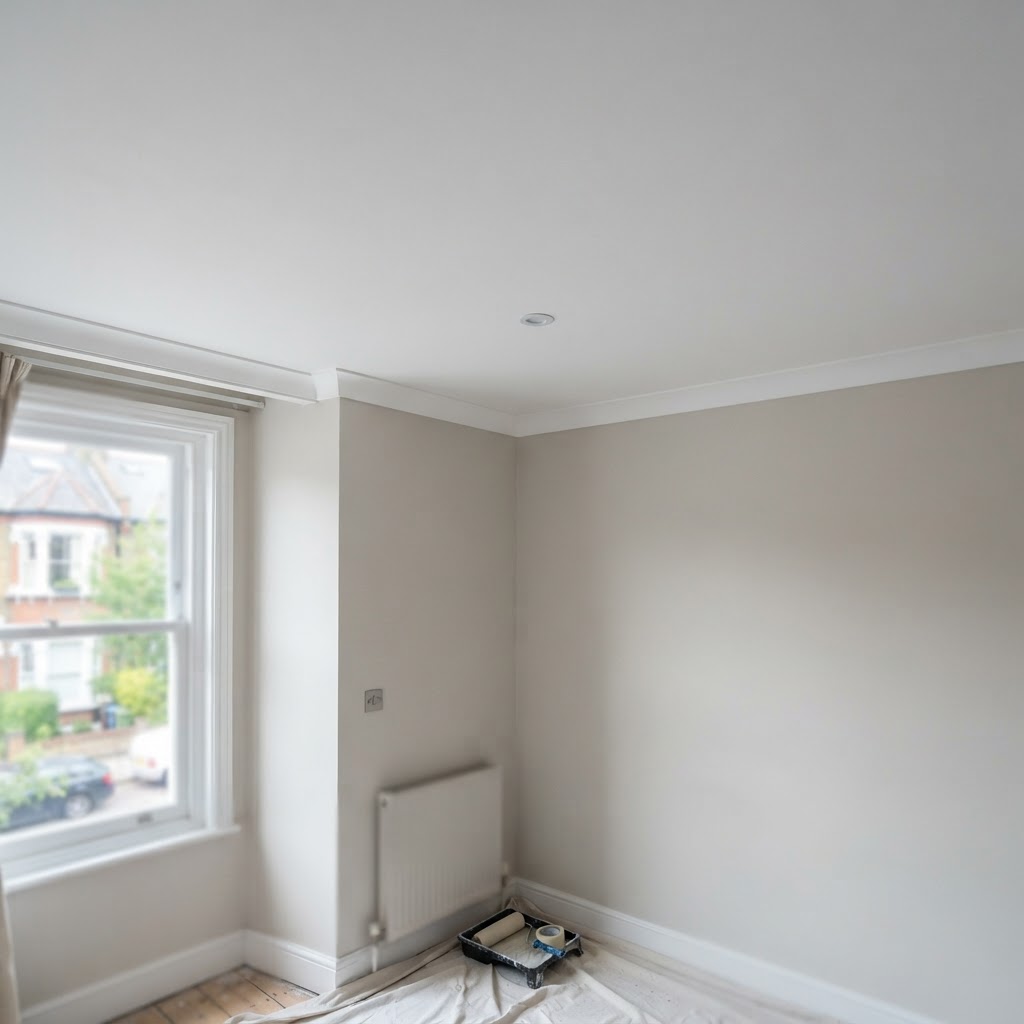
5. Mist coat and decorate. New plaster and filler are porous and need a diluted mist coat of emulsion before a full top coat, otherwise the paint will flash (dry patchy) over the repaired section.
For more significant damage — large cracks, a sagging section of board, or cracking linked to a hole or impact damage — the repair moves from filling to patching. This usually means cutting back to the nearest joists or studs, fixing in a new piece of plasterboard, taping all the new joints, and skimming the whole patch so it blends with the surrounding wall or ceiling.
Materials and Considerations
The right materials depend on the crack type:
- Flexible filler (such as a decorator's caulk or flexible filler) for small movement cracks around frames and corners
- Multi-finish or joint filler for raking out and refilling joint line cracks
- Fibreglass scrim tape for bridging any crack wider than a hairline
- Finishing plaster (skim) for blending larger repairs into the surrounding surface
- PVA or a proper plaster bonding agent where old, dusty, or previously painted surfaces need better adhesion before new plaster is applied
A common mistake is using rigid, all-purpose filler on a crack caused by ongoing movement — it will crack again within months. Matching the repair method to the actual cause of the crack, not just the symptom, is the difference between a fix that lasts and one you'll be redoing next year.
It's also worth considering the type of plasterboard involved. Standard plasterboard, moisture-resistant board (bathrooms, kitchens), and insulated plasterboard all behave slightly differently, and insulated board repairs need extra care to maintain the thermal layer's continuity.
Choosing the Right Approach
For a single, isolated hairline crack, a straightforward fill and redecorate is usually sufficient. For joint line cracking, corner cracking, or anything recurring, a full scrim-and-skim repair is the right call. If cracking is widespread across a ceiling or wall, or linked to sagging, water staining, or a previous poor-quality plasterboard installation, it's worth assessing whether a partial re-board and full skim would actually save money compared to patch-repairing the same area repeatedly.
A rough guide to cost in London: small hairline crack repairs are generally the most affordable job on a plasterer's callout, typically priced per crack or as a minimum callout charge. Joint re-taping and skimming across a ceiling costs more due to the drying time between coats and the need to blend the finish across a larger area. Full patch repairs involving new plasterboard sit at the higher end, as they involve cutting, fixing, taping, and skimming multiple joints. Costs vary depending on the borough, access, and the extent of damage, so it's always worth getting a specific quote rather than relying on a generic figure.
Timescales also vary. A small crack repair might be done in a single visit, including drying time between coats. Larger joint repairs or ceiling-wide cracking often need two visits — one to tape and apply the first coats, a second to finish, sand, and apply a final skim once everything has fully dried. Rushing the drying time is one of the most common reasons repairs fail.
When to Use Professional Services
Small, isolated hairline cracks are a reasonable DIY job for a confident homeowner with basic filling tools. However, several situations call for a professional plasterer:
- Cracks keep returning after you've filled them yourself
- Cracks run along ceiling joints or large wall areas
- You suspect a structural cause (sagging, sloping, cracks outside as well as inside)
- The repair needs to blend seamlessly into a visible wall or ceiling, particularly in a period property with existing plaster detailing
- You're dealing with insulated or acoustic plasterboard, where incorrect repair can compromise performance
- You need multiple rooms assessed and repaired as part of a wider refurbishment or pre-sale/pre-let preparation
A professional plasterer brings the right tools (proper scrim tape, mixing ratios, finishing trowels) and, importantly, experience reading what's actually causing a crack rather than just covering it. London Plastering Service has spent over 20 years repairing cracked ceilings, patching plasterboard, and re-skimming walls across all 32 London boroughs, from quick single-crack callouts to full room re-boarding jobs. If a repair isn't holding, or you're not sure whether what you're looking at is cosmetic or something more serious, a short inspection is often worth it before committing to DIY materials.
How to Maintain the Results
Once a crack has been properly repaired, a few habits help keep it that way:
- Keep indoor humidity reasonably stable — avoid extreme heating/cooling swings in the room, especially in the first few weeks after a repair
- Use a quality emulsion with a mist coat on new plaster rather than painting directly onto bare filler
- Address the root cause if it's movement-related — for example, loose floorboards, flexing joists, or an unsupported span — rather than just repairing the visible crack
- Check loft insulation and ventilation if ceiling cracks are recurring, as temperature extremes in the loft space can stress ceiling boards beneath
- Avoid hanging heavy fixtures too close to a recent repair until the plaster has fully cured
FAQ About Fixing Cracks in Plasterboard
What is fixing cracks in plasterboard and when is it needed? It's the process of identifying, preparing, and repairing cracks that appear in plasterboard walls or ceilings, ranging from simple filler jobs on hairline cracks to full re-taping and skimming of joint lines. It's needed whenever a crack is widening, recurring, or affecting the finish of a visible wall or ceiling.
How much does fixing cracks in plasterboard cost in London? Costs vary depending on the size and type of crack, the number of areas needing repair, and access within the property. Small isolated crack repairs are generally on the lower end, while full ceiling re-taping or patch repairs with new plasterboard cost more due to materials and drying time. It's best to get a specific quote for your situation rather than relying on a general estimate.
How long does fixing cracks in plasterboard take? A small crack repair can often be completed in one visit, factoring in drying time between filler coats. Larger joint repairs or ceiling cracks typically need two visits across a couple of days to allow each coat of filler or skim to properly dry before sanding and finishing.
Can I do fixing cracks in plasterboard myself or should I hire a professional? Minor, isolated hairline cracks are a reasonable DIY task with basic filling tools and patience. Joint line cracks, recurring cracks, ceiling cracks, or anything suggesting structural movement are best handled by a professional plasterer who can diagnose the cause and apply the correct repair method.
What are the alternatives to fixing cracks in plasterboard? For widespread or recurring cracking, a full re-skim of the affected wall or ceiling, or partial re-boarding of damaged sections, can be more cost-effective long-term than repeatedly patching the same cracks. In some cases, addressing an underlying cause — like loft ventilation or joist movement — prevents new cracks forming altogether.
Where can I get help with fixing cracks in plasterboard in London? London Plastering Service covers all 32 London boroughs and handles everything from single crack repairs to full plasterboard installation and re-skimming, with over 20 years of experience in London's varied property types.
Next Steps
Fixing cracks in plasterboard properly comes down to matching the repair to the actual cause — not just covering the gap. Hairline cracks are often a quick, low-cost fix, while joint lines, recurring cracks, or anything linked to structural movement benefit from a proper assessment and a scrim-and-skim repair done by someone who's seen the issue before.
If you've got cracks appearing in a London property — whether it's a single ceiling crack in a Victorian terrace or recurring joint cracks across a newer flat — London Plastering Service can take a look and advise on the right fix. Call +44 7460 892826 or email office@londonplasteringservice.com, open Monday to Friday 7am-7pm and Saturday 8am-5pm, covering all 32 London boroughs.
Related Plastering Guides & Services
Need Professional Plastering?
Get expert plastering services in London. Free quotes within 60 minutes.