
Plasterboard Patch: The Complete London Repair Guide
Whether it's a doorknob dent in a hallway, a socket that's been ripped out during a renovation, or damp damage in a bay window, a plasterboard patch is one of the most common repair jobs in London homes. Get it wrong and you'll see the outline of the repair through your paint for years. Get it right and nobody will ever know the wall was damaged. This guide walks through exactly what a plasterboard patch involves, what causes the damage in the first place, and how to decide whether it's a weekend DIY job or one for a professional plasterer.
What Is a Plasterboard Patch and When Is It Needed?
A plasterboard patch is a localised repair to a section of plasterboard (drywall) that has been damaged, rather than replacing the entire sheet. It typically involves cutting out the damaged area, fixing in a new piece of board (or using a repair kit for smaller holes), taping the joints, and skimming or filling to blend it with the surrounding wall.
You'll need a plasterboard patch in situations like:
- A hole punched through the wall from furniture, a door handle, or an accident
- Damage left behind after removing an old socket, light switch, or radiator bracket
- Water damage from a leak, overflow, or roof ingress that's softened the board
- Cracking or crumbling around window and door frames
- Nail pops or screw holes that have widened over time
- Sections removed by electricians or plumbers during first or second fix work
In many London properties — particularly Victorian terraces and Edwardian semis where stud walls have been added over the decades, or newer flats with standard dot and dab plasterboard walls — this kind of localised damage is far more common than a full wall failure. That's good news, because it usually means a full re-board isn't necessary; a well-executed patch is often all that's required.
Types of Damage and Their Causes
Not all plasterboard damage is the same, and the cause often dictates the repair method.
Impact Damage
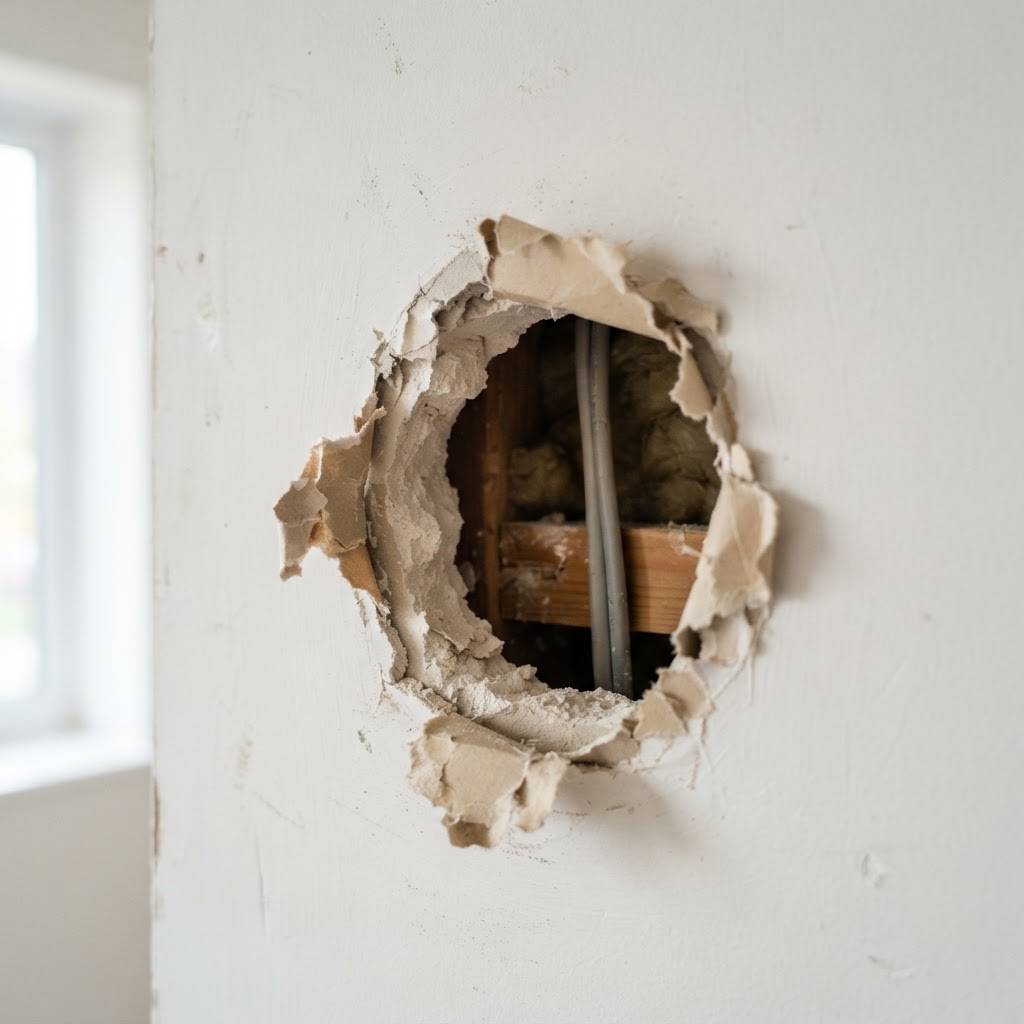
Door handles, moving furniture, and children's toys are the most frequent culprits. These usually create a clean, roughly circular hole with torn paper edges but an intact area around it.
Water Damage
Leaking pipes, overflowing baths, or a failed roof can leave plasterboard soft, discoloured, or bulging. This is more serious than impact damage because the water may have compromised a larger area than is visible, and the paper facing can delaminate from the gypsum core. Any water-damaged board should be cut back until you reach solid, dry material — patching over damp board will fail.
Electrical and Plumbing Access Holes
When trades cut into a wall to run cables or pipes, they often leave rectangular holes that need boarding back over once the work is complete. These are usually the easiest patches because the edges are clean and straight.
Cracking Around Joints
Cracks that follow the line of a plasterboard joint (rather than running diagonally across a sheet) usually point to movement, poor original taping, or thermal expansion — common in loft conversions and extensions where new plasterboard meets old.
Nail Pops and Screw Head Bulges
Small raised bumps where fixings have worked loose from the studwork are a cosmetic but very fixable issue, usually needing little more than a re-fix and a skim of filler.
![Close-up of a hole in plasterboard wall showing torn paper facing and(/DotAndDabWalls) exposed gypsum core, with a tape measure alongside]
Assessing the Problem — What to Look For
Before reaching for tools, take time to properly assess the damage. This determines whether you're looking at a simple filler job or a full board replacement.
- Size of the hole. Anything under roughly 5cm can usually be filled directly with a repair filler or mesh patch. Larger holes generally need a cut-out and new piece of board.
- Condition of the surrounding board. Press gently around the damaged area. If it feels soft, spongy, or crumbles, the damage extends further than it looks and you'll need to cut back further.
- Cause of damage. If it's water-related, identify and fix the source of the leak first — there's no point patching plasterboard that will get wet again.
- Depth of damage. Check whether the damage has gone through to the studwork or dot and dab adhesive dabs behind. This affects how you'll fix the new patch in place.
- Location relative to services. Always check for cables and pipes before cutting into a wall, particularly near sockets, switches, and areas above skirting boards.
- Wall type. Solid masonry walls with plasterboard dot and dabbed on top behave differently to stud partition walls — dot and dab repairs need noggins or a repair batten fixed to the wall behind, since there's no continuous timber frame to screw into.
Tools and Materials Needed
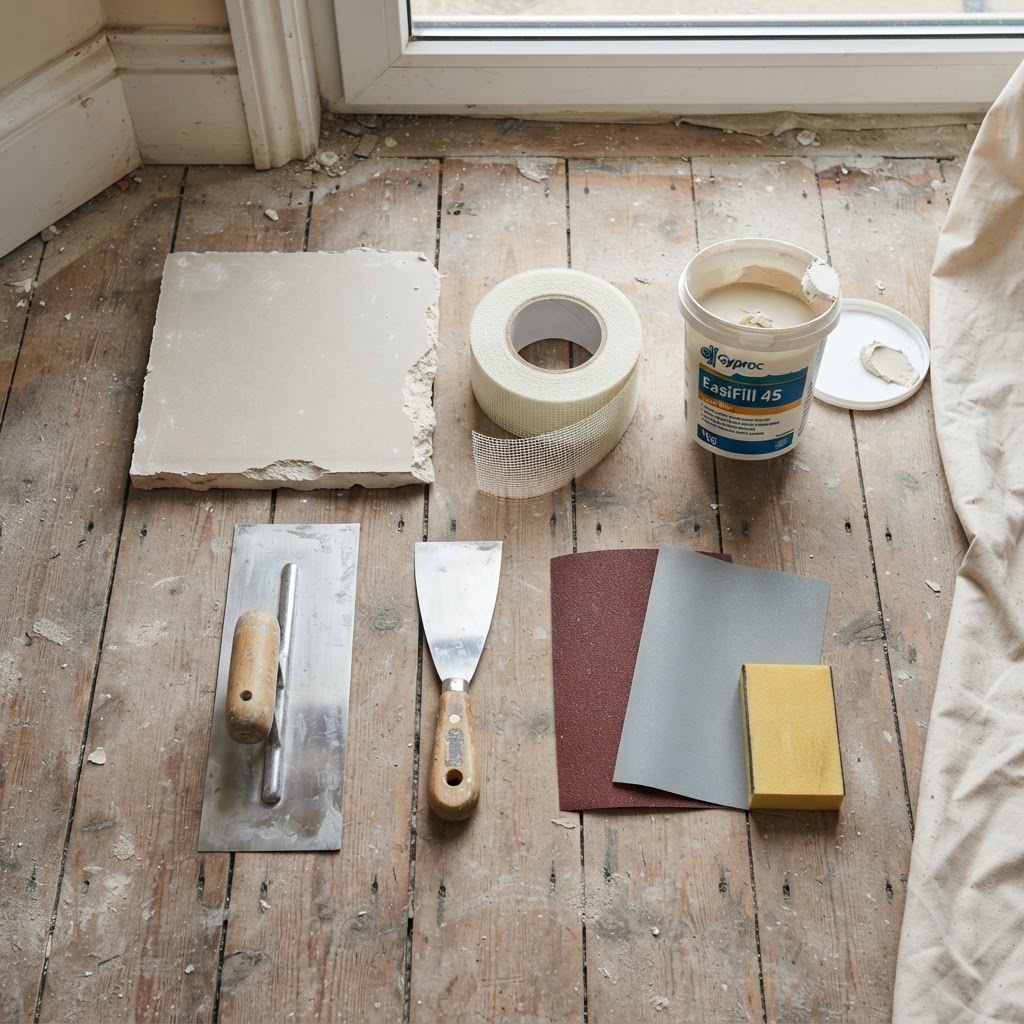
For a typical plasterboard patch repair, you'll need:
- Plasterboard offcut matching the thickness of the existing board (usually 9.5mm or 12.5mm)
- Utility knife or plasterboard saw
- Tape measure and pencil
- Timber battens or noggins (for larger patches without a stud to fix to)
- Screws (drywall screws) and a drill/driver
- Jointing tape (paper or self-adhesive mesh)
- Joint filler/compound (sometimes called "filler" or "jointing compound")
- Finishing plaster or multi-finish plaster for skimming
- A couple of plastering trowels (a small trowel for patches, a larger one for blending)
- Sanding block or fine sandpaper
- PVA or a plasterboard primer/mist coat for sealing before painting
- Dust sheets and a mask, particularly when sanding
For very small holes, a plasterboard repair kit with a self-adhesive mesh patch and ready-mixed filler can be enough, skipping the need to cut in a new piece of board entirely.
Step-by-Step Process for Patching Plasterboard
1. Cut Back to Sound Board
Using a utility knife or plasterboard saw, cut a neat square or rectangle around the damaged area, extending into solid, undamaged board. Squared edges are much easier to patch neatly than irregular holes.
2. Fit Support Battens
If the hole doesn't line up with an existing stud, screw timber battens to the inside face of the surrounding board (reaching in through the hole) so you have something solid to fix the new patch into. This step is especially important on dot and dab walls where there's no continuous timber behind.
3. Cut and Fix the New Piece
Measure the hole and cut a matching piece of plasterboard, allowing a small gap of a few millimetres for movement. Screw it into the battens, making sure the screw heads are slightly recessed below the surface without tearing the paper.
4. Tape the Joints
Apply jointing tape over all the seams between the new patch and the existing board. This bridges the joint and prevents cracking as the filler dries and the building settles slightly.
5. Apply Filler in Thin Coats
Build up joint filler or finishing plaster in two or three thin coats rather than one thick one, allowing each to dry and lightly sanding between coats. This reduces shrinkage cracks and gives a flatter finish.
6. Feather the Edges
Gradually widen and thin each coat so the repair blends into the surrounding wall rather than leaving a visible raised patch. This "feathering" technique is what separates an invisible repair from an obvious one.
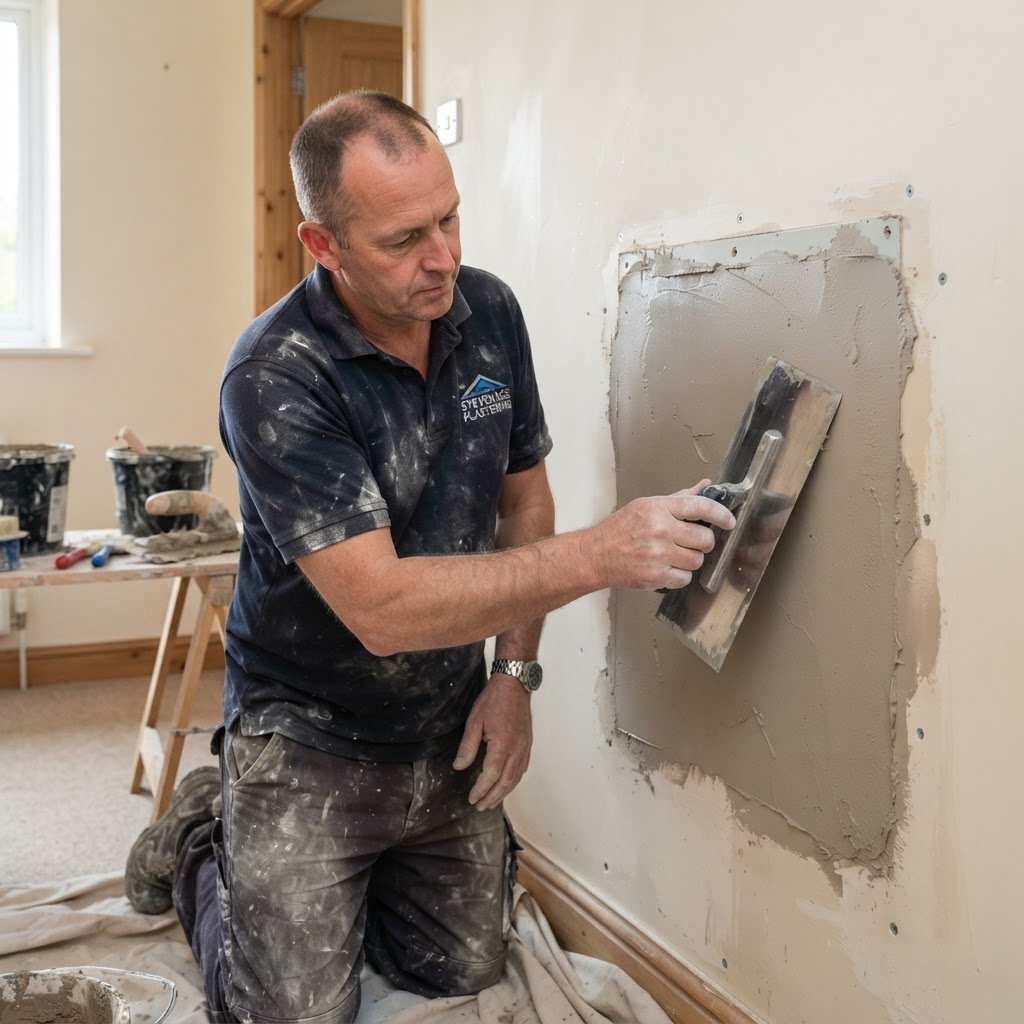
For larger repairs across a whole wall section, many London plasterers will skim the entire patched area with finishing plaster rather than just filling, giving a smoother and more durable result — something worth considering if the patch is in a high-visibility area like a hallway or living room.
Drying, Finishing, and Painting
Drying times vary depending on the product, room temperature, ventilation, and how thickly the material was applied. As a general guide, thin filler coats can dry within a few hours, while a skim coat of finishing plaster typically needs at least a day or two before it's fully cured and safe to decorate, longer in colder or poorly ventilated rooms.
Once dry:
- Lightly sand the patch with fine sandpaper until it's flush with the surrounding wall
- Wipe away dust with a slightly damp cloth
- Apply a mist coat (diluted emulsion) if you've skimmed with fresh plaster, as new plaster is highly absorbent and will otherwise dull your topcoat paint
- Allow the mist coat to dry fully before applying your final coats of paint
- Match paint sheen and colour carefully — patches often become visible not because of poor plastering but because of an obvious paint sheen difference under certain lighting
Don't rush the painting stage. Painting over plaster or filler that hasn't fully dried is one of the most common reasons patches later show through as a slightly different colour or texture (known as "flashing").
Common Mistakes to Avoid
- Skipping the tape. Filling straight over a joint without tape almost always leads to a hairline crack reappearing within months.
- Not fixing to something solid. A patch screwed only into the surrounding plasterboard edges, without a batten or stud behind, will eventually work loose.
- Applying filler too thickly. Thick single coats shrink unevenly and crack as they dry.
- Ignoring the cause. Patching over water damage without fixing the leak, or filling cracks caused by structural movement without addressing the movement, means the damage will return.
- Mismatched board thickness. Using a thinner or thicker offcut than the original board creates a step that's difficult to disguise.
- Painting too soon. New plaster and filler need adequate drying time; painting early traps moisture and shows through as patchy colour later.
- Poor feathering. Failing to blend the edges of the repair leaves a visible raised or sunken outline, especially obvious under side lighting from windows.
When to Call a Professional
Many small plasterboard patches — a screw hole, a small dent, a neat rectangular cut-out from an electrician — are genuinely manageable as a DIY job with a bit of patience. However, there are situations where calling a professional plasterer makes more sense:
- Large areas of damage (more than roughly a third of a wall) where matching texture and achieving a flat, blemish-free finish is difficult without experience
- Water-damaged plasterboard where the extent of the damage isn't clear, or where mould is present
- Ceilings, where patching is more physically demanding and mistakes are more visible due to overhead lighting
- Period properties with lath and plaster or older plasterboard systems where matching materials and techniques requires more expertise
- Repairs near cornicing, coving, or other decorative plasterwork that could be damaged by inexperienced cutting or fixing
- When you want a genuinely seamless finish, particularly in a room that's about to be redecorated or sold
- Repeated or recurring cracking, which may point to an underlying structural issue rather than a simple surface problem
Costs for a professional plasterboard patch in London vary depending on the size of the repair, the number of patches, access, and whether ceiling or decorative work is involved. Small single patches tend to sit at the lower end, while multiple repairs or full-wall re-skims cost more, so it's always worth getting a quote based on your specific job rather than relying on a fixed figure. Turnaround time also depends on scope — a single small patch might be completed and drying within a day, while larger jobs involving several rooms or full re-skims typically need to be scheduled across a few days to allow proper drying between coats.
At London Plastering Service, we've spent over 20 years repairing plasterboard across all 32 London boroughs, from Victorian terraces in Islington to new-build flats in Stratford. We assess the extent and cause of the damage first, so you're not just getting a patch that looks fine today but one that holds up long term. If you'd rather not risk an obvious repair on a wall you'll be looking at every day, give us a call on +44 7460 892826 or email office@londonplasteringservice.com. We're available Monday to Friday, 7am–7pm, and Saturday 8am–5pm.
FAQ About Plasterboard Patch Repairs
What is a plasterboard patch and when is it needed? A plasterboard patch is a localised repair used to fix a section of damaged drywall — such as a hole, crack, or water-damaged area — without replacing the entire sheet. It's typically needed after impact damage, plumbing or electrical work, or water leaks.
How much does a plasterboard patch cost in London? Costs vary significantly depending on the size and number of patches, whether it's a wall or ceiling, and the finish required (filled versus fully skimmed). It's best to get a specific quote for your job, as material and labour costs differ between a single small patch and a larger multi-patch repair.
How long does a plasterboard patch take? A small single patch can often be completed in a day, though drying time between filler coats or a skim coat may extend the overall timeline. Larger repairs, especially those requiring a full skim and mist coat before painting, generally take longer to allow for proper drying at each stage.
Can I patch plasterboard myself or should I hire a professional? Small, straightforward patches — such as a screw hole or a neat electrician's cut-out — are often manageable as DIY. Larger areas, water-damaged sections, ceiling repairs, or anywhere you need a completely invisible finish are usually better suited to a professional plasterer.
What's the difference between filling and skimming a patch? Filling uses jointing compound or filler applied directly over tape and is suitable for smaller repairs. Skimming applies a thin coat of finishing plaster over a wider area, giving a smoother, more durable result that's often preferred for larger or more visible repairs.
Why does my patch keep cracking? Recurring cracks are usually caused by missing or poorly applied jointing tape, filler applied too thickly, or underlying movement in the building. If a patch keeps cracking after being repaired properly, it's worth having a professional assess whether there's a structural cause.
Related Plastering Guides & Services
Need Professional Plastering?
Get expert plastering services in London. Free quotes within 60 minutes.