
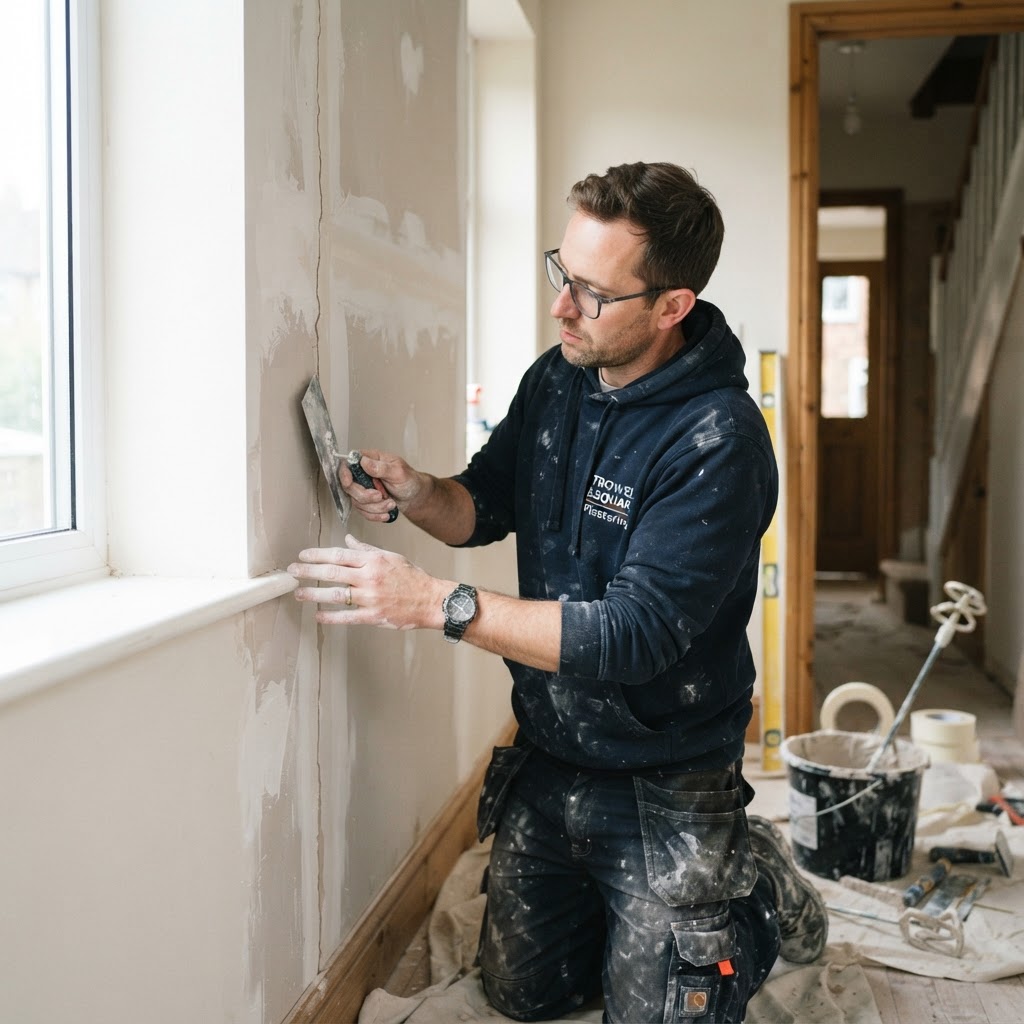
Plasterboard Crack Repair: A London Homeowner's Guide
Plasterboard cracks are one of the most frequent repair jobs we see across London, from Victorian terraces in Clapham to new-build flats in Stratford. While a hairline crack might seem like a cosmetic nuisance, understanding why it appeared and how to fix it properly can save you from repeat repairs, peeling paint, and bigger structural headaches down the line. This guide focuses on the realities of London housing stock — older conversions, shared party walls, loft extensions, and the particular stresses these put on plasterboard.
(/blog/repairing-cracks-in-plasterboard) joint]
Why Plasterboard Cracks So Often in London Homes
London's housing stock is a mix of Victorian and Edwardian terraces, post-war conversions, and a growing number of new-build developments — and each type has its own crack-causing quirks.
In older properties, many walls have been dot and dabbed onto uneven masonry, which means the plasterboard isn't always fully supported across its surface. Any slight movement in the original wall, timber joists, or the building's foundations can translate directly into cracking along joints and corners. Basement conversions and loft extensions, both extremely common across London boroughs, also introduce new load paths and vibration that older plasterboard wasn't designed to handle.
New-build flats aren't immune either. Timber frame and modern stud partitions go through a 'settling in' period during the first year or two, as the building dries out and timber shrinks slightly. This is why so many new-build owners notice cracks appearing along ceiling joints or door frames within the first winter.
Other common causes include:
- Poorly taped joints — if joint tape wasn't properly bedded into the compound during the original install, cracks will reappear along the seam no matter how many times it's filled.
- Thermal movement — London's older solid-wall houses expand and contract more than well-insulated cavity walls, especially where central heating runs constantly through winter.
- Vibration from traffic and Tube lines — properties near busy roads or underground lines sometimes see recurring hairline cracking, particularly in ceilings.
- Door and window frame movement — cracks radiating from the corners of frames are usually a sign of structural movement rather than a plasterboard defect.
Types of Cracks: Hairline, Joint, and Structural
Not all cracks are equal, and treating them the same way is one of the biggest mistakes DIYers make.
Hairline cracks are thin, surface-level lines usually caused by minor movement or shrinkage in the joint compound. These are cosmetic and straightforward to repair with filler and a skim coat.
Joint cracks run along the seams where two boards meet. These often reappear after filling because the underlying tape has lifted or wasn't bedded correctly the first time. A proper fix means removing the loose tape, not just filling over it.
Structural or diagonal cracks typically run at 45 degrees from the corners of doors, windows, or ceiling junctions. These are warning signs of movement in the building itself — settlement, subsidence, or timber shrinkage — and filling them without addressing the underlying cause will only lead to the crack reopening within months.
If you're seeing cracks wider than about 5mm, cracks that run through brickwork as well as plasterboard, or cracks that keep returning after repeated repairs, it's worth getting a professional opinion before doing further cosmetic work.
Tools and Materials You'll Need
For most hairline and joint cracks, you won't need specialist equipment:
- Stanley knife or scraper
- Fine-grade sandpaper or a sanding block
- Joint tape (paper or self-adhesive mesh)
- Ready-mixed filler or joint compound
- A flexible filling knife and a wider taping knife
- PVA or a stabilising primer for dusty or porous areas
- A damp sponge for feathering edges
For larger cracks or repairs involving loose plasterboard, you may also need plasterboard offcuts, screws, and a basic skim coat of finishing plaster.
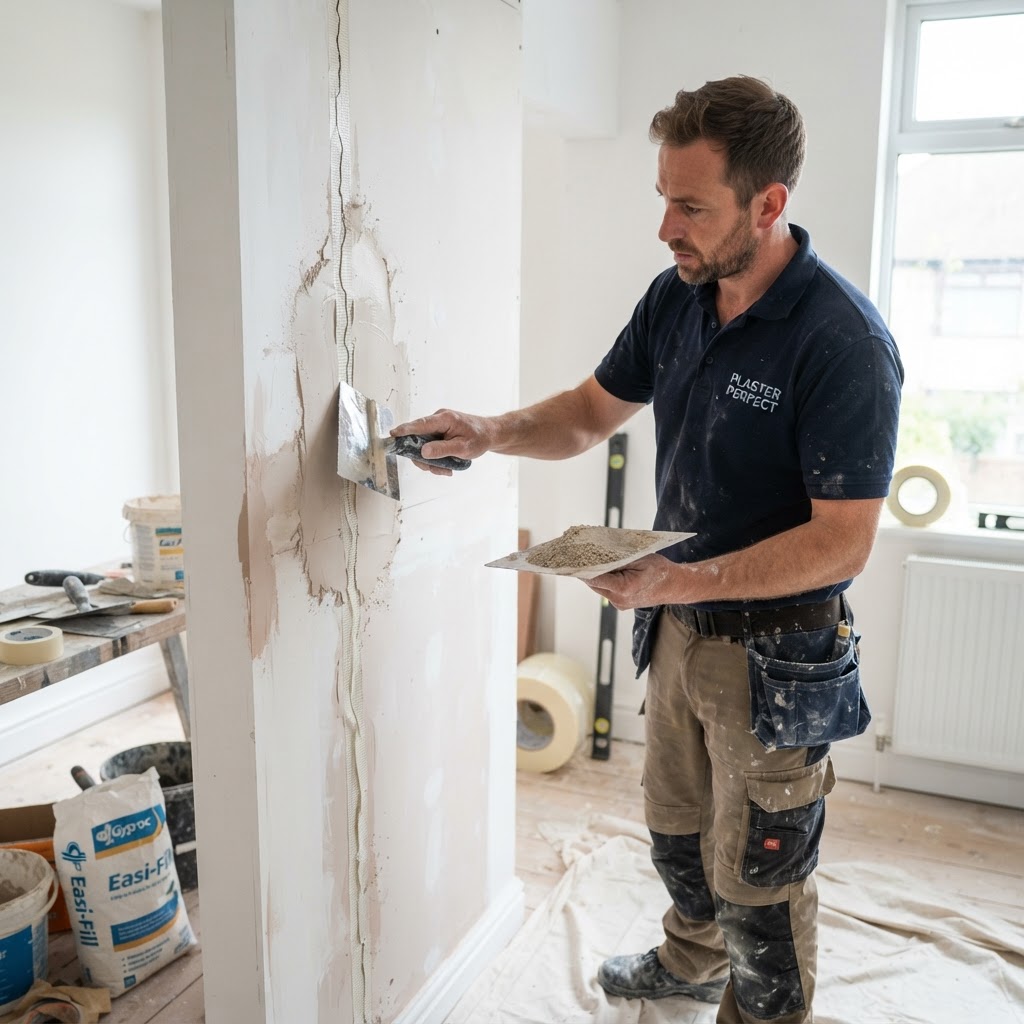
Step-by-Step: How to Fix Cracks in Plasterboard
1. Open up the crack
Using a scraper or the corner of your filling knife, widen the crack slightly into a shallow V-shape. This gives the filler something to key into, rather than sitting on a thin, unstable surface line.
2. Remove loose material
Brush away dust and any flaking plaster or paint. If the crack follows a board joint, check whether the original tape has lifted — if so, pull back the loose section rather than filling over it.
3. Apply tape for joint cracks
For any crack along a joint, bed a strip of paper or mesh tape into a thin layer of joint compound before filling further. This is the step most DIY repairs skip, and it's exactly why those cracks keep coming back.
4. Fill in thin layers
Apply filler in two or three thin coats rather than one thick one, allowing each to dry fully. Thick single applications shrink unevenly and are more likely to crack again.
5. Sand and feather the edges
Once dry, sand back gently and feather the edges into the surrounding wall so there's no visible ridge. A damp sponge can help smooth the final coat before it fully sets.
6. Seal before decorating
Apply a mist coat or stabilising primer over the repair before painting. Unsealed filler is porous and will show through as a flat patch under paint, especially in satin or silk finishes.
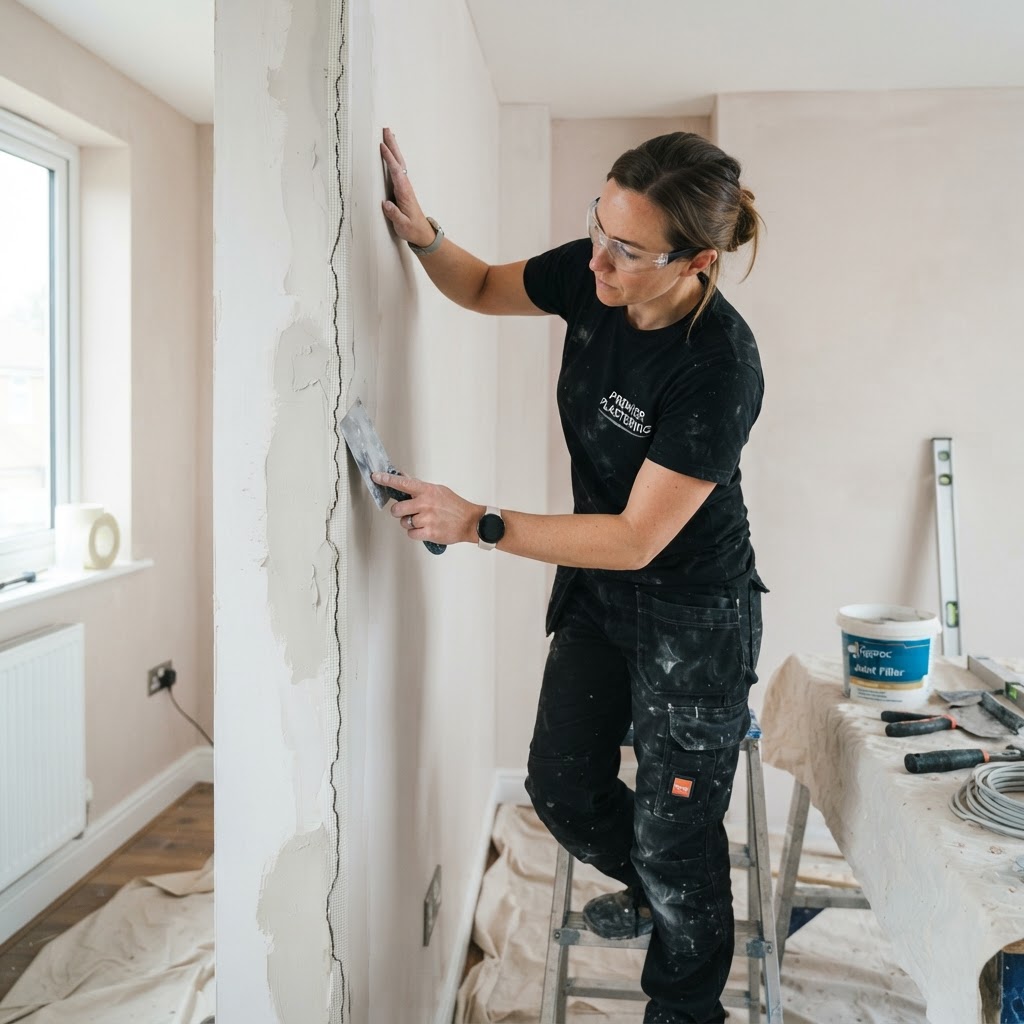 (/blog/gyprocker-near-me-finding-a-reliable-london-plasterer) crack before skimming]
For larger cracks or sections where the plasterboard itself has cracked through (rather than just the joint compound), it's often better to cut out the damaged section and patch in a new piece of board, screwed to the nearest noggin or stud, before re-taping and skimming.
Common Mistakes to Avoid
- Filling without taping joint cracks — this is the single most common reason repairs fail within weeks.
- Using too much filler in one go — thick applications shrink and crack as they dry.
- Ignoring diagonal or recurring cracks — these often indicate movement that filler alone won't fix.
- Skipping primer before painting — leads to flashing or a visibly different texture once decorated.
- Painting too soon — filler and skim coats need to fully cure, not just feel dry to the touch, before painting over them.
- Not checking for damp — in older London solid-wall properties, recurring cracking around skirting or ceiling lines can sometimes be linked to damp rather than pure movement, and this needs addressing separately.
When to Call a Professional Plasterer
Small, isolated hairline cracks are a reasonable DIY job for most homeowners with a bit of patience. However, you should bring in a professional if:
- Cracks are wider than 5mm or growing over time
- The same crack keeps reopening after repeated filling
- Cracking appears alongside sticking doors or windows
- You're dealing with extensive cracking after a loft conversion, extension, or underpinning work nearby
- Large sections of plasterboard are loose, bulging, or sound hollow when tapped
A professional plasterer can also advise whether a full re-skim is more cost-effective than patch repairs if a wall or ceiling has multiple cracks across its surface — which is common in older London properties where plasterboard has been in place for decades.
Cost Considerations for London Homeowners
Costs for plasterboard crack repairs in London vary considerably depending on the number and size of cracks, access (ceilings and stairwells typically cost more due to scaffolding or access equipment), and whether the job is a simple fill-and-sand or requires board replacement and a full skim. Small, isolated repairs are generally inexpensive, while widespread cracking across multiple rooms — often seen after an extension or loft conversion — will cost more due to the scale of work and drying time required between coats. Always get a few quotes from local plasterers and ask whether the price includes making good around sockets, coving, and skirting lines, as these details are often left out of basic estimates.
FAQ
Can I paint over a plasterboard crack without repairing it properly? No. Paint has no structural strength and will simply crack along with the plasterboard underneath, often within a few weeks. Any crack needs filling (and taping, if it's along a joint) before decorating.
Why does the same crack keep coming back after I fill it? This almost always means the underlying joint tape has lifted or there's ongoing movement in the building. Filling over a lifted joint without re-taping it is the most common reason repairs fail repeatedly.
Are cracks in plasterboard a sign of subsidence? Not usually. Most cracks are caused by normal shrinkage, thermal movement, or poorly bedded joints. However, diagonal cracks from door or window corners, especially combined with sticking doors, external brick cracks, or sloping floors, should be checked by a professional, as these can indicate more serious structural movement.
How long should I wait before painting over a repaired crack? Filler and skim coats need to fully cure, not just dry on the surface. This typically takes at least 24-48 hours depending on thickness and room ventilation, and longer in cold or damp conditions common in older London properties over winter.
Is it worth repairing cracks myself or hiring a plasterer? Single hairline cracks are a reasonable DIY task if you're comfortable with basic filling and sanding. However, recurring cracks, multiple cracks across one wall or ceiling, or any crack linked to movement are best assessed by a professional, who can also advise if a full re-skim is more durable long-term than repeated patch repairs.
Do new-build homes get plasterboard cracks too? Yes — very commonly. As timber frames and new plaster dry out and settle over their first year or two, hairline cracks often appear along ceiling joints and corners. This is considered normal and is usually covered by snagging processes with the developer during the defects period.
Getting plasterboard crack repairs right the first time saves time, money, and repeated redecorating. Whether you're dealing with a single hairline crack in a Victorian terrace or widespread cracking after a loft conversion, understanding the cause is just as important as the repair itself.
Related Plastering Guides & Services
Need Professional Plastering?
Get expert plastering services in London. Free quotes within 60 minutes.