
Your Step-by-Step Loft Conversion Plastering Guide
Your Step-by-Step Loft Conversion Plastering Guide
Every London homeowner dreams of maximizing their property space, often turning to loft conversions as a popular solution. Did you know that around 35% of homeowners in London choose to convert their lofts? This statistic reflects not only the desire for space but also the extensive benefits it provides—by creating additional rooms, enhancing property value, and even tailoring a workspace right at home. Whether you're in Islington, Kensington, or Greenwich, this guide will walk you through the essential steps for plastering your loft conversion effectively.
Understanding Loft Conversion Plastering
Plastering a loft conversion is not just about aesthetics; it's a vital step in ensuring that the new room is comfortable, energy-efficient, and structurally sound. Loft plastering involves applying a smooth finish to the walls and ceilings of your new space, ensuring it's ready for painting and furnishing.
Why Plastering Matters
- Insulation: Proper plastering prevents drafts.
- Aesthetics: A well-finished loft enhances visual appeal.
- Durability: Quality plastering protects your walls and ceilings.
Step-by-Step Loft Conversion Plastering Guide
Step 1: Prepare Your Loft Space
Before you start plastering, it's crucial to prepare the area properly:
- Clear the Space: Remove any tools, debris, or furniture that may obstruct the work area.
- Check for Damage: Inspect for any leaks or structural issues to address before plastering.
- Ensure Correct Insulation: Proper insulation is key in London’s varying weather. This might involve using materials like fiberglass or spray foam insulation.
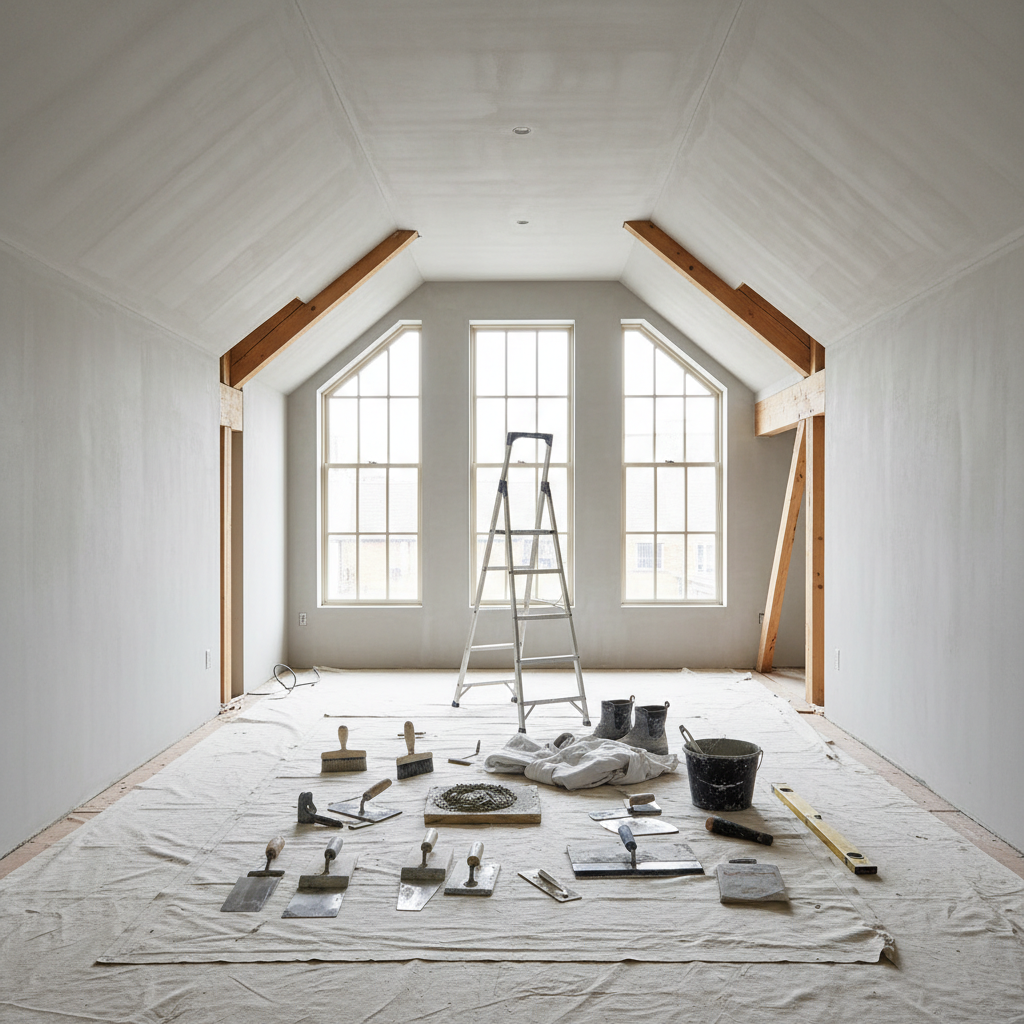
Step 2: Tools and Materials Needed
Gathering the right tools will streamline the process:
-
Tools:
- Trowel
- Hawk
- Plastering Float
- Mixing Drill
- Bucket
- Sandpaper
-
Materials:
- Plaster mix (typically around £15-£30 for a bag)
- PVA bond (for adhesion)
- Joint tape (if needed for seams)
- Skim coat plaster
Step 3: Apply PVA Bond
To ensure the plaster adheres well:
- Dilute PVA bond with water (typically a 1:4 ratio).
- Apply a uniform coat onto surfaces, focusing on areas awaiting plaster.
- Allow this to dry for about an hour before proceeding to plastering.
Step 4: Mixing the Plaster
- Follow Instructions: Always refer to the instructions on the plaster bag for accurate mixing ratios.
- Mix Slowly: Use a mixing drill to combine plaster with water until you achieve a smooth, lump-free consistency.
- Work Quickly: Plaster can set rapidly, so it's best to use it soon after mixing.
Step 5: Applying the Plaster
Now onto the fun part—applying the plaster to your loft!
- Using the Hawk and Trowel: Scoop plaster with the hawk, then use the trowel to apply to the wall or ceiling starting from the top downwards.
- Even Layers: Aim for a thickness of 2-3mm per coat; too thick can crack.
- Smooth Finish: Once applied, use the trowel to smooth it out, and don’t forget corners and edges for a seamless look.
- Second Coat: After the first coat has dried (about 2-3 hours), a second skim coat might be required for optimal results.
Step 6: Finishing Touches
- Sanding: Once the plaster has dried completely (usually 24-48 hours), lightly sand the surface for a smooth finish.
- Cleaning Up: Clean your tools promptly to prevent plaster from hardening on them.
- Inspecting the Surface: Check for any imperfections and fill them accordingly.
Pricing Estimates for Loft Plastering
Costing varies, but here’s a rough breakdown:
- Materials: £60-£100 for plaster and bonding agents.
- Labour: Expect to pay around £20-£40 per hour for a skilled plasterer in London.
- Total for Loft: Estimating £1,200-£3,000 for the complete job depending on the loft size and complexity.
For professional assistance, consider reaching out to local experts at London Plastering Service who can provide tailored quotes based on your area (Islington, Barnet, or Richmond).
Practical Tips for Successful Loft Plastering
- Timing: Choose your time wisely; spring or early summer often offers better drying conditions.
- Protection: Use plasterboard protection for floors and fixtures while working.
- Ventilation: Ensure proper ventilation in your loft to help dry plaster faster and reduce odors.
FAQ
What types of plaster are best for a loft conversion?
Common types include traditional lime plaster for older homes to maintain breathing capability and modern gypsum plaster for efficiency and finish.
How long does plaster take to dry?
Typically, plaster can take between 24-48 hours to dry fully, depending on thickness and environmental conditions.
Can I plaster my loft myself?
Yes, DIY plastering is doable, but requires skill and experience. If unsure, consider hiring professionals as improper application could lead to costly repairs.
How can I ensure my plaster job is smooth?
Using a high-quality trowel, applying even pressure while smoothing, and sanding once dry can achieve a smooth finish.
What if my loft has uneven walls?
Consider using a backing coat for uneven walls before applying a finish coat. This technique creates a level surface.
Conclusion
A loft conversion can significantly boost your home's value and usability, especially in bustling London. With careful planning and execution, your loft can become a stunning new space that you can enjoy for years to come. To ensure a professional finish, you may want to engage experienced plasterers in your area. Visit our About page to learn more about our dedicated team and how we can help bring your loft vision to life. Ready to transform your loft into a dream space? Contact us today at London Plastering Service for a free consultation!
Related Plastering Guides & Services
Need Professional Plastering?
Get expert plastering services in London. Free quotes within 60 minutes.