
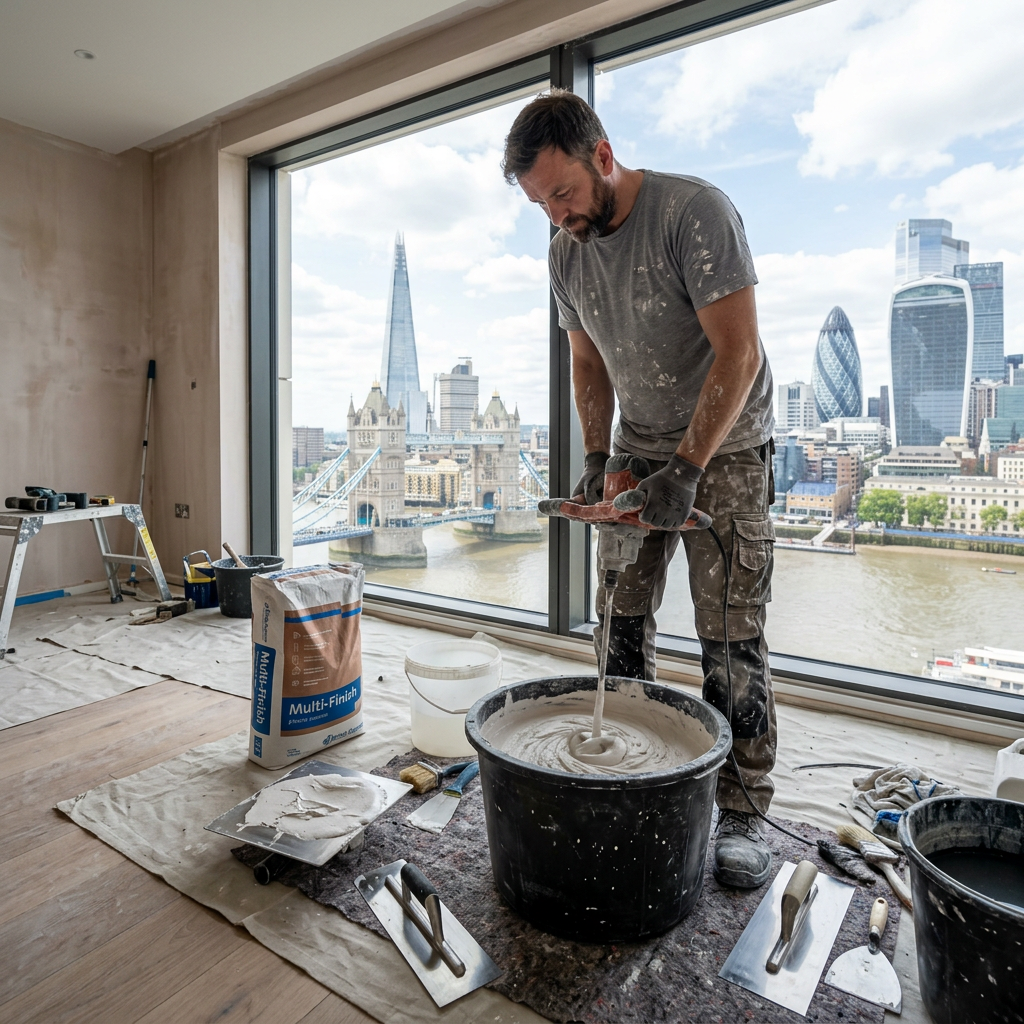
Your Step-by-Step Guide to Mixing Plaster Perfectly
How to Mix Plaster Correctly: Step-by-Step Guide
Just imagine you’re preparing for a weekend project at your London home – a simple task like plastering that wall in your living room is suddenly making your palms sweat. You start to feel overwhelmed remembering all the DIY disasters you’ve witnessed: the lumpy walls, the uneven surfaces, and those horror stories of sandpapering gone wrong! Fear not! Mixing plaster doesn’t have to be a daunting task. With the right guidance, it can be as smooth as the walls you aim to create. In this comprehensive guide, we’ll walk you through the precise steps on how to mix plaster correctly, ensuring your project shines.
Understanding Plaster Variants
Before diving into the mixing process, it’s essential to understand the different types of plaster available. Each type has specific uses:
- Bastard Plaster: Ideal for general-purpose patching and skimming.
- Finishing Plaster: Offers a smooth surface for decorative work.
- Damp-Proof Plaster: Suitable for areas prone to moisture, like bathrooms.
Knowing which plaster to use will determine how you mix it. For general plastering, we’ll focus on bastard plaster in this guide.
Essential Tools and Materials
Before mixing plaster, gather the following tools:
- Mixing bucket (large enough to hold your batch)
- Trowel (for mixing and applying)
- Measuring jug or scales (for precise ratios)
- Water source (hose or bucket)
- A drill with a mixing paddle (optional for larger batches)
Recommended Ratios
- Typically, a good mixing ratio is 4 parts plaster to 1 part water. Adjust ratios based on the plaster type for the intended finish.
Step-by-Step Guide to Mixing Plaster
Step 1: Measure Your Ingredients
Choose the amount you’ll need:
- For a small area, approximately 3kg of plaster might suffice.
- Measure 750ml-1 litre of water based on the ratio.
Step 2: Add Water First
Put the measured water into your mixing bucket. Always add water before the plaster to avoid clumping.
Step 3: Gradually Add Plaster
Slowly sprinkle the plaster into the water.
- Tip: This method helps prevent lumps. Stir gently as you add until all plaster is in the bucket.
Step 4: Mix Thoroughly
Using your trowel (or mixing paddle), start mixing the plaster and water:
- Consistency is Key: You’re aiming for a smooth, creamy texture. If too thick, add a bit more water, but don’t overdo it – you want it workable, not runny.
Step 5: Let It Rest
Let the mixed plaster sit for about 5-10 minutes. This allows any air bubbles to escape, leading to a smoother finish.
Step 6: Final Mix
After resting, give it one final mix to ensure everything is well combined.
Practical Tips for Successful Plastering
- Temperature Matters: Ensure your environment is suitable; too cold or too hot can impede the drying process.
- Choose the Right Time: Late spring or early autumn in London can be ideal, avoiding extremes in weather.
- Work in Sections: If your project is large, do it in manageable sections to maintain consistency.
In London, hiring professionals can cost around £25-40 per hour, but this can save you time and deliver flawless results. Check out our Gallery to see some amazing transformations by our team!
FAQ
What if my plaster is too thick?
If your plaster has thickened too much to work with, simply add a small amount of water and mix again. If it’s beyond rescue, it's better to start a new batch to avoid application issues.
How long does plaster take to dry?
Plaster generally takes about 24 to 48 hours to dry, but this can vary based on thickness, temperature, and humidity. Always check with your finger – it should be firm but still slightly cool to the touch.
Can I plaster over paint?
It's generally not advisable to plaster directly over paint as it may not adhere properly. Ideally, sand the area and ensure a clean surface before applying plaster.
How can I avoid lumps in my plaster?
Mix thoroughly, and remember to add plaster to water, not the other way around. Allowing the mixture to rest also helps minimize lumps.
What should I do after plastering?
After the plaster has dried, you can sand it down for a smoother finish. Consider applying a primer before painting to ensure better adhesion of the paint.
Conclusion
Mixing plaster correctly is a vital skill for every homeowner, landlord, or property manager in London. By following these steps and tips, you can feel more confident about tackling your plastering projects, whether you’re touching up a wall in Islington or skimming your living room in Kensington. If you’re not ready to DIY, remember that our Professional plastering team at London Plastering Service is just a call away. Let's bring your vision to life – check our PlasterersNearMe page for local services and let’s get started on your next project today!
Related Plastering Guides & Services
Need Professional Plastering?
Get expert plastering services in London. Free quotes within 60 minutes.