
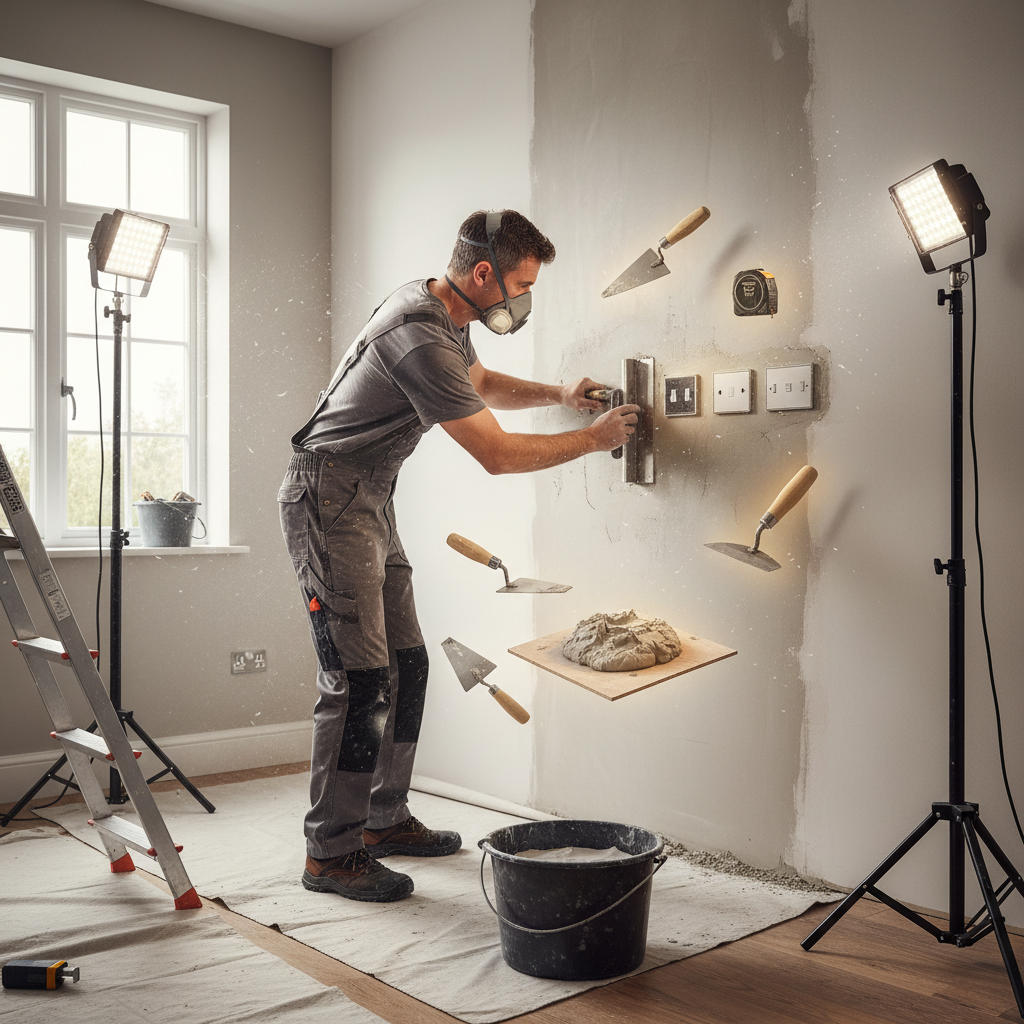
Your Guide to Plastering Around Sockets and Switches
How to Plaster Around Sockets and Switches
Imagine this: you've just painted your living room a beautiful shade of calm blue, and nothing seems to highlight that beauty more than clean, crisp plasterwork around the electrical sockets and switches. But as you take a closer look, you notice a rough patch around one of the sockets, marring the entire aesthetic. Sound familiar? Don’t worry, you're not alone! Many London homeowners like you wonder how to achieve that perfect finish when plastering around fixtures. It's not merely about aesthetics; it's also crucial for the safety and durability of your electrical installations. In this guide, we'll walk you through the process of plastering around sockets and switches, helping you to elevate your home décor in London.
Understanding the Basics of Plastering
Before diving into the step-by-step process, it’s essential to understand the types of plaster commonly used in London homes:
- Gypsum Plaster: Great for interior walls, it sets quickly and is easy to work with.
- Cement Rendering: Ideal for external walls but may be used indoors in specific cases.
- Lime Plaster: A traditional option that’s more breathable and suitable for older properties.
Each type has its unique properties, but for most socket and switch applications, gypsum plaster is the go-to choice.
Tools You’ll Need
To achieve a smooth finish when plastering around your sockets and switches, gather the following tools:
- Plaster: Choose a quality gypsum plaster.
- Trowel: For applying and smoothing the plaster.
- Plastering Float: Useful for mastering the finish.
- Sandpaper: For any necessary smoothing afterwards.
- Masking Tape: To protect the edges of your sockets and switches.
- Bucket: For mixing your plaster.
- Putty Knife: For more precise applications around edges.
Step-by-Step Guide to Plastering Around Sockets and Switches
Step 1: Safety First
Before you start plastering, ensure you:
- Turn off the Power: Switch off the circuit at the breaker box.
- Use Safety Gear: Wear goggles and a mask to avoid inhaling dust.
Step 2: Prepare the Area
- Clear the Work Area: Remove any furniture or items around the socket.
- Use Masking Tape: Apply tape around the edges of the socket and switch to protect them from plaster.
Step 3: Mix the Plaster
- Follow the instructions on your plaster bag carefully to get the right consistency. Aim for a thick, creamy texture—neither too runny nor too stiff should work well for your job.
Step 4: Apply the Plaster
- Load Your Trowel: Dip it into the plaster, ensuring a generous amount.
- Begin at the Top: Start from the top of the socket or switch. Press the plaster gently against the surface.
- Work Downwards: Smooth downwards, feathering the edges to blend with the wall.
- Use the Float: After applying, use the float for a smoother finish, especially around the edges.
- Check for Gaps: After applying the plaster, ensure no gaps remain around the socket or switch. Fill them as needed.
Step 5: Smooth the Surface
- Once the plaster has set for about 30 minutes, lightly rub the surface with sandpaper to eliminate any uneven areas.
Step 6: Finishing Touches
- After the plaster has dried completely (typically 24 hours), remove the masking tape carefully, and touch up any rough areas if necessary.
Step 7: Reconnect the Power
Once everything is dry and looking great, it’s time to turn your power back on. Do a final check to ensure all electrical sockets and switches are functioning correctly.
Practical Tips for a Successful Plastering Job
- Work in Sections: If you have multiple sockets, plater one at a time to keep your plaster workable.
- Time Your Application: Be mindful of the plaster's setting time—usually about 60 minutes.
- Use the Right Amount of Plaster: Too little won't cover adequately; too much can make it difficult to achieve smooth edges.
- Consider Hiring Professionals: If you're feeling unsure, consider consulting with experts like London Plastering Service to get a perfect finish.
FAQ
1. Can I plaster directly over old paint?
Yes, but it’s important to ensure that the old paint is well-adhered and not flaking. Lightly sand the area to help the new plaster stick better.
2. How do I know if I should use gypsum or lime plaster?
Gypsum plaster is suited for interior walls, while lime plaster is better for older homes due to its breathability. Consider your property’s condition before deciding.
3. How much does it cost to hire professionals for plastering work in London?
Professional plasterers in London typically charge between £20-£40 per hour. For a standard room, costs can range from £200 to £500 depending on the extent of the work.
4. What’s the best time of year to plaster?
Spring and autumn usually provide the best conditions for plastering in London, with moderate temperatures ensuring quick drying without cracking.
5. How long does freshly plastered wall take to dry before painting?
Generally, you should wait about 2-3 weeks for plaster to dry completely before applying paint.
Conclusion
There you have it! Plastering around sockets and switches doesn't have to be a daunting task. With this guide, you now have the knowledge and steps to tackle this home improvement with confidence. For those who prefer to leave it to the professionals, our team at London Plastering Service is always here to help. Whether in Camden, Islington, or anywhere across London, we have the skills to provide a flawless finish. Don’t hesitate—call us today for a quote and make your living spaces shine!
Happy plastering!
Related Plastering Guides & Services
Need Professional Plastering?
Get expert plastering services in London. Free quotes within 60 minutes.