
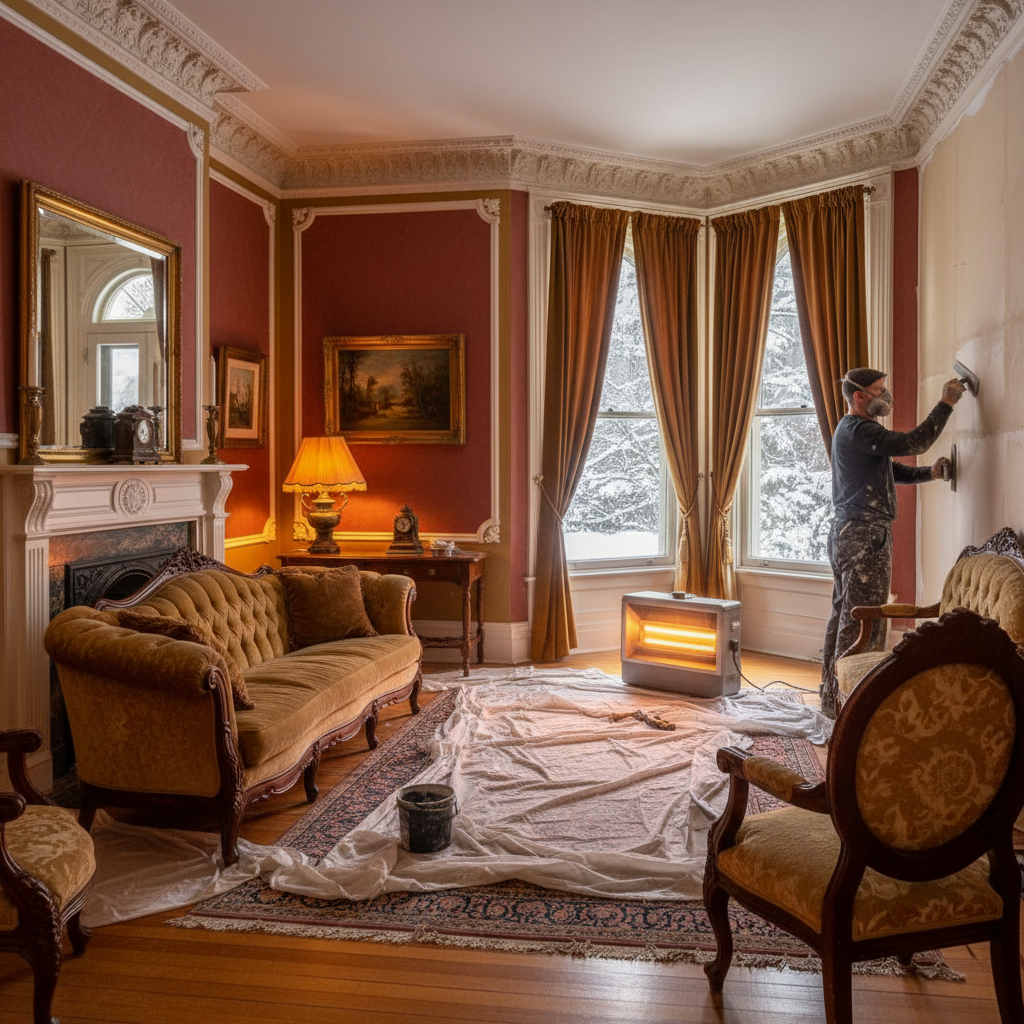
Winter Plastering: Ideal Temperatures for Your Home
Navigating Winter Plastering: A Personal Journey
Every homeowner knows the challenges of renovations, but few prepare for the seasonal hurdles. Imagine this: you’ve just moved into a charming Victorian terrace in Clapham, excited to give the living room a fresh coat of plaster. As you approach the job, winter sets in, temperatures drop, and suddenly, your plastering plans feel like they are slipping away like the heat from your radiator. Does this sound familiar? If so, you've come to the right place. Understanding what temperature to plaster in winter UK is essential to achieving the smooth, flawless finish your home deserves.
Plastering, while seemingly straightforward, requires specific conditions for success, especially during the colder months. In this guide, we'll tackle everything you need to know about winter plastering and how you can ensure a successful project. Let’s dive deeper!
Understand the Ideal Temperature Range for Plastering
Why Temperature Matters
Plastering in the winter months can be tricky. The ideal temperature for plastering is typically between 5°C (41°F) and 30°C (86°F). Anything below this range can lead to complications.
What Happens in Cold Conditions?
- Extended Drying Times: Plaster takes longer to dry in cold conditions, which can delay your projects significantly.
- Reduced adhesion: Cold temperatures can affect the bond between the plaster and the surface.
- Cracking: If plaster freezes too quickly, it may crack, leading to further repairs and increased costs.
- Weaker finish: Cold-related issues may lead to a weaker plaster surface that isn't as durable.
Recommended Temperature for Plastering
During winter in London, aim for:
- Minimum Temperature: 5°C (41°F)
- Optimal Temperature: 15°C (59°F) - most recommendations suggest this as the sweet spot for both drying time and finish quality.
Preparing for the Winter Plastering Project
Before you dive into your plastering work, take a moment to prepare your home and environment. Here are a few pre-plastering tips:
1. Heating the Space
- Use electric or gas heaters to maintain a consistent temperature. Control the environment by keeping the room at least 6-8°C above the minimum required.
- Ensure heating is evenly distributed throughout the room to prevent cold spots.
2. Insulating External Walls and Windows
- Consider insulating walls or covering windows to trap the heat that you generate.
- If possible, do the work on sunny days, as sunlight can naturally warm the space.
3. Choosing a Quality Plaster
- Choose fast-setting plaster suited for colder conditions. Brands like Thistle offer products specifically designed for these circumstances.
4. Timing
- Choose a dry spell, as too much moisture in the atmosphere can impede plaster work.
- Check the weather forecast before starting, as rain can run down walls and cause damage.
Practical Tips for Plastering in Winter
- Store Your Materials: Keep your plaster in a warm environment to prevent it from getting too cold. Ideally, store it at room temperature before mixing.
- Use a Water Heater: Warm water for mixing can help maintain heat during application.
- Work Small Sections: If conditions are marginal, tackle smaller areas of plastering at a time to prevent the drying out of the plaster.
FAQ
1. What if the temperature drops suddenly while plastering?
If the temperature drops below 5°C unexpectedly, stop the plastering process immediately. Allow the room to warm up to a suitable temperature before resuming.
2. How can I ensure the plaster cures properly in winter?
Maintaining a consistent warm temperature is key. Regularly check humidity levels, and consider using dehumidifiers if necessary to remove excessive moisture from the air.
3. What are the best types of plaster for winter?
Look for quick-setting plasters like Thistle Bonding Coat and Thistle Multi-Finish, which can perform well in colder conditions. Their formulations are designed for thermal stability.
4. Can I plaster walls that have been freshly painted?
No, plaster should not be applied over freshly painted walls. Ideally, the paint should be fully cured. Wait at least two weeks before plastering.
5. How can I tell if the plaster has dried properly?
Properly dried plaster will be a uniform color with a slightly lighter tone and firm to the touch. Check for dryness before applying the next layer or finish paint.
Conclusion: Get Started with Your Winter Plastering!
Don’t let winter's cold dampen your home renovation plans. By understanding the ideal temperature for plastering and preparing your space accordingly, you can achieve a stunning finish regardless of the weather. If you need help, remember that the professional team at London Plastering Service is just a call away!
Ready to take the plunge? Visit our Gallery to see our completed projects, or Contact Us for a consultation. Let’s bring warmth and beauty to your home this winter!
Want More Tips?
Check out our Blog for more insights into plastering and home renovation!
Related Plastering Guides & Services
Need Professional Plastering?
Get expert plastering services in London. Free quotes within 60 minutes.