
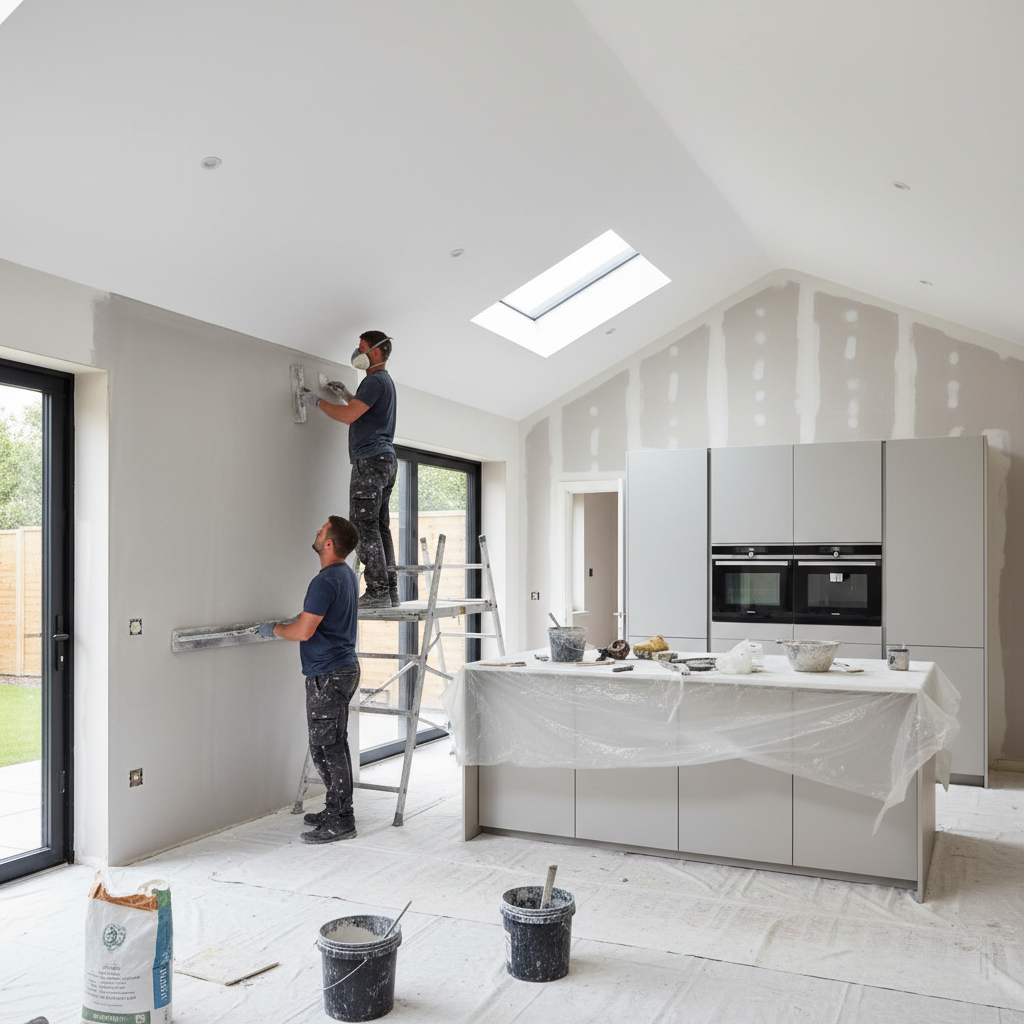
What to Expect with Kitchen Extension Plastering
Kitchen Extension Plastering: What to Expect
Imagine this: You’ve spent months planning the perfect kitchen extension, dreaming of family gatherings around a spacious dining table and bright, airy interiors. But as the walls go up, you realize a key component of your dream space is imminent: plastering. Many homeowners overlook this essential step, not knowing what to expect, how to prepare, or what it will cost. In this blog, we'll guide you through everything related to kitchen extension plastering, ensuring your new space isn’t just built, but beautifully finished.
Why is Plastering Important?
Plastering isn’t just about aesthetics; it plays a crucial role in your kitchen extension's durability and performance. Here are a few reasons why:
- Smooth Finish: Plastering gives your walls a clean, even surface, which is essential for painting and decorating.
- Protection: It protects the underlying materials from moisture, damp, and wear.
- Insulation: Properly plastered walls can improve thermal properties, thus enhancing your kitchen's energy efficiency.
What to Expect: The Kitchen Extension Plastering Process
When it comes to plastering your kitchen extension, it’s helpful to know what this involves. Here’s an overview of the steps involved:
1. Preparation Work
Before the plastering starts, your plasterers will:
- Check Structural Integrity: Ensuring your walls can support the plaster.
- Clean Surfaces: Dust and debris are removed to allow for better adhesion.
- Install Lath or Mesh: If necessary, to strengthen the plaster bond.
2. Choosing the Right Plaster Type
In London, depending on your kitchen's specifications, you may choose from different plaster types:
- Bonding Plaster: Ideal for low-absorption surfaces.
- Thistle Multifinish: A versatile option suitable for most applications.
3. Applying the Plaster
Your team will apply the plaster in several layers:
- First Coat (Scratch Coat): Roughens the surface for better adherence of subsequent layers.
- Second Coat: A smoother finish to prepare for the final layer.
- Final Coat: Gives the desired finish, typically requiring a 2mm thickness.
4. Drying Time
After the plastering, the drying process can take several days, depending on:
- Humidity Levels: High moisture can delay the drying process.
- Room Temperature: Cooler temperatures can also extend drying time.
5. Final Touches
Post drying, your plasterers will apply any necessary finishing touches:
- Sanding: To ensure a perfectly smooth surface.
- Cleaning Up: Removal of dust and debris before the final inspection.
Practical Tips for Homeowners
To ensure a smooth plastering experience, consider the following:
- Plan Ahead: Schedule your plastering work ahead of time to align with other renovations.
- Communicate with Your Plasterers: Tell your plastering team about any specific needs or expectations. This ensures that they understand your vision.
- Consider Timing: Avoid scheduling during winter months when moisture levels are erratic. Late spring or early autumn are ideal.
- Protect Your Space: Move any furniture or appliances out of the kitchen to avoid damage.
Pricing Estimates
In London, plastering costs can vary greatly depending on the size of the kitchen and the complexity of the work. Here’s a rough breakdown:
- Small Kitchen (10m²): £300 - £400
- Medium Kitchen (15m²): £600 - £800
- Large Kitchen (20m²): £900 - £1200
- Special Features (arches, etc.): Extra £100 - £300
For a clear understanding of pricing and for a personalized quote, contact us at London Plastering Service.
FAQ
a
What is the best time to plaster my kitchen extension?
The best time for plastering is usually in spring or early autumn when humidity is lower. Avoid damp and humid days as it can prolong drying time.
How long does it take to plaster a kitchen extension?
The plastering process itself typically takes about 2-5 days, depending on the size and complexity of the job. However, allow additional time for drying.
Do I need to paint the plaster walls after plastering?
Yes, it is recommended to paint the plaster walls after they have fully dried. This not only enhances aesthetics but also protects the plaster.
Will plastering increase my home's value?
Absolutely! A well-finished kitchen extension enhances the overall appeal of your property, making it more attractive to potential buyers.
How can I choose a reliable plastering company in London?
Look for established companies with positive reviews, ask for references, and check their completed projects in our Gallery.
Conclusion
Ready to upgrade your kitchen with a stunning extension? Understanding what to expect during the plastering phase is essential for a successful project. With proper preparation, clear communication, and the right team, your vision can become a reality. If you’re searching for top-notch plastering services in London, don’t hesitate to reach out to our professional plastering team at London Plastering Service for a tailored quote. Let’s make your dream kitchen a beautiful reality today!
Related Plastering Guides & Services
Need Professional Plastering?
Get expert plastering services in London. Free quotes within 60 minutes.