
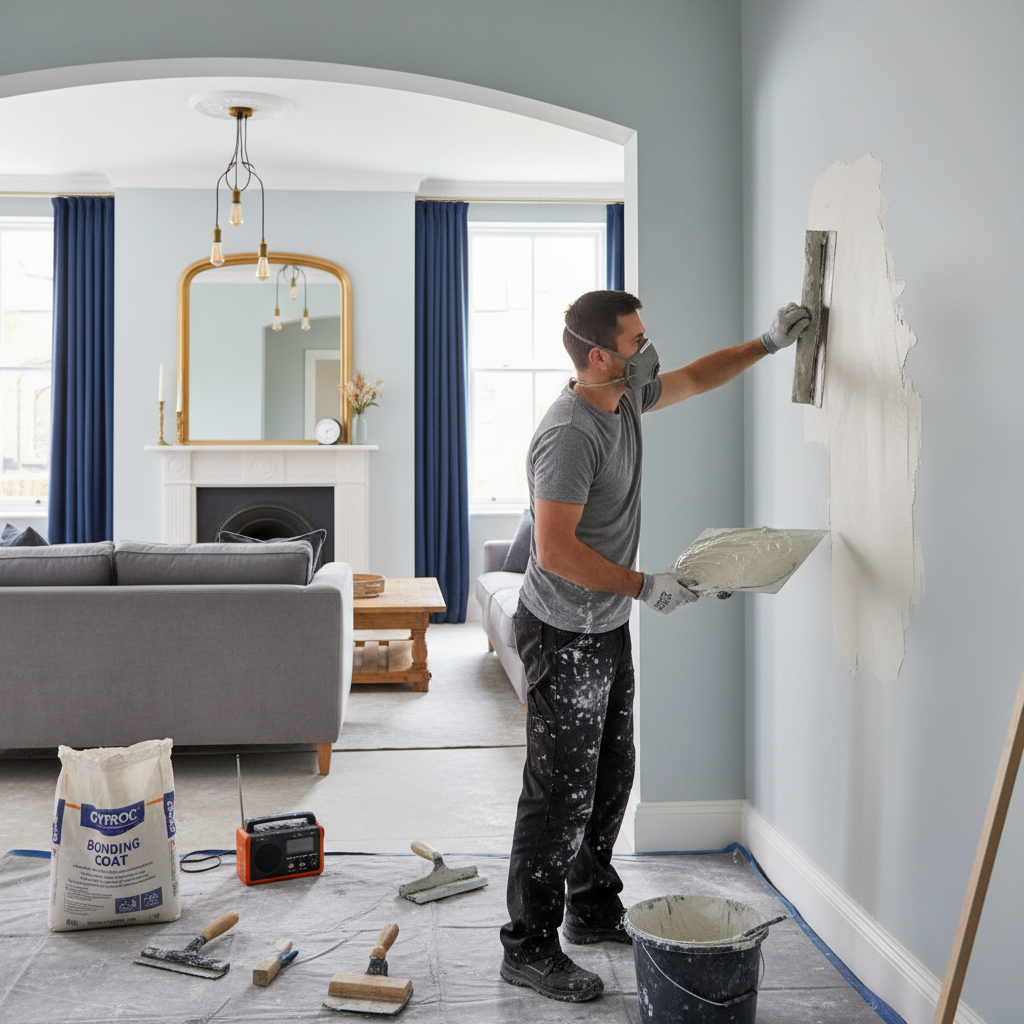
Top Tips for Plastering Your New Build Home
How to Plaster a New Build House: Essential Tips for Homeowners
When I first purchased my new build home in Hackney, I was thrilled by the fresh slate it represented. However, that excitement quickly turned into confusion when I examined the bare walls. How does one turn these uneven surfaces into smooth, pristine walls? If you are in a similar situation, you're not alone! Every homeowner eventually faces the task of plastering, and knowing how to do it well can mean the difference between a professional finish and a DIY disaster.
Plastering is not just about aesthetics; it's essential for creating an effective barrier against moisture and improving the overall durability of your walls. In this guide, we'll explore how to plaster a new build house effectively by breaking down the process into manageable steps and offering practical tips along the way.
Understanding Plaster Types
Before you even pick up a trowel, it’s crucial to familiarize yourself with different types of plaster:
- Cement Plaster: Great for external walls due to its durability.
- Gypsum Plaster: Ideal for interior walls, as it dries quickly and is easy to work with.
- Lime Plaster: Best for historic homes, allowing walls to breathe and minimizing dampness.
For new builds, the most common choice is gypsum plaster due to its convenience and finish quality.
Preparing for Plastering
Thorough preparation is vital for a successful plastering job. Here’s a step-by-step approach:
Step 1: Gather Your Tools
Before diving in, ensure you have the right tools:
- Trowel
- Hawk
- Plastering float
- Mixing bucket
- Water
- Sandpaper or sanding sponge
- Tape measure and square
- Protective gear (gloves, goggles, mask)
Step 2: Check for Damages
Inspect the walls. Any cracks or holes should be filled with a suitable filler before plastering.
Step 3: Clean the Surface
Ensure the surface is clean and free from dust or grease—this allows the plaster to adhere better.
Step 4: Apply Bonding Agent
If you’re working on a wooden or dry wall, apply a bonding agent to improve adhesion.
Step 5: Mix Your Plaster
Follow the manufacturer’s instructions for mixing. Aim for a consistency that’s not too runny but easily moldable.
The Plastering Process
Step 1: Apply the First Coat
- Use your hawk to hold the plaster while you trowel it onto the wall.
- Start at the bottom of the wall, applying approximately 3-5 mm thick for the first coat.
- Work your way up, smoothening the plaster with the trowel.
Step 2: Second Coat (If Needed)
A second coat may be necessary for a smoother finish. Allow the first coat to set (it should be firm but not fully dry) before applying a second coat, typically around 24 hours.
Step 3: Finishing Touches
- Float the surface with a wet float to smooth it over.
- Sand down rough spots once the plaster is fully dried.
Step 4: Drying
Let the plaster dry completely (usually 2-3 days) before painting for the best results.
Practical Tips for Your Plastering Project
- Consider the Weather: Avoid plastering on rainy or very dry days to prevent cracks.
- Work in small sections: This makes it easier to manage and ensures even application.
- Don’t rush: Plastering is an art. Take your time to achieve sleek results.
- Hire Professionals if Unsure: If this sounds daunting, consider hiring local plasterers in your area. It's essential for high-quality work.
FAQ
Q1: How much does it cost to have walls plastered?
A1: The cost of plastering a room in London can range from £400 to £1,000 depending on the size and condition of the walls. Plan your budget accordingly, factoring in materials and labor.
Q2: How long does plaster take to dry?
A2: Generally, plaster can take anywhere from 48-72 hours to dry completely, but this can be influenced by environmental factors like temperature and humidity.
Q3: Can I paint on fresh plaster right away?
A3: It’s best to wait at least 2-3 weeks after plastering before painting to ensure the plaster is fully dry and cured, preventing peeling.
Q4: What should I do if I see cracks in my plaster?
A4: Small cracks can often be filled with a joint compound or plaster repair product. For severe cracking, consult a professional for a comprehensive assessment.
Q5: What are the signs that my plaster needs replacing?
A5: Look out for bubbling, cracks, or damp spots. If these issues persist, it might indicate that the plaster is failing and needs a replacement.
Conclusion
Plastering your new build house doesn’t have to be a daunting task. By following these steps and tips, you can achieve smooth, durable walls ready for decoration. If you're feeling overwhelmed, remember that London Plastering Service is here to help with our professional plastering team.
Feel free to explore your options and learn more about our completed projects or other plastering tips. Contact us today for a quote, and let’s transform your new build into the dream home you envision!
Happy plastering!
Related Plastering Guides & Services
Need Professional Plastering?
Get expert plastering services in London. Free quotes within 60 minutes.