
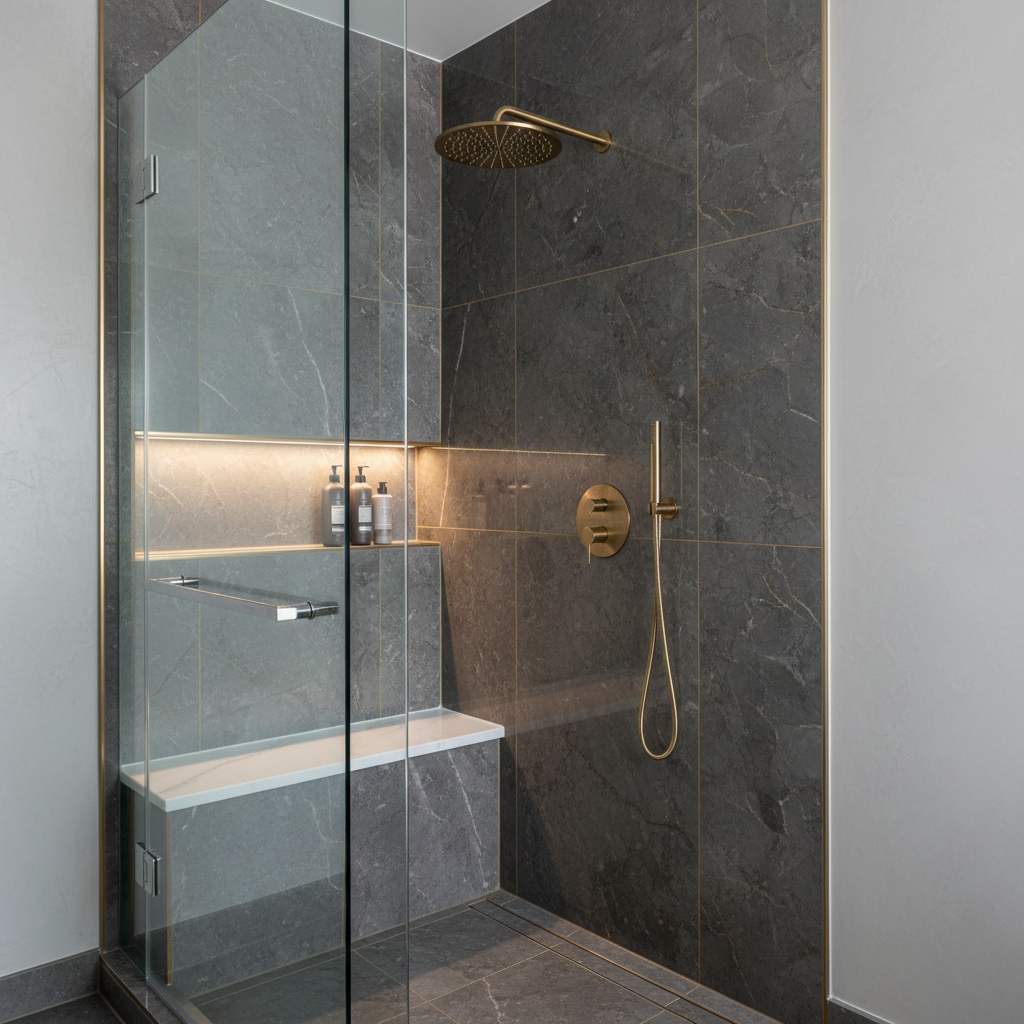
The Ultimate Guide to Wet Room Plastering for Showers
The Ultimate Guide to Shower Cubicle Wet Room Plastering
Imagine stepping into a beautifully designed wet room each morning, the feeling of luxury washing over you as you shower in a space that's not just functional, but also an aesthetic delight. Yet, many homeowners in London, hoping to transform their bathrooms, often overlook a critical aspect of this renovation—plastering. Proper plastering ensures that your wet room is not only stunning but also resistant to moisture and mold. In this guide, we’ll explore everything from planning and materials to execution and maintenance for shower cubicle wet room plastering.
Why Proper Plastering Matters
When designing a wet room, the plastering stage is crucial. Poor plastering can lead to:
- Moisture damage: This can foster mold and mildew, compromising the integrity of your home.
- Uneven surfaces: This affects the aesthetics and functionality of tiles.
- Tiles lifting: If the plaster beneath the tiles isn’t prepared correctly, tiles may crack or unstick, resulting in additional costs and hassle.
Now that we understand its importance, let’s dive into how to effectively plaster a shower cubicle wet room.
Step-by-Step Guide to Wet Room Plastering
Step 1: Preparing the Area
- Clear the Space: Remove any old fittings, tiles, or fixtures from the area where you intend to plaster. This will provide a clean canvas.
- Check for Leaks: Ensure plumbing is in order to avoid future setbacks.
- Seal Off the Room: Use plastic sheeting to protect the surrounding areas from dust and debris.
Step 2: Choosing the Right Materials
When it comes to plastering a wet room, using the right materials is vital.
- Water-resistant Plaster: Opt for a specialized moisture-resistant plaster like multifinish or sand and cement mix.
- Primer: Apply a suitable moisture-resistant primer before getting started.
Step 3: Applying the Plaster
- Mix the Plaster: Follow manufacturer instructions for mixing the plaster. A consistency like that of mayonnaise is ideal.
- Apply the Base Coat: Start by applying a base coat approximately 10mm thick. Use a trowel to apply it evenly across the walls.
- Smoothing the Surface: After the base coat has set slightly, use a float to smooth it out. This is where skill matters as a smooth finish is essential for tile adhesion.
- Final Coat: Once the base coat has dried well (usually 24 hours), apply a second thinner finishing coat, ensuring it’s levelled properly.
- Curing: Allow it to dry completely, as moisture is a possibility in wet rooms.
Step 4: Tiling the Shower Cubicle
Once your plaster is fully dry:
- Select High-Quality Tiles that can withstand regular moisture.
- Use Waterproof Adhesive and grout to ensure the longevity of your tiles.
- Grout Between Tiles: Make sure to seal all gaps to prevent moisture from seeping through.
Step 5: Finishing Touches
- Paint or Seal the Area: Consider applying a waterproof sealant over the plaster gaps and joints.
- Install Fixtures: Once the plaster and tiles are completely dry and cured, you can install fixtures.
Practical Tips for Successful Wet Room Plastering
- Hire Professionals: While DIY can be tempting, hiring the professionals at London Plastering Service guarantees high-quality results.
- Check Local Regulations: Before starting work, check any building regulations that apply in your London borough, such as Westminster or Islington.
- Budget Wisely: Expect to spend between £800 to £2,500 depending on the size of your wet room and whether you hire professionals.
FAQ
What type of plaster is best for wet rooms?
Opt for moisture-resistant plaster, like sand and cement render, or a specialized product designed for wet conditions. This ensures durability against constant moisture.
Can I plaster a wet room myself, or should I hire a professional?
While DIY is possible, it’s advisable to hire professionals to avoid costly mistakes, particularly as wet rooms demand a precise application and moisture-resistant techniques.
How long does it take for plaster to dry in a wet room?
Typically, plaster should dry in 24-48 hours, depending on the thickness noted in the application, weather, and ventilation conditions.
Is additional waterproofing necessary after plastering?
Yes, applying a waterproof sealant after plastering is highly recommended to prevent any water ingress.
How do I maintain my plastered wet room?
Regular cleaning with mild detergent and managing moisture levels will prolong the life of your plastering, alongside ensuring proper ventilation in the bathroom.
Conclusion
Transforming your shower cubicle into a wet room can greatly enhance your London home’s value and functionality. By ensuring proper plastering through meticulous preparation, execution, and finishing, you can achieve a luxurious and long-lasting space. If you're located in London and seeking assistance from a trusted team, look no further than London Plastering Service. Our experienced professionals ensure that every detail is handled with care, providing you peace of mind and impressive results.
Want to see our previous projects? Check out our Gallery. For more tips, don’t hesitate to browse our Blog. Let’s make your dream wet room a reality today!
Related Plastering Guides & Services
Need Professional Plastering?
Get expert plastering services in London. Free quotes within 60 minutes.