
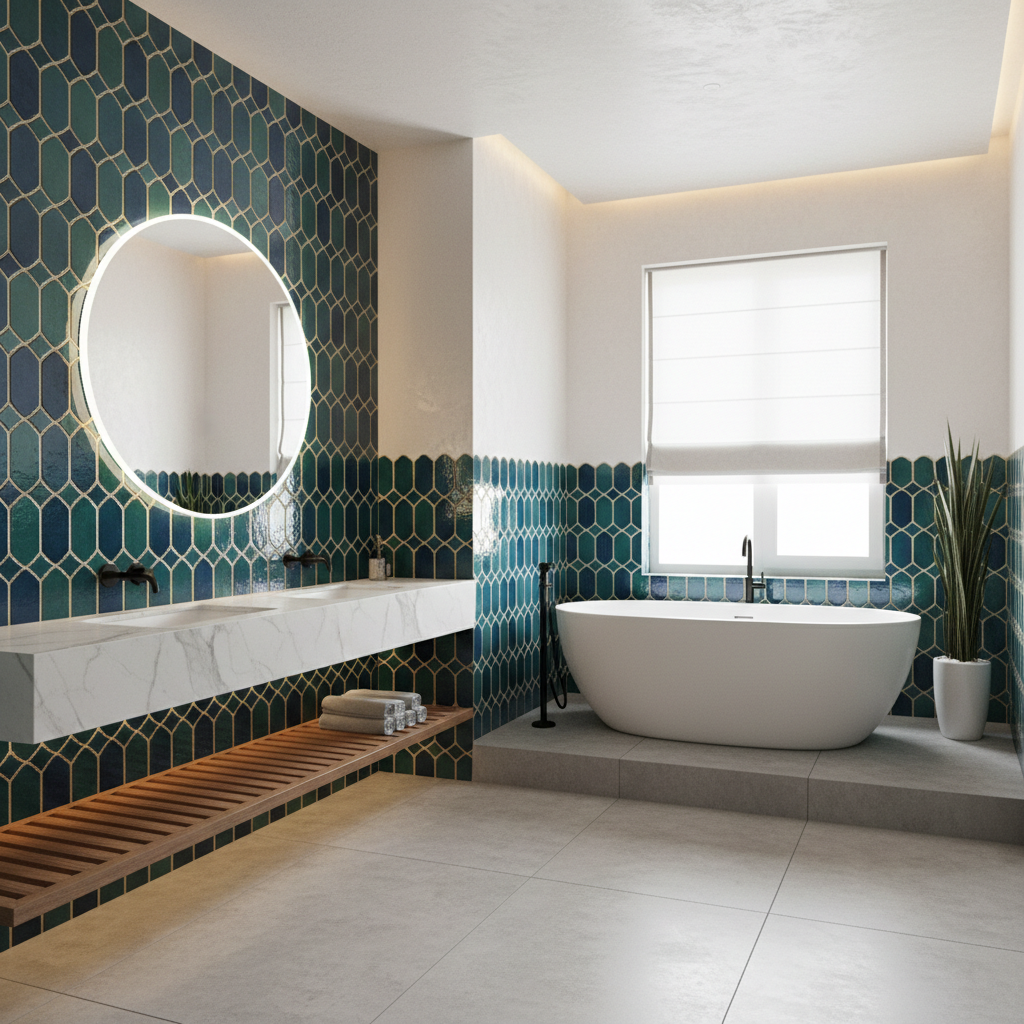
The Ultimate Guide to Tiling Over Plaster in Your Bathroom
How to Tile Over Plaster: Your Bathroom Guide
Have you ever entered a bathroom so stunning that you couldn't help but wonder how they achieved that incredible look? Maybe you envisioned similar tiles and colors for your own space but felt intimidated by the process. You’re not alone! Tiling over plaster is a project many homeowners in London consider but often shy away from due to uncertainty about the steps involved.
In this guide, we’ll take you through everything you need to know about tiling over plaster, ensuring you feel confident to tackle this DIY challenge in your bathroom.
Why Tile Over Plaster?
Tiling over plaster can breathe new life into your bathroom and is an excellent way to add style and functionality. Here are some reasons why you might want to consider this:
- Durability: Tiles are easy to clean, resistant to moisture, and can withstand the rigors of bathroom use.
- Aesthetic Appeal: A fresh tile design can significantly enhance your bathroom's appearance, adding style and value to your home.
- Seamless Upgrade: Instead of ripping out existing plaster, you can build upon it, saving time and money.
Essential Preparations Before Tiling
Before diving into the tiling process, you need to prepare properly. Here’s how:
Assess Your Plaster Wall
- Check for Damage: Inspect your plaster for cracks or peeling. If the surface is compromised, you might need to repair it first.
- Clean the Surface: Make sure the plaster is free from dust, grease, or soap residue. Use a mild detergent and water to clean it thoroughly.
Gather Your Materials
Before you start tiling, ensure you have everything you need:
- Tiles of your choice
- Tile adhesive (thin-set mortar)
- Notched trowel
- Level
- Tile spacers
- Grout
- Grout float
- Sponge
- Sealant (if applicable)
- Safety goggles and gloves
Step-by-Step Tiling Process
Follow these steps to tile over plaster in your bathroom successfully:
Step 1: Plan Your Layout
- Dry Fit Tiles: Lay out your tiles on the floor without adhesive to see how they fit. Consider symmetry and cut tiles where needed.
- Mark a Starting Line: Use a level and a pencil to draw a vertical line at your starting point—this ensures your tiles are straight.
Step 2: Apply Tile Adhesive
- Pour the chosen tile adhesive into a bucket and mix according to the instructions.
- Using a notched trowel, spread the adhesive on a small section of the wall, starting from your marked line.
Step 3: Install the Tiles
- Press the tiles into the adhesive, working from the bottom up. Leave space for tile spacers to ensure even grout lines.
- Use a level frequently to check your progress.
Step 4: Cutting Tiles
If you need to cut tiles to fit:
- Use a tile cutter or a wet saw for precise cuts.
Step 5: Allow to Cure
- Leave the newly laid tiles to cure according to adhesive instructions—usually 24 hours.
Step 6: Grouting
- Mix the grout and apply it with a grout float, pushing it into the spaces between the tiles.
- Once completed, wipe off excess grout with a damp sponge before it dries.
Step 7: Seal the Grout
- After the grout has fully cured (usually a few days), apply grout sealer to protect it from moisture and stains.
Tips for a Successful Tiling Project
- Choose the Right Tiles: Opt for ceramic, porcelain, or stone tiles designed for bathroom use.
- Temperature Matters: Ensure your bathroom is at a comfortable temperature during the installation to allow for optimal adhesion.
- Don’t Rush: Take your time measuring and cutting tiles; precision is key for a professional look.
FAQ
What type of tiles can I use over plaster?
You can use ceramic, porcelain, or natural stone tiles. Ensure they are rated for bathroom use and are compatible with wall applications.
How do I know if my plaster is suitable for tiling?
Check for any visible cracks or flaking. If the plaster feels chalky or overly soft, it may require reinforcement, or a fresh layer may be needed.
What is the average cost of tiling a bathroom in London?
The average cost can range from £40 to £70 per square meter, depending on tile choice and labor. Always consider getting multiple quotes from local plasterers in your area.
Do I need to seal the plaster before tiling?
It's generally not necessary to seal plaster before tiling, but cleaning it thoroughly helps improve adhesion. If your plaster is particularly porous, a primer may be beneficial.
Can I tile directly over painted plaster?
It’s not advisable to tile over painted plaster, as the paint can cause poor adhesion. It’s essential to remove any loose paint and clean the surface thoroughly.
Conclusion
Tiling over plaster in your bathroom can transform the space into an inviting sanctuary that reflects your style. With the right preparation and technique as outlined in this guide, you’ll be well on your way to achieving a beautiful finish.
If you're ready to take action but still feel uncertain, consider reaching out to our professional plastering team at London Plastering Service for advice or assistance. We’re here to help with all your plastering and tiling needs. Don’t forget to check out our Gallery for inspiration from our past projects!
Ready to get started? Let’s make your dream bathroom a reality today!
Related Plastering Guides & Services
Need Professional Plastering?
Get expert plastering services in London. Free quotes within 60 minutes.