
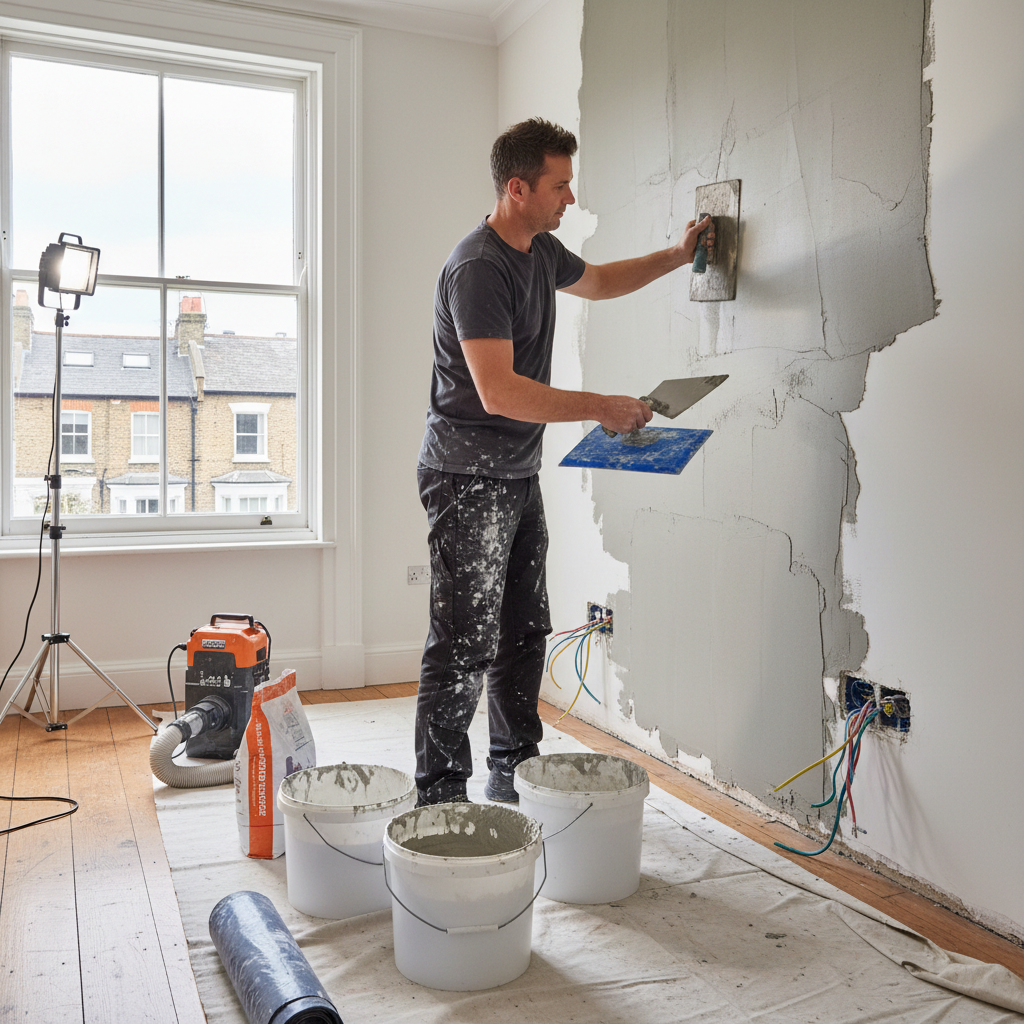
The Complete Guide to Plastering After Rewiring
The Complete Guide to Plastering After Rewiring
Every homeowner fears encountering a mess when tackling home improvement projects—especially when your walls look like a patchwork quilt after rewiring. Imagine this: you’ve just invested in modernizing your home’s electrical system only to be faced with a maze of cracks, holes, and unsightly damage left by the electricians. This scenario is incredibly common in London, where charming older homes often require rewiring due to outdated systems. But fear no more! Our comprehensive guide will walk you through how to tackle plastering after rewiring, restoring your walls like new.
Why is Plastering Important After Rewiring?
When technicians install new wiring, they often need to drill holes and make cuts in your walls. Without plastering, these openings not only look unsightly but could also expose your walls to moisture and even pests over time. Here are a few reasons why plastering is essential post-rewiring:
- Aesthetics: A fresh coat of plaster restores your walls' visual appeal.
- Protection: Seals any exposed surfaces against moisture and other environmental factors.
- Value: Proper plastering adds to your property’s value, making it more attractive to potential buyers or tenants.
Steps to Plastering After Rewiring
To achieve a smooth, professional finish, you need to follow these steps meticulously.
1. Assess the Damage
Before you begin plastering, take a good look at the areas affected by the rewiring:
- Identify any holes left in the walls, focusing on both the size and depth.
- Check for additional damages, such as cracks around sockets or discoloration.
2. Prepare the Area
Preparation is key:
- Clear the Space: Remove furniture and cover the floor with a dust sheet to protect it from debris.
- Gather Supplies: You’ll need plaster, a trowel, a hawk, sandpaper, and a bucket.
- Clean the Area: Ensure the surfaces to be plastered are clean and free from loose debris.<br>
3. Repair Imperfections
If your walls have cracks or deep holes, you'll need to repair them:
- Deep Holes: Fill with a bonding compound first. Let it dry, then smooth it with fine sandpaper.
- Small Cracks: Use a filler compound, applying it with a putty knife and sanding it smooth when dried.
4. Mixing the Plaster
Follow these instructions for mixing plaster:
- Use about 1 part water to 2 parts plaster. Stir until smooth; a consistency akin to thick yogurt.
- Let it sit for a few minutes before using to allow the chemical reaction to occur.
5. Application
- First Coat: Applying the plaster correctly is crucial. Use a hawk to hold the plaster and trowel it on the wall. Start from the bottom and move up.
- Thickness: Aim for a coat thickness of about 2-3mm.
- Second Coat: Once the first is dry (usually after a few hours), apply a second, thinner coat (1-2mm).
6. Finishing Touches
- Once dry, use sandpaper to smooth out any rough spots.
- Ensure the surface is completely level and blend it with the surrounding wall area.
- For optimal results, consider applying a mist coat (watered-down paint) on the new plaster before you add your final paint layer.
DIY vs. Hiring Professionals
As a London homeowner, you might be tempted to take on plastering as a DIY project. However, consider the following:
- Skill Level: Plastering requires a certain level of skill; hiring professionals ensures a high-quality finish.
- Time: Plastering can be time-consuming, especially for those unfamiliar with the process. Hiring London Plastering Service allows you to save time and stress.
- Cost Efficiency: While hiring someone might seem expensive (typically between £20-£40 per square metre), the investment might save you money in the long run by preventing costly mistakes.
For a look at our work, check out our Gallery - View our completed projects.
Practical Tips for Successful Plastering
- Test Plaster: Always test a small area if you're unsure how your plaster will set.
- Keep it Humid: During the drying phase, keep the environment slightly humid to avoid cracking.
- Use a Corner Trowel: For angles and tight spaces, a corner trowel can provide a cleaner finish.
- Consider Wall Skimming: If your walls are particularly uneven, you might want to look into Wall Skimming Services for a smooth base.
FAQ
How long does plaster take to dry?
Plaster usually takes 2-3 days to dry thoroughly, depending on the room’s temperature and humidity levels.
Can I paint directly on new plaster?
It’s recommended to let new plaster cure for at least a week. Then, applying a mist coat (diluted emulsion paint) can help the final paint adhere better.
How much does plastering cost after rewiring?
The cost varies significantly based on wall size and complexity, but expect to pay around £20-£40 per square metre in London.
Do I need to use a bonding agent for plaster?
If you are plastering onto a non-absorbent surface or after rewiring, a bonding agent helps the plaster adhere better.
Can I plaster over old plaster?
Yes, as long as the old plaster is sound. You might need to dampen the old surface beforehand to ensure a good bond.
Conclusion
Restoring your walls after rewiring doesn’t have to be a daunting task. With the right preparation and techniques, you can achieve a flawless finish. Whether you opt to go the DIY route or hire experts from our About - Professional Plastering Team, the key is to ensure your walls not only look good but are also well protected. Ready to get started? Contact London Plastering Service for a consultation today and transform your home back to its pristine condition!
Further Reading
For more tips and guides on plastering, check out our Blog - More plastering tips and guides.
Related Plastering Guides & Services
Need Professional Plastering?
Get expert plastering services in London. Free quotes within 60 minutes.