
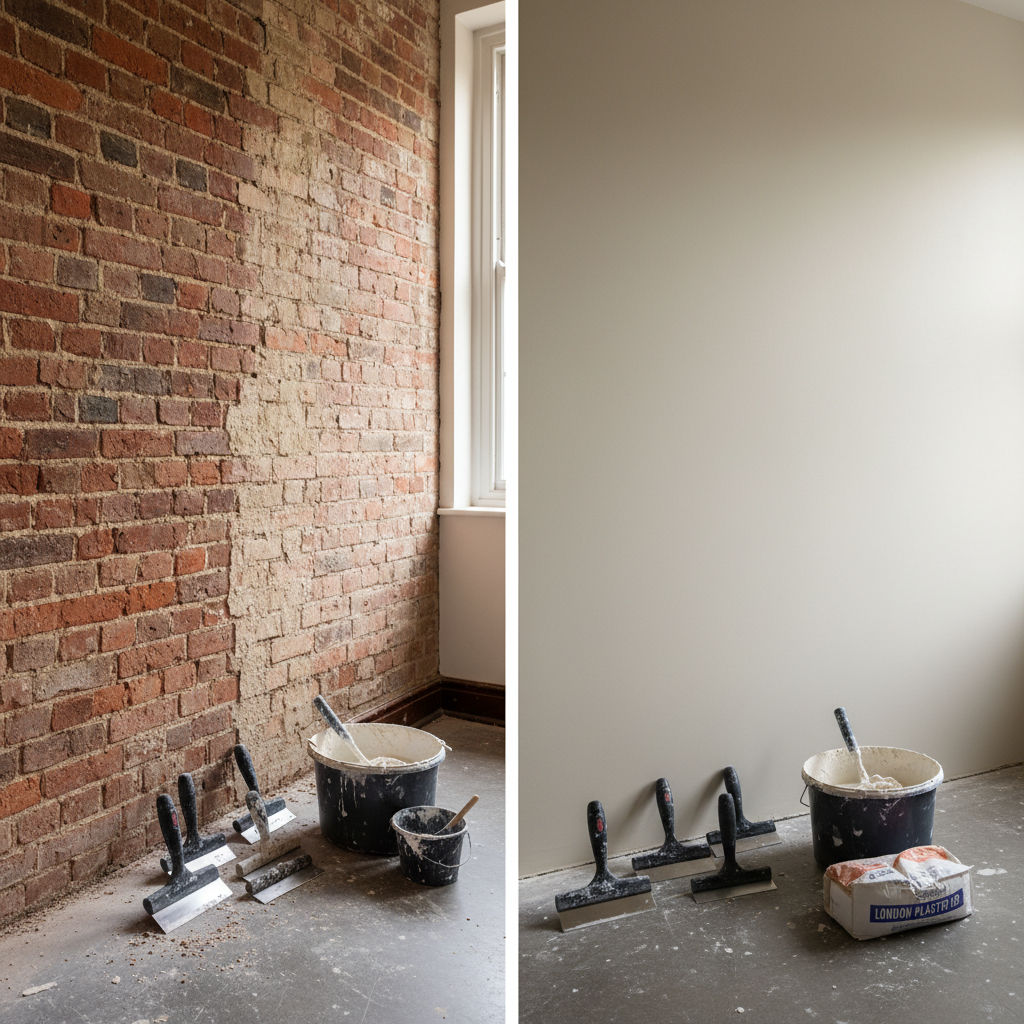
The Best Way to Plaster Uneven Brick Walls: A Step-by-Step Guide
The Best Way to Plaster Uneven Brick Walls: A Step-by-Step Guide
Imagine this: You’ve just moved into a charming Victorian house in Brixton, only to discover that the beautiful brick walls are anything but smooth. In fact, they resemble a patchwork quilt with their uneven surface. If you’ve ever faced this dilemma, you’re not alone. Many homeowners in London are tackling the same issue.
Plastering uneven brick walls can initially seem daunting, but with the right techniques and tools, you can transform these rough surfaces into beautiful, smooth walls that enhance the aesthetic of your space. In this guide, we will explore the best way to plaster uneven brick walls, providing you with actionable tips and insights tailored specifically for London homeowners.
Understanding the Challenges of Plastering Uneven Brick Walls
Before diving into the plastering process, it's crucial to understand the unique challenges posed by uneven brick walls. Some common issues include:
- Surface Indents and Protrusions: Uneven bricks can lead to varying depths in the wall surface.
- Dust and Dirt: Old walls often have a layer of dust or dirt that needs to be cleaned off thoroughly.
- Water Damage and Cracks: Some brick walls may show signs of water damage, which can affect adherence.
- Adhesion Troubles: Achieving a proper bond between the plaster and the brick is essential for durability.
Step-by-Step Guide to Plastering Uneven Brick Walls
Now that we understand the challenges, let's break down the best way to plaster uneven brick walls into manageable steps.
Step 1: Prepare the Wall
- Clean the Surface: Using a stiff brush, clear away dust, dirt, and loose mortar. This helps the plaster adhere better.
- Check for Damage: Look for any cracks or damage in the bricks. Fill in any significant gaps with mortar or a suitable filler to create a more uniform surface.
- Apply a Bonding Agent: A bonding agent can enhance adhesion. Apply it as per the manufacturer's recommendations.
Step 2: Apply a Scratch Coat
- Mix the Plaster: Prepare a scratch coat using a 3:1 ratio of sand to cement.
- Apply the Scratch Coat: Using a trowel, apply the first layer of plaster (about 10-15mm thick) to the wall, ensuring you push it into the bricks and cover all uneven areas.
- Create Grooves: While the scratch coat is still wet, scrape horizontal grooves into the surface using a comb or scratch tool. This provides a better grip for the subsequent layers.
Step 3: Apply the Second Coat
- Let the Scratch Coat Cure: Allow the scratch coat to dry for at least 24 hours, depending on the humidity level in London.
- Prepare the Second Coat: Use a mixture of 4:1 sand to cement for a smoother finish.
- Trowel On the Second Coat: Apply a second layer approximately 5-10mm thick, smoothing it out with a trowel. Aim for a consistent thickness across the surface.
Step 4: Finishing Touches
- Polish the Surface: Once the second coat is semi-dry, use a sponge float to smooth out the surface further.
- Final Coat: If desired, add a thin skim coat for a perfectly smooth finish. This is particularly important if you plan to paint over the wall.
Step 5: Curing
- Allow to Dry: Let the plaster cure thoroughly. In a damp environment, this might take several days. Keep the area well-ventilated but avoid direct drafts.
- Painting: Paint the plastered wall with quality interior paint to finalize the look.
Practical Tips for Successful Plastering
- Choose the Right Time: Ideally, avoid plastering in winter when humidity levels can be high. Spring or summer are preferred.
- Use Quality Materials: High-quality plaster and bonding agents ensure better results and fewer issues.
- Consider Professional Help: For extensive unevenness or if you're unsure about doing it yourself, contact our professional plastering team at London Plastering Service.
Estimated Costs
The cost of plastering uneven brick walls in London typically ranges from £15 to £30 per square meter, depending on the complexity of the job and your location. For example, areas in Central London like Westminster might be on the higher end, while places like Croydon might offer more competitive pricing. Always request a quote for a more precise estimate!
FAQ
What tools do I need for plastering uneven brick walls?
You’ll need basic plastering tools including a trowel, float, mixing bucket, paddle mixer, and possibly a spirit level. It’s also helpful to have a stiff brush and a spray bottle for misting.
Can I plaster over loose bricks?
It's not advisable. Plaster needs a stable and solid substrate. Loose bricks can cause the plaster to crack and fall off. Ensure all bricks are secure before proceeding.
How long does plaster take to dry?
Typical plaster can take anywhere from 24 hours to several days to dry fully, depending on the environmental conditions and the thickness of the plaster application.
Do I need to seal the plaster after it dries?
Yes, sealing the plaster with a suitable sealant can protect it from moisture and stains, especially in areas that might be prone to these issues.
What if the wall is still uneven after plastering?
If the wall remains uneven after your plastering efforts, you may need to apply additional layers or consider alternative solutions such as drywall over the brick.
Conclusion
Plastering uneven brick walls may seem like a Herculean task, but with the right approach and techniques, it can be a straightforward project that dramatically improves the look of your home. Remember, preparation is key! If you’re feeling uncertain or would rather leave it to the pros, visit our gallery for inspiration and contact London Plastering Service for a professional touch.
Ready to transform your space? Don’t wait any longer—let's get started on plastering those walls today! Feel free to explore more tips in our blog or find local plasterers in your area.
Related Plastering Guides & Services
Need Professional Plastering?
Get expert plastering services in London. Free quotes within 60 minutes.