
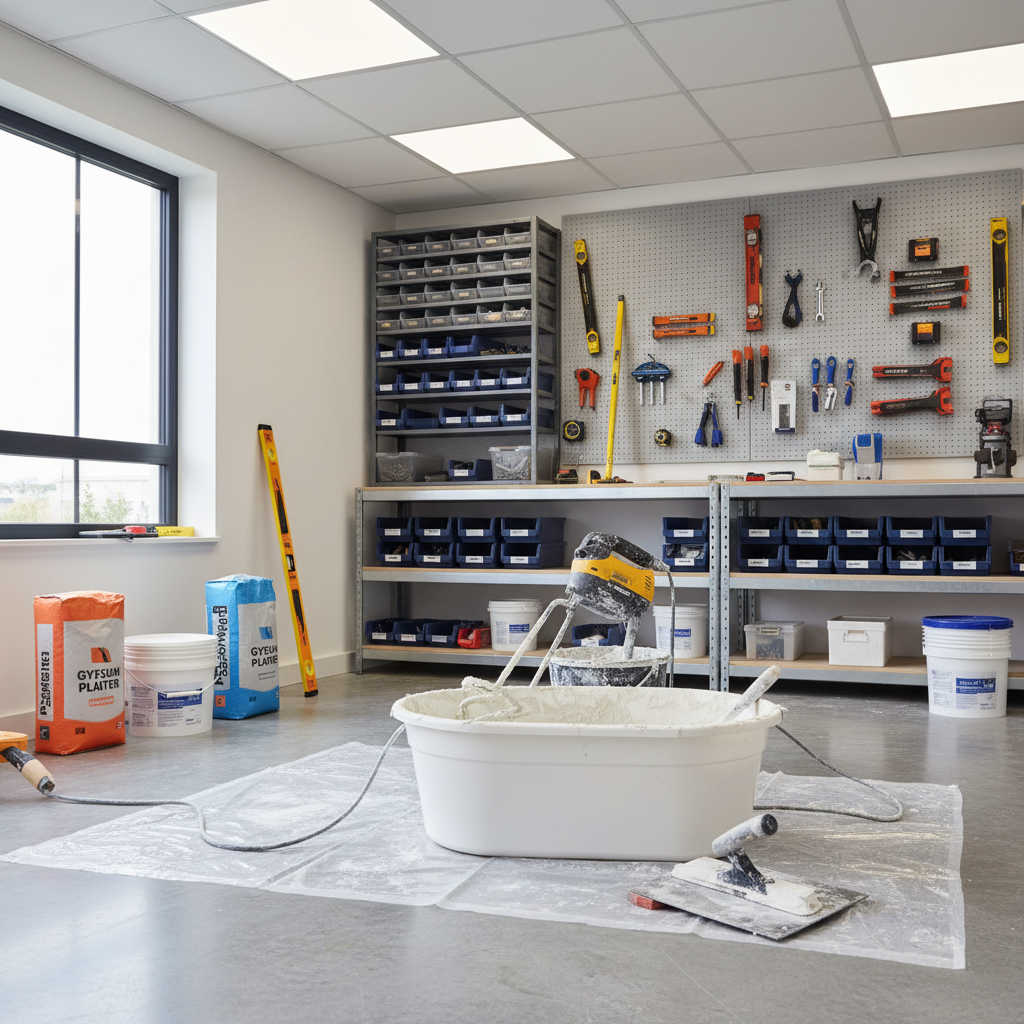
Storing Plaster Correctly to Avoid Waste: Essential Tips
Storing Plaster Correctly to Avoid Waste: Essential Tips
Imagine a bright Saturday morning in London. You're ready to tackle a DIY plastering job in your kitchen—perhaps over in Hackney or Westminster. You’ve bought a few bags of plaster, but as you start mixing, you notice that you only use half of what you have. Frustrated, you realize you might not need it all, but can you save the leftover plaster for another day? Let's dive into how to store plaster correctly to avoid waste and save money on future projects.
Why Proper Storage Matters
Failing to store plaster correctly can lead to hardening, impacting your future projects and costing you money. According to expert anecdotes, improper storage can lead to wastage of up to 20% of your plaster materials, affecting both your budget and timeline.
Here in London, where DIY projects are booming, understanding how to properly store plaster after purchase can make a world of difference for homeowners, landlords, and property managers alike.
The Basics of Plaster Storage
Storing plaster isn’t rocket science, but it does require some attention to detail. Here are a few critical points:
- Dry Place: Keep plaster in a dry, dry area, ideally off the ground to prevent moisture absorption.
- Temperature Consistency: Store it in a place with a constant temperature. Extreme temperatures can compromise plaster quality.
- Seal It Right: Keep the bag tightly sealed after opening. Use duct tape or heavy-duty clips if necessary to close it properly.
Step-by-Step Guide to Store Plaster
1. Choosing the Right Location
Choose a location that is:
- Temperature Controlled: Avoid garages in winter or summer heat—temperature swings could ruin your plaster.
- Dry: Basements often have moisture; consider top shelves in your pantry or a utility room.
2. Using Appropriate Containers
Once you’ve selected a location, consider transferring the plaster to an airtight container. Here’s how:
- Use plastic bins with tight-fitting lids.
- Avoid cardboard or paper bags, as they absorb moisture.
3. Labelling and Dates
When you store your plaster, it’s important to know its age. Create a label:
- Date purchased
- Type of plaster (e.g., finishing plaster, bonding plaster)
4. Monitor Regularly
Every few months, take a quick look through your stored plaster. This will help you gauge the condition and make decisions on usage.
Practical Tips for London Homeowners
- Avoid Overbuying: Purchase only what you need based on your specific project size.
- Plan Small Jobs Together: If you have multiple small plastering tasks, consider planning them concurrently to reduce storage needs.
- Engage Local Plasterers: For larger projects, think about hiring our professional team at London Plastering Service to ensure the job is done right, saving you time and materials.
FAQ
What is the shelf life of plaster?
Plaster, when stored correctly, can last for several months, generally up to 6-12 months. However, once opened, try to use it within 1-3 months for best results.
Can I store plaster in the shed?
It’s best to avoid storing plaster in the shed, as humidity can be higher there. Aim for a dry, temperature-controlled indoor space instead.
Can I revive hardened plaster?
Unfortunately, once plaster has hardened due to exposure to air, it cannot be revived. Always ensure proper storage after use!
How much plaster do I need for an average room?
For an average room (around 10x10 ft), you might need about 8-10 kg of plaster for a smooth finish, depending on the surface conditions. Research your specific project or ask our experts for tailored advice.
Where can I find local plasterers?
If you're looking for skilled plasterers in London, consider visiting PlasterersNearMe for reliable recommendations.
Conclusion: Take Control of Your Plaster Needs
Storing plaster correctly is crucial for homeowners in London to avoid waste and unnecessary costs. By following these simple steps, you can ensure your plaster remains in optimal condition for future projects.
Whether you’re patching up a wall in Shoreditch or skim-coating a ceiling in Richmond, practicing good storage techniques not only saves you money but also enhances your DIY experience.
Ready to tackle your next plastering project? Don’t hesitate to reach out to our professional team at London Plastering Service for expert guidance, or check out our Gallery for inspiration on your next home improvement.
Thinking of taking the plunge? Save time and avoid wastage by contacting us today!
Happy plastering!
Related Plastering Guides & Services
Need Professional Plastering?
Get expert plastering services in London. Free quotes within 60 minutes.