
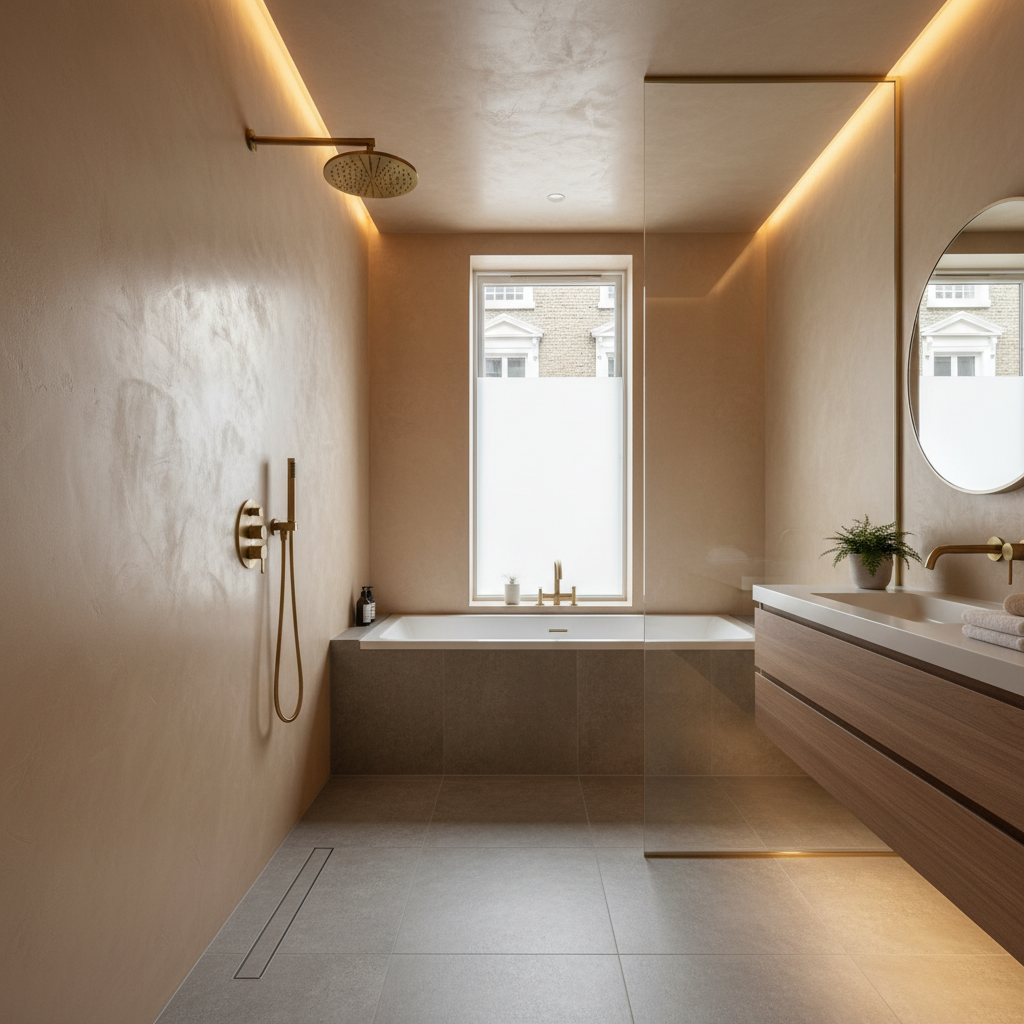
Shower Cubicle Wet Room Plastering Guide for Homeowners
The Ultimate Shower Cubicle Wet Room Plastering Guide
Picture this: It's a soggy London morning, and you wake up late for work. Half-asleep, you hastily step into your cramped shower cubicle, only to find the old, peeling plaster is not only unsightly but has developed a dangerous mold problem. This scenario is probably more common than you’d think. Many homeowners in bustling boroughs like Camden, Hackney, or Greenwich face the dilemma of outdated or poorly installed shower cubicles that just don’t stand up to the demands of a modern lifestyle.
Transforming your shower cubicle into a wet room is more than just a stylish upgrade; it’s an investment in your home’s value and your daily comfort. In this guide, we will walk you through everything you need to know about plastering for a shower cubicle wet room — from selecting materials to understanding the costs involved.
Why Choose a Wet Room?
Wet rooms are practical and chic, maximizing space while providing a luxurious shower experience. Here are some benefits of a wet room:
- Accessibility: Ideal for all ages and mobility levels.
- Increased Home Value: A well-designed wet room can increase your property’s appeal.
- Modern Aesthetic: Adds a sleek, contemporary look to your bathroom.
- Easier Cleaning: Fewer nooks and crannies make upkeep straightforward.
Choosing the Right Materials
1. Waterproof Plaster
Choosing waterproof plaster is essential to prevent moisture damage. Here are a few popular options:
- Acrylic-based plaster - Flexible and moisture-resistant.
- Cement-based render - Excellent for wet environments.
- Gypsum plaster with additives - Combines durability with easy application.
2. Sealants
Using the right sealants can create an impermeable barrier against moisture. Look for:
- Silicone sealants for edges and joints.
- Waterproof membranes for a complete moisture barrier beneath the plaster.
Step-by-Step Plastering Process
Step 1: Prepare the Area
- Clear the space: Remove any fixtures, and ensure surfaces are clean and dry.
- Check for leaks: Fix any plumbing issues before starting.
- Apply a primer: Use a moisture-resistant primer for better plaster adhesion.
Step 2: Mix the Plaster
- Follow the manufacturer's instructions for the perfect mix (typically 4 parts plaster to 1 part water).
- Aim for a smooth, creamy consistency, free of lumps.
Step 3: Apply the Plaster
- First coat: Apply a scratch coat (approx. 10mm thick), making sure to spread evenly.
- Create a rough surface: Score the surface of the first coat once it begins to set.
- Second coat: After 24 hours, apply a finishing coat, smoothing it to perfection.
Step 4: Finishing Touches
- Sand down imperfections after it's fully set (about a week).
- Apply sealant around fixtures and joints.
- Ensure the surface is fully dry before using the shower.
Pricing Estimates
When budgeting for your wet room plastering, consider the following:
- Material costs: Waterproof plaster and sealant average £8-£15 per square meter.
- Labor costs: Professional plastering services in London generally range from £20-£40 per hour. For a small wet room, expect to pay around £500-£1000 in labor alone.
- If you're looking for local plasterers, check out PlasterersNearMe for competitive rates.
Practical Tips for London Homeowners
- DIY vs. Professional: Consider hiring professionals if you lack experience. The team at London Plastering Service offers trusted local services.
- Permits: Check if planning permission is needed in your borough, especially if you’re altering plumbing.
- Choose the Right Time: Autumn or spring can be perfect for ensuring adequate drying conditions.
FAQ
What type of plaster is best for a wet room?
A waterproof plaster, ideally an acrylic-based or cement-based plaster, is the best option for wet room applications to withstand moisture and prevent mold growth.
How long should plaster cure before painting?
It’s recommended to wait at least 2-3 weeks for plaster to completely cure. Ensure the surface is thoroughly dry before painting or applying tiles.
Can I DIY my wet room plastering?
Yes, with the right tools and materials, homeowners can successfully plaster their own wet room. However, hiring a professional can save time and ensure a better finish. Visit our About page for more information about our professional plastering team.
How much does a wet room renovation cost in London?
Costs can vary significantly, but for plastering alone, expect to invest around £500-£1000 for a typical wet room of around 10m², not including tiles and fixtures.
Are there any common mistakes to avoid?
Common mistakes include neglecting proper waterproofing, failing to mix the plaster correctly, and not allowing adequate drying time between coats.
Conclusion
Embracing the wet room trend not only rejuvenates your shower experience but can significantly enhance the overall appeal of your home. Armed with our comprehensive plastering guide, you can confidently approach your renovation project. If you're unsure where to start, or if you’d prefer the expertise of professional plasterers, consider contacting London Plastering Service today! We are here to help you achieve your dream wet room without the hassle. Don’t wait, turn your worn-out shower cubicle into a stunning wet room oasis today!
Related Plastering Guides & Services
Need Professional Plastering?
Get expert plastering services in London. Free quotes within 60 minutes.