
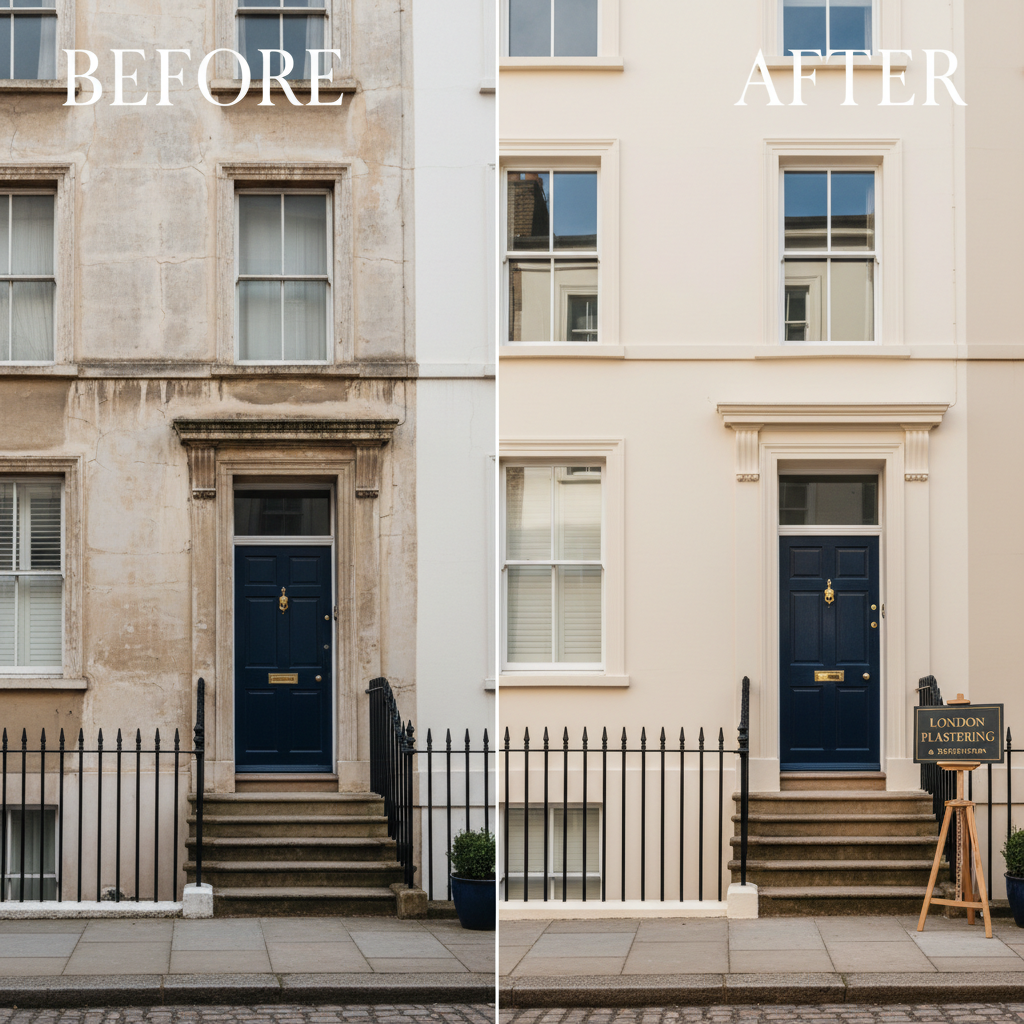
Revive Your Exterior: Pebbledash Removal and Replastering
The Hidden Dangers of Pebbledash: Why It's Time for a Change
Imagine you’ve just moved into a charming Victorian terrace in Clapham, hoping to make it your dream home. You admire the character of the building until your eyes fixate on the pebbledash exterior—rough, faded, and now, a breeding ground for moss and damp. Every glance at it sends a shiver down your spine as water damage looms in the background. This dilemma is more common than you'd think, especially among London homeowners. If you can relate, you’re not alone, and it’s time to explore pebbledash removal and replastering.
Why Consider Pebbledash Removal?
Pebbledash, once a popular choice for its durability and unique texture, has fallen out of favor as homeowners seek a more modern aesthetic and better protection for their properties. Here are several reasons why you might want to consider removing your pebbledash:
- Aesthetic Appeal: Pebbledash can look dated and uninviting. A smooth, freshly plastered finish not only improves curb appeal but also increases property value.
- Maintenance Challenges: Over time, pebbledash can trap moisture, leading to mold, mildew, and costly repairs that require ongoing maintenance.
- Insulation Improvement: Modern plastering techniques can offer better insulation than traditional pebbledash, keeping your home warm in the winter and cool in the summer.
If you're in areas like Bromley or Greenwich, where older homes are prevalent, understanding the advantages of replastering can help you rejuvenate your residence.
The Process of Pebbledash Removal
Removing pebbledash isn’t just about ripping it off; it involves a careful step-by-step process to ensure your home stays intact and ready for a new finish:
1. Preparation
- Tools and Materials: Gather necessary tools - chisel, hammer, safety goggles, scaffolding (if required), and water to moisten the surface.
- Safety: Always wear protective gear. The dust from removing pebbledash can be harmful if inhaled.
2. Removal Steps
- Moisten the Surface: Lightly spray water to weaken the bond.
- Chip Away: With your chisel and hammer, start at the edges and carefully chip away the pebbledash.
- Clean the Wall: After removal, brush off any loose debris and assess the wall for necessary repairs.
3. Wall Preparation for Replastering
- Fill Cracks: Use filler to repair any cracked areas. Allow to dry completely.
- Apply Mesh: For better adhesion, consider installing a bonding mesh on large cracks.
Replastering Your Home
After thorough removal, it's time to replaster:
1. Mixing the Plaster
- Ensure the plaster mix is smooth and the right consistency (usually a solid paste).
2. Applying the Plaster
- First Coat: Use a trowel to apply the first coat, ensuring it’s a consistent thickness, approximately 10mm.
- Smoothing: After the first coat has set slightly, smooth it out to minimize imperfections before the second coat.
- Finishing Coat: Apply a thin finishing coat to achieve the desired smoothness.
3. Curing
- Allow the plaster to dry over several days, depending on humidity and temperature.
Cost of Pebbledash Removal and Replastering in London
The cost for pebbledash removal and replastering varies based on the size of your property and the specific borough of London you reside in:
- Cost of Removal: On average, you might spend around £20-£30 per square meter for removal.|
- Cost of Replastering: For replastering, expect to budget between £40-£60 per square meter.
Thus, a typical Victorian home in areas like Hackney might cost between £2,500 to £5,000 for complete removal and replastering, depending on the scope of work.
Practical Tips for Homeowners
- Hire Professional Help: Unless you're experienced, hiring local plasterers in your area is wise to ensure top-notch results.
- Choose the Right Plaster: Look for breathable and flexible plaster; this will yield better results in moisture-prone areas.
- Consider a Finish: When replastering, think about adding a colored finish or textured effect to complement your home's style.
FAQ
1. How long does pebbledash removal take?
Removing pebbledash from a standard London home can take from one to three days, depending on the area and number of workers engaged.
2. Can I do this myself?
While DIY removal is possible, it’s recommended to hire professionals from London Plastering Service to avoid safety risks and ensure quality work, especially if you’re unfamiliar with plastering.
3. What preparations do I need before removal?
Before removal, ensure you clear the area of plants, furniture, and anything that could be damaged by debris. Plan for scaffolding if necessary.
4. How can I maintain my new plaster?
Maintain your new plaster by regularly inspecting it for cracks, ensuring proper drainage around your home, and avoiding heavy moisture exposure.
5. What if there is damage behind the pebbledash?
If damage is uncovered during removal, it’s crucial to repair underlying structures before replastering to prevent future issues.
Conclusion: Transform Your Home Today
Pebbledash removal and replastering can breathe new life into your London home and significantly increase its value. Whether you're in the heart of Westminster or the tranquil borough of Richmond, our expert plastering team at London Plastering Service can guide you through every step of the process. Don’t let that old pebbledash deter you from the home you’ve always envisioned. Contact us today and explore our completed projects to see the remarkable transformations we’ve achieved for homeowners just like you. Get started on your home’s facelift—your perfect exterior awaits!
Related Plastering Guides & Services
Need Professional Plastering?
Get expert plastering services in London. Free quotes within 60 minutes.