
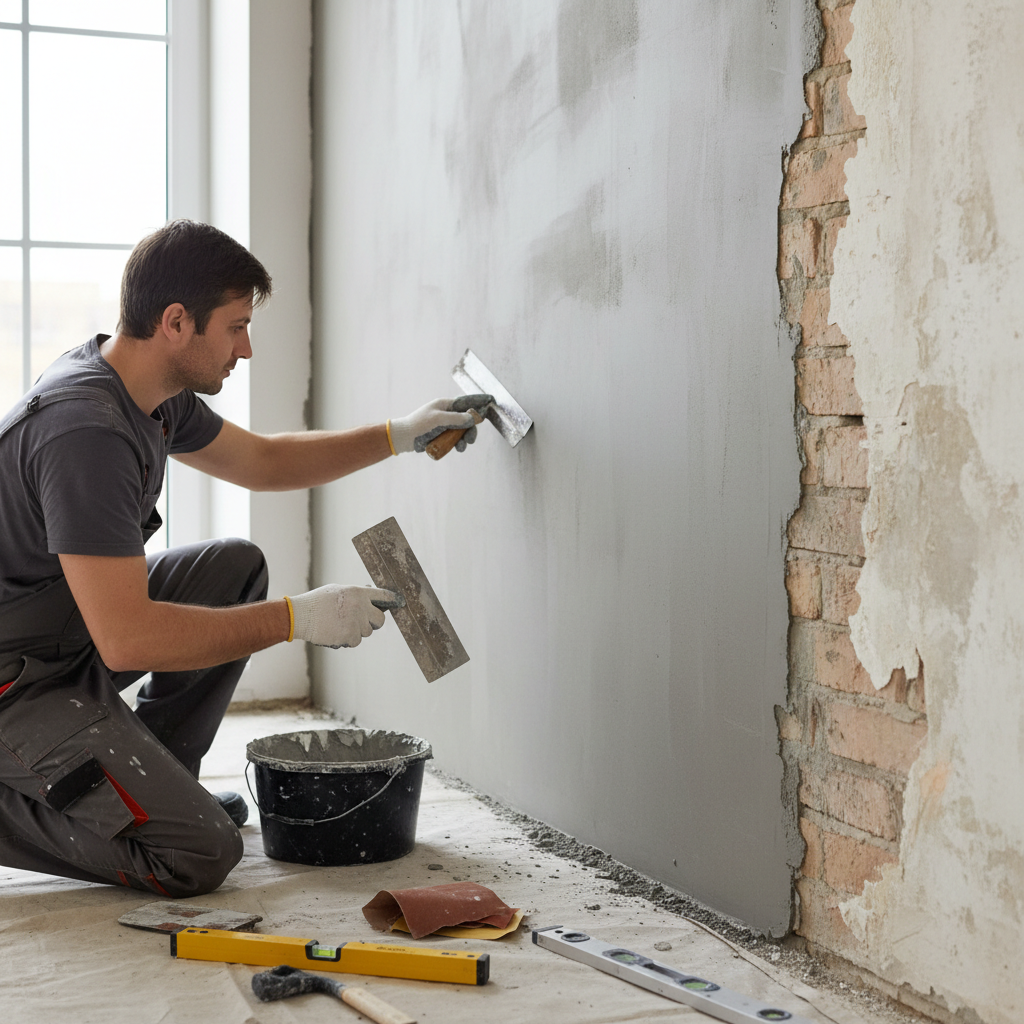
Preparing Walls for Plastering After Wallpaper Removal
How to Prepare Walls for Plastering After Removing Wallpaper
Imagine this: you’ve just peeled off that outdated floral wallpaper from your Dulwich flat, and while the room looks like a bomb site, you’re excited about giving it a modern touch. But wait! Before you can lavish your walls with plasters that will breathe new life into your living space, there’s a crucial step you need to take—preparing those walls properly.
In this guide, we’ll walk you through how to prepare your walls for plastering after removing wallpaper, ensuring a smooth finish that not only looks great but stands the test of time.
Why Is Preparation Important?
Preparation is key in the plastering process to achieve a flawless finish. If the wall is not properly prepared, the plaster may not provide the adhesion needed to hold up, leading to peeling or cracking down the line. Proper prep work may also prevent costly future repairs or re-plastering—saving you money and headaches in your London home!
Tools and Materials You Will Need:
- Scraper or putty knife: For removing any remaining wallpaper residue.
- Sandpaper (120-220 grit): To smooth the walls.
- PVA glue: For priming the surface.
- Mop or sponge: For cleaning.
- Dust mask and goggles: For personal protection.
- Drop cloths: To protect floors from dust and debris.
Step-by-Step Guide to Preparing Your Walls
Step 1: Remove All Wallpaper Residue
Removing wallpaper is only half the battle. Use your scraper to ensure that all remnants of the wallpaper backing are gone. Here’s how:
- Choose a dry or wet method: If the old wallpaper was applied with paste, a damp sponge may help dissolve any leftover residue. If it’s sticky, you may need to use a scraper.
- Check for any glue: Ensure no sticky patches are left since they can hinder plaster adhesion.
Step 2: Clean the Walls
After you've scraped off the wallpaper:
- Wipe down the surface with a damp cloth
- Use warm soapy water to remove any oil or grease.
- Make sure the walls are entirely dry before moving on.
Step 3: Sand the Surface
Sanding is crucial to providing a good surface for the plaster to grip:
- Using 120-220 grit sandpaper, gently sand the walls in circular motions.
- Focus on any rough spots or uneven areas to ensure an even texture.
- Dust off the residual dust using a clean cloth.
Step 4: Apply a Primer (PVA Glue)
Priming the wall helps in bonding the plaster to the surface:
- Mix PVA glue with water (ratio: 1:4, glue to water).
- Using a brush or roller, apply this mixture evenly to the walls.
- Allow it to dry completely, usually for 30 minutes to an hour.
Step 5: Check for Imperfections
Take a close look and feel the walls for:
- Cracks
- Holes
- Dents
- Any remaining wallpaper bits Fill any imperfections with a filler compound, and sand them down again once dry.
Pricing Estimates for Wall Preparation in London
Depending on the area you live in and the condition of your walls, the costs for wall preparation can vary:
- DIY preparation: £50 - £100 (materials)
- Professional service: £200 - £600 (London plastering service rates vary by room size and complexity) You can often find reliable help by searching for plasterers near you.
Practical Tips for an Efficient Wall Preparation
- Plan ahead: Give yourself enough time for each step. Rushing will yield poor results.
- Use quality materials: Poor-quality plaster or tools can lead to inefficiency and a shoddy finish.
- Take breaks: If the project starts feeling overwhelming, it’s okay to take a break and return with fresh eyes.
- Consider professional help: If you’re not up for the task, our professional team at London Plastering Service can assist.
FAQ
1. How long does it take to prepare walls for plastering?
Preparing walls can take anywhere from a few hours to a day, depending on the wall's condition, the amount of residue to remove, and your preparation speed.
2. Can I plaster over wallpaper remnants?
It is not recommended to plaster over anything other than a clean surface. Remaining wallpaper remnants can lead to the plaster not adhering or bubbling. Remove as much as possible.
3. What if my walls are uneven?
If you find your walls are particularly uneven, consider applying a thick coat of plaster known as “render” before skimming, or consult with our Wall Skimming London service for professional advice.
4. Is there a difference in preparing walls for gypsum versus lime plaster?
Yes, each plaster type may have specific preparation needs. Gypsum plaster usually requires PVA priming, while lime plaster needs a breathable surface. Always check specifications from your plaster supplier.
5. How can I maintain my plastered walls once finished?
Keep your plastered walls clean by dusting regularly, and if you notice any cracks, fill them promptly to avoid water ingress and damage.
Conclusion
Preparing your walls for plastering after removing wallpaper may sound like a daunting task, but with the right tools, materials, and techniques, it can be a smooth process. Following our step-by-step guide not only ensures that your walls are ready for a new layer of plaster but can help you save significantly in the long run. If you find this process challenging or time-consuming, consider reaching out to our dedicated professional plastering team at London Plastering Service.
Your dream home starts with well-prepared walls—let us help you transform your space smoothly!
For more plastering tips and guides, don’t forget to check out our blog section for helpful insights!
Related Plastering Guides & Services
Need Professional Plastering?
Get expert plastering services in London. Free quotes within 60 minutes.