
Plastering Over Artex Ceiling: Costs & Process Explained
Plastering Over Artex Ceiling: Cost and Process Explained
Imagine stepping into your beloved London home, only to be greeted by an outdated, textured artex ceiling that’s as appealing as a can of old paint. If you’re like many homeowners who want to modernize their space, you’re probably considering plastering over that artex for a smooth, sleek finish. But before you take the plunge, understanding the costs and process involved is crucial. This guide will walk you through everything you need to know about plastering over artex ceilings in London, including detailed costs, processes, and practical tips.
The Costs Involved
Understanding the Price Range
When it comes to plastering over artex ceilings, the costs can vary significantly depending on several factors, including the size of the area, condition of the ceiling, and your specific location in London. Here’s a general breakdown of what you can expect:
- Small rooms (e.g., bathrooms or kitchens): £300 - £500
- Medium rooms (e.g., bedrooms or dining areas): £500 - £800
- Large open plans (e.g., living areas): £800 - £1,500 or more
These prices typically include labor and materials, but always ensure to ask for a detailed breakdown from your plasterer. Local factors, such as living in sought-after areas like Chelsea or Notting Hill, may also influence the overall cost.
Additional Considerations
Beyond the square footage, think about:
- Pre-existing condition: If your artex is in bad shape, extra preparation work may increase costs.
- Materials: Opting for high-grade materials or eco-friendly options will also impact your spending.
- Location variations: Different boroughs, like Camden or Westminster, might have higher rates due to cost of living.
The Process of Plastering Over Artex Ceilings
Step 1: Assessment
Before starting, it’s vital to assess the existing ceiling. Look for signs of water damage or cracks. If any of these are present, it’s best to consult with a professional plasterer.
Step 2: Preparation
- Clear the Area: Remove all furniture and cover the floors to protect them from dust.
- Clean the Ceiling: Wipe any dust and debris from the ceiling surface.
- Repair Any Damage: Fill in any cracks or holes with a filler that's compatible with plastering.
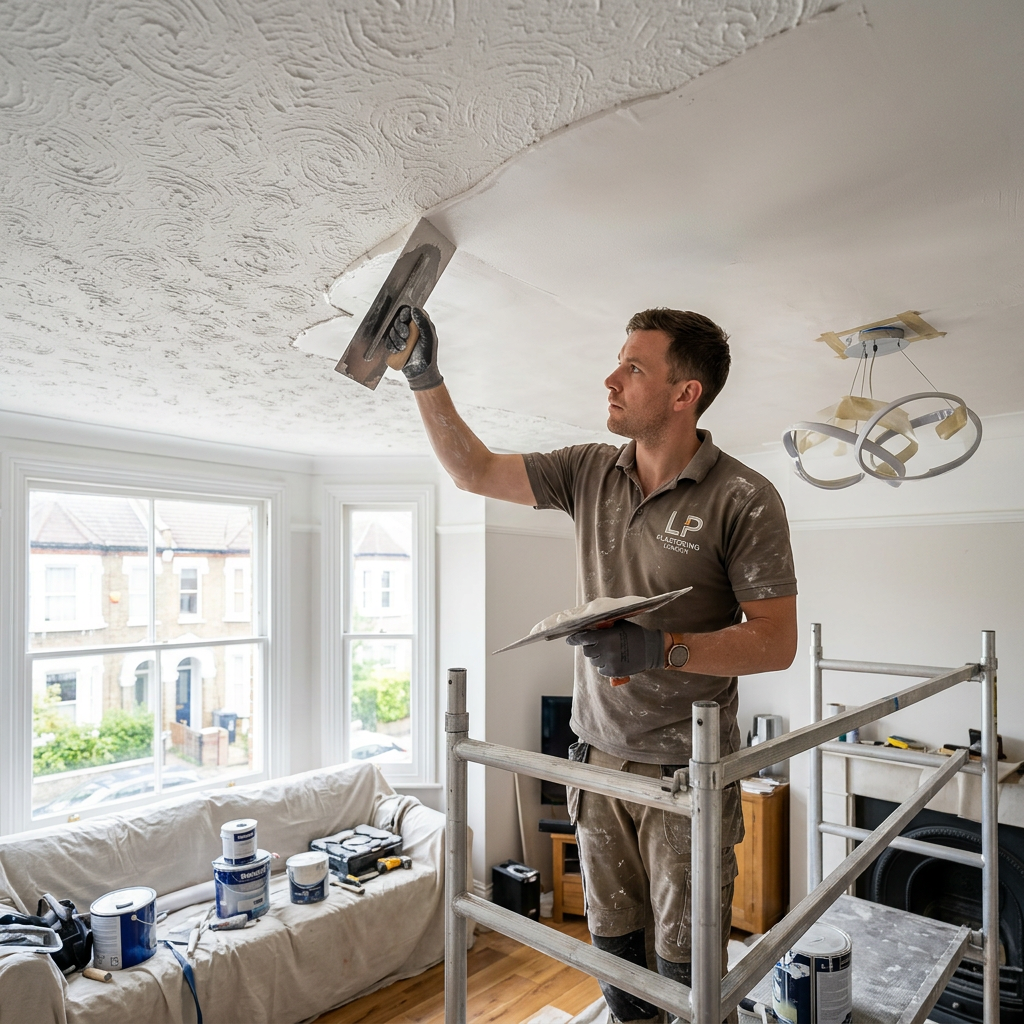
Step 3: Skimming the Ceiling
- Applying Bonding Agent: If the artex is very textured, a bonding agent might be necessary for better adhesion.
- Mixing Plaster: Prepare your plaster mix as per the manufacturer’s instructions. A common choice is a multi-finish plaster.
- Application: Use a trowel to apply a 2-3mm layer of plaster over the entire ceiling. Work in small sections to ensure an even finish.
- Smoothing: After applying, use a larger trowel to smooth out the surface, ensuring a flat finish.
Step 4: Finishing Touches
- Drying: Allow the plaster to dry completely; this may take 24-48 hours depending on humidity and temperature.
- Final Sanding: Lightly sand the surface once dried to achieve an ultra-smooth finish ready for painting.
To see examples of beautifully plastered ceilings, check out our Gallery - View our completed projects.
Practical Tips for Homeowners
Here are some actionable tips to ensure a successful plastering project:
- Hire Experienced Plasterers: Ensure your contractor has experience with artex ceilings, as it requires specific skills to handle the texture.
- Plan for Ventilation: Good ventilation during drying can enhance the final outcome and help prevent damp.
- Check for Asbestos: If your artex was applied before 2000, it could contain asbestos. Always have a survey done before starting work.
FAQ
Why should I plaster over artex instead of removing it?
Plastering over artex saves time and money, and it also eliminates the mess associated with removal. Additionally, it provides a fresh, modern look without the risk of damaging your ceiling.
How long does the plastering process take?
Typically, plastering over an artex ceiling can take 1-2 days for smaller rooms, including drying time for the plaster. Larger rooms may take longer.
Can I do it myself?
While DIY is possible, plastering requires a certain skill level to achieve a smooth finish. It’s recommended to hire professionals like our team at London Plastering Service for optimal results.
What is the best type of plaster to use?
For skimming over artex, a multi-finish plaster is ideal due to its versatility and ease of use. Ensure it’s mixed according to the manufacturer's instructions for the best results.
How do I maintain my newly plastered ceiling?
Once plastered, avoid high humidity levels and ensure good ventilation in the room. Wait at least a few weeks before painting to allow the plaster to cure completely.
For further insights and tips, visit our Blog - More plastering tips and guides.
Conclusion
Plastering over an artex ceiling can transform your space from outdated to modern while enhancing your home’s value. Understanding the costs and process is vital in planning your project effectively. Whether you reside in Clapham, Brixton, or Hackney, making this change can breathe new life into your home.
Ready to get started? Contact London Plastering Service today for a free quote and let us help you achieve the beautiful ceilings you’ve always dreamed of!
Related Plastering Guides & Services
Need Professional Plastering?
Get expert plastering services in London. Free quotes within 60 minutes.