
Plasterboarding a Garage Conversion in London: A Complete Guide
Plasterboarding a Garage Conversion in London: A Comprehensive Guide
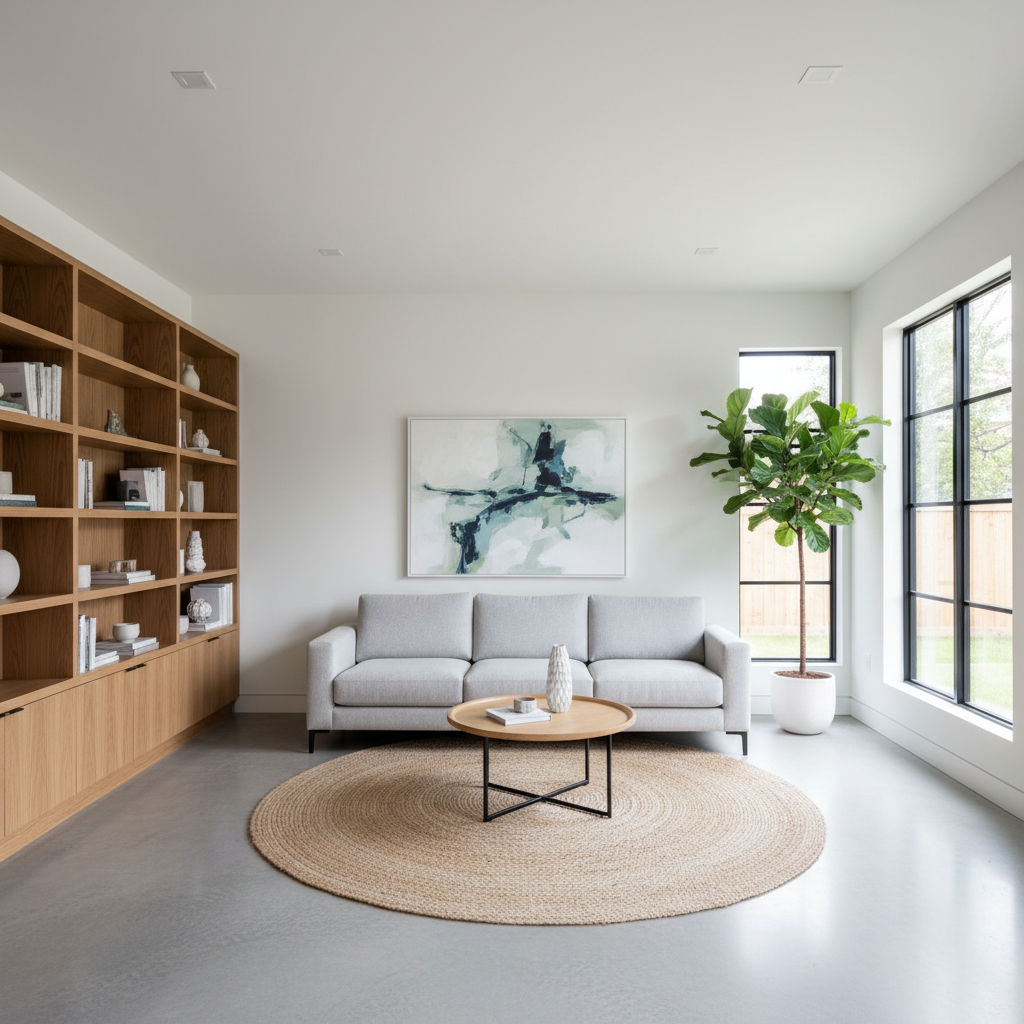
Imagine walking into a previously unused garage, now transformed into a beautiful living space, perhaps an office or a cozy guest room. As a London homeowner, you might be thinking about converting that space, but before you dive into furnishings and décor, there's one crucial aspect you cannot overlook - plasterboarding. In this guide, we'll cover everything you need to know about plasterboarding a garage conversion in London, including techniques, costs, and expert tips.
Why Plasterboard?
Before we delve into the how-tos, let's briefly explore why plasterboarding is integral to your garage conversion project. Plasterboard, or gypsum board, is favored by many builders in London due to its affordability, ease of installation, and soundproofing qualities. Here’s why you should consider it:
- Cost-effective: Compared to traditional plastering, plasterboard can save you money.
- Speedy installation: It can be installed quickly, reducing labor costs.
- Versatile design: You can create different textures and finishes to suit your taste.
Step-by-Step Guide to Plasterboarding Your Garage Conversion
Step 1: Gather Your Materials
Before starting, ensure you have the following materials on hand:
- Plasterboard sheets (standard size: 1200mm x 2400mm)
- Screws (specifically for plasterboard)
- Jointing compound and tape
- Corner beads (for finishing corners)
- Tools: saw, screwgun, tape measure, square, and utility knife
Step 2: Prepare the Garage
Clear out the garage environment. Ensure the walls are clean and dry, and if necessary, seal any damp spots with a moisture-resistant coating. Here’s how you prepare:
- Remove any existing wall fixtures.
- Check for leaks or damages.
- Apply a damp-proof membrane if your garage is prone to moisture.
Step 3: Estimating Costs
In London, expect to budget around £30 to £50 per square meter for materials and labor. For a typical garage conversion of about 20 square meters, you might spend between £600 to £1000. This cost could vary based on labor rates and material choices. Check out our Home - London Plastering Service page for detailed pricing and services offered.
Step 4: Install the Plasterboard
- Measure and Cut: Use a utility knife to score the plasterboard, then snap it along the line. Cut the boards for all the walls.
- Fix the Boards: Start from the top, securing each board to the studs or joists with screws spaced about 300mm apart. Ensure the edges are snug against each other and avoid gaps by staggering the joints between rows.
- Fill and Tape Joints: Apply jointing compound over the seams and place joint tape over them, ensuring a smooth finish.
- Corner Beads: Install corner beads at external corners to protect edges and ensure a professional finish.
Step 5: Finishing Touches
After the plasterboard is installed:
- Apply a second coat of jointing compound, feathering it out to blend into the board.
- Sand smooth after it dries for a seamless surface ready for painting.
For more advanced finishing techniques, such as wall skimming, check out our WallSkimmingLondon services.
Step 6: Painting and Decorating
Once everything is prepped and dry, you can paint or decorate your newly plastered walls. Choose a light color to enhance the natural light within the garage.
Practical Tips for Success
- Plan for Insulation: Consider adding insulation boards before plasterboarding for better thermal regulation, especially in colder months.
- Hire Professionals When Necessary: Don’t hesitate to look for local plasterers if you feel overwhelmed by the job. You can find skilled professionals on our PlasterersNearMe page.
- Choose Moisture-Resistant Boards: Ideal for garages, especially if you live in damp areas of London.
- Keep Safety First: Always wear protective gear when handling tools or dust.
FAQ
What is the average cost of plasterboarding a garage conversion in London?
The average cost ranges from £600 to £1000 for a garage converting around 20 square meters, including materials and labor. Prices can vary based on the size of the job and specific requirements.
How long does plasterboarding a garage conversion take?
Typically, the plasterboarding process can be completed in 1-3 days, depending on the size of the garage and the complexity of the project. If you opt for additional finishes, such as skimming, expect additional time.
Can I plasterboard over existing surfaces?
Yes, you can plasterboard over existing drywall or plaster as long as the surface is structurally sound. Just ensure you secure the new boards adequately to prevent movement and cracking.
Do I need to hire professionals for plasterboarding?
While experienced DIYers can handle plasterboarding, hiring professionals ensures a smoother finish and saves you time and effort. Explore our About - Professional plastering team page to learn about our team.
Conclusion
Plasterboarding a garage conversion is a rewarding DIY project that can enhance your home’s functionality and value. With the right materials, tools, and techniques, you can create a cozy and stylish space. If you’re looking for professional assistance, don’t hesitate to reach out to London Plastering Service for a consultation. Let’s transform your garage into the perfect space tailored to your needs!
Ready to start your garage conversion? Contact us today to schedule a consultation and get expert advice tailored for your project!
Related Plastering Guides & Services
Need Professional Plastering?
Get expert plastering services in London. Free quotes within 60 minutes.