
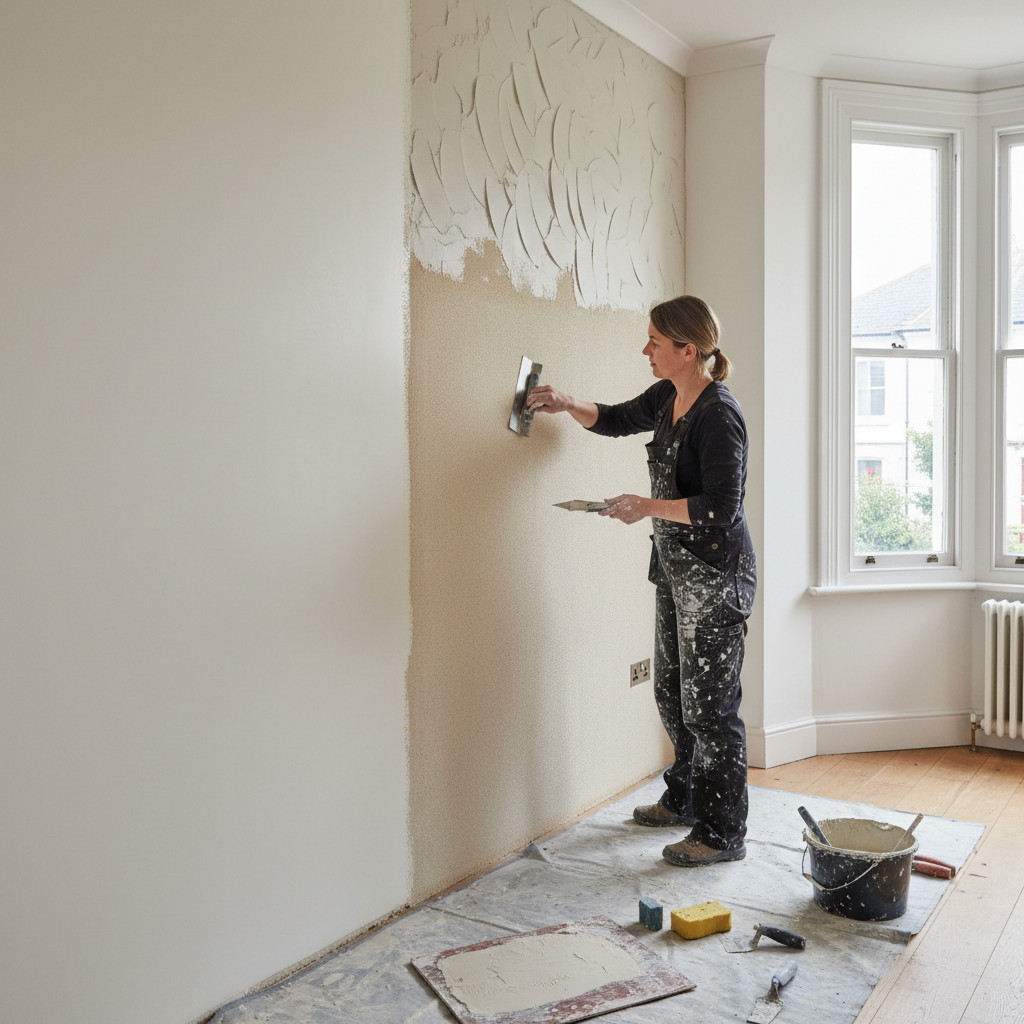
Perfectly Matching Existing Plaster Texture: A Guide
Introduction
Imagine the satisfaction of finally stepping into your newly remodeled room, only to find that the repair work stands out like a sore thumb. The pristine walls gleam, but they are marred by mismatched plaster textures that scream 'we fixed this!' If you’ve ever faced this scenario, you know that matching existing plaster texture is crucial for a seamless look; it transforms a house into a home. In this comprehensive guide, we’ll explore not just the how-to, but the artistry behind matching plaster, ensuring that every space in your London home reflects craftsmanship and attention to detail.
Understanding Plaster Textures
Before diving into the methods of matching textures, let's clarify the different types of plaster textures you might encounter in your home:
- Smooth Finish: Often used in modern interiors, this style is sleek and devoid of any texture.
- Sand Texture: Common in period homes, it has a grainy feel and can hide imperfections well.
- Artex: Popular in the past, this textured style features patterns such as swirls or flowers.
- Knockdown Texture: This type involves smearing and then flattening the plaster, creating a subtle texture that’s eye-catching.
To match the texture, it’s essential to first identify what type you are working with. Take time to examine previously plastered areas, perhaps in a less noticeable spot.
Step-by-Step Guide to Matching Plaster Texture
Here’s how to achieve that perfect match, step by step:
Step 1: Gather Your Tools
You’ll need:
- Plaster (suitable for your specific texture type)
- Trowel and hawk
- Sponge
- Spray bottle with water
- Sandpaper (if needed)
- Texture comb or brush (for finer textures)
Step 2: Prepare the Surface
- Clean down the area that needs matching to ensure there is no dust or loose debris.
- Apply a bonding agent if the existing plaster is old or particularly porous.
Step 3: Mix Your Plaster
Follow the manufacturer’s instructions to achieve the correct consistency. The plaster should be workable yet not too runny—think of thick yogurt.
Step 4: Apply the Base Coat
Use a trowel to apply a thin layer of plaster to the area. This layer should be even and smooth, acting as a base upon which you will build your texture.
Step 5: Match the Texture
- For Sand Texture: Mix fine sand in your plaster before applying it with a trowel. Once on the wall, lightly scrape with a trowel to achieve the right finish.
- For Knockdown Texture: Apply the plaster liberally and use a broad knife or trowel to knock it down after it sets for a few minutes.
- For Artex: Use a comb to create patterns that mimic the existing surface. The key is to work quickly to ensure the plaster doesn’t dry before you achieve your desired texture.
Step 6: Finishing Up
Allow it to dry completely, then gently sand the edges if necessary.
Cost Considerations
When it comes to budgeting, here are some estimates:
- Materials: Expect to pay between £30 to £60 for plaster depending on the texture type.
- Professional Help: Hiring a skilled plasterer in London may range from £200 to £450 for small projects, depending on the area and complexity involved. For the best results, consider reaching out to local plasterers in your area.
Practical Tips for Perfect Texture Matching
- Practice on Scrap: If unsure, practice matching textures on a piece of drywall or a board before applying it to your walls.
- Lighting Matters: Always check your work in different lighting, as shadows can highlight inconsistencies.
- Seek Help: Sometimes, hiring a professional plasterer from London Plastering Service is the best choice for peace of mind and a flawless finish.
FAQ
How do I know what texture to match?
Examine existing plastered areas under natural light. Look for signs such as graininess or smoothness and use this as a guide.
Can I use regular paint on textured plaster?
Yes, but choose a paint with a flat or matte finish to avoid emphasizing the imperfections. Textured walls can absorb more paint, so plan for that when buying your supplies.
How long does plaster take to dry?
Typically, plaster can take anywhere from 24 to 48 hours to dry completely, depending on the thickness applied and ambient conditions.
Should I hire a professional plasterer?
If you're inexperienced or nervous about matching the texture perfectly, hiring a professional team like ours at London Plastering Service can save you time and ensure a seamless finish.
What should I do if the texture doesn’t match?
If your texture doesn’t match initially, don’t worry! You can adjust it while it's still workable or repair it after drying. A skilled plasterer will know how to blend and touch up areas effectively.
Conclusion
Matching existing plaster texture need not be a source of stress or frustration. With the right understanding of textures, some practical tips, and perhaps a little help from our professional plastering team, you can turn mismatched plaster jobs into perfect seamless finishes. If you're ready to take on your plastering project or want to consult with experts, don't hesitate to contact us today! Elevate your home’s aesthetic and reflect your style with flawless plastering workmanship throughout your space.
Explore our blog for more tips and guides on plastering and home renovation!
Room to impress? Reach out to us to schedule your plastering service today!
Related Plastering Guides & Services
Need Professional Plastering?
Get expert plastering services in London. Free quotes within 60 minutes.