
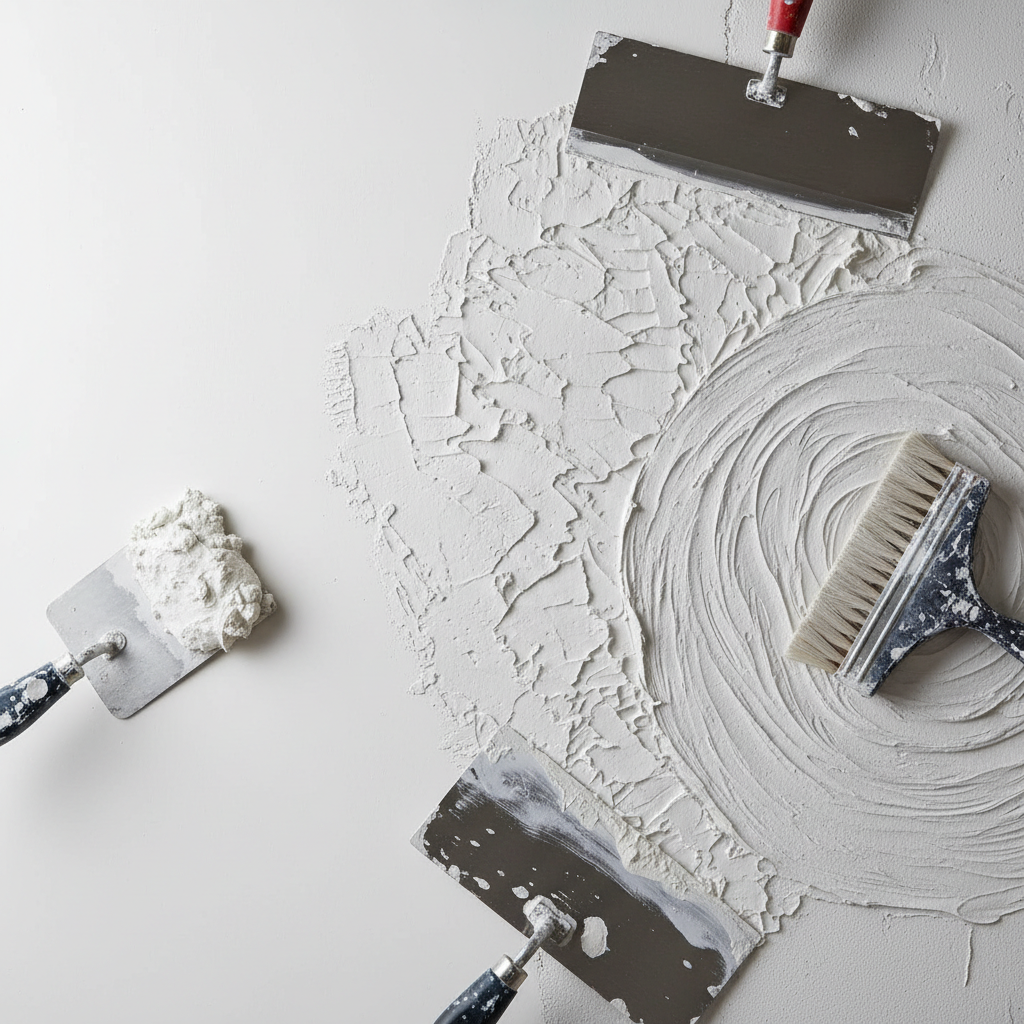
Perfectly Match Your Plaster Texture with These Tips
How to Match Existing Plaster Texture Perfectly
Have you ever walked into a room and felt immediately thrown off balance due to mismatched wall textures? Imagine finishing a fresh wall skim, only to step back and realize the new plaster looks starkly different from its older, established siblings. You’re not alone in this predicament! Many homeowners in London face the same struggle when trying to maintain a consistent aesthetic year after year. A well-matched plaster texture not only enhances the beauty of your space but also preserves its value. In this guide, we’ll explore proven techniques and share insider tips on how to match existing plaster texture perfectly, so your walls look cohesive throughout.
Understanding Different Plaster Textures
To begin, it’s crucial to identify the type of plaster texture you're dealing with. Each texture has its unique characteristics and methods for replication. Here are the most common types found in London homes:
1. Smooth Finish
A classic choice, smooth plastering is often used in modern homes for a clean, sleek look. This finish requires extensive sanding and skill to create a flawless surface.
2. Textured Finish
For a more rustic appearance, a textured finish often incorporates techniques like stippling or combing.
3. Knockdown Finish
This style involves creating a bumpy, uneven look, where the plaster is pushed down after applying for a unique effect.
4. Swirl Finish
Ideal for adding character, this technique uses a swirl pattern that can vary in depth and complexity.
Understanding these styles will guide your matching process. Visit our About page to learn more about our expert plastering services!
Tools and Materials Needed
Before beginning the matching process, ensure you have the right tools:
- Trowel - for applying plaster.
- Sandpaper (various grits) - for smoothing out surfaces.
- Stiff brush or sponge - for texture application.
- Plaster mix - chosen based on existing texture type.
- Water - for mixing and cleaning.
Step-by-Step Guide to Matching Plaster Texture
Follow these steps to achieve a perfect match:
Step 1: Assess the Existing Texture
- Touch and Visual Inspection: Run your hand across the wall to understand its texture. Identify its features: how rough or smooth is it?
- Photograph: Take close-up pictures of the texture for reference.
Step 2: Prepare the New Area
- Clean the Surface: Ensure the area to be plastered is clean and free from dust, grease, or old paint.
- Apply a Base Coat: If necessary, apply a thin coat of primer to help the new plaster adhere well.
Step 3: Create the Texture
- Depending on the type of texture you need:
- For smooth, apply an even layer of plaster with a trowel and smooth it out evenly.
- For textured, use a brush or sponge to dab and create the desired pattern.
- For knockdown, after applying, wait until the plaster is slightly set and knock it down using a trowel.
- For a swirl, use a trowel or brush to create swirling motions while the plaster is still wet.
Step 4: Finishing Touches
- Blend Edges: Feather out the edges where the new plaster meets the existing plaster. This will help in making the transition seamless.
- Allow to Dry: Let the plaster dry completely according to the manufacturer’s instructions before sanding or painting. Typically, this can take 24-48 hours.
Step 5: Sand and Paint
- Once dry, use sandpaper to even out any bumps. Be gentle to avoid removing too much texture.
- After sanding, you can paint the area to match your existing wall color. Choosing a paint with the right sheen can also impact how well the texture blends.
Pricing Considerations
Matching existing plaster texture can vary in cost:
- Materials: Expect to spend around £20-£50 for plaster and tools.
- Labor: If you choose to hire professionals, labor costs can range from £150-£400, depending on the complexity of the work and the area you live in.
Check out our Gallery to see some of our completed projects showcasing various plaster textures across London!
Practical Tips for Success
- Test a Small Area First: Always do a small test patch to ensure the texture matches before full application.
- Seek Professional Help: If you’re uncertain, consult with our local plasterers—they can guide you on the best approach for matching textures.
- Stay Patient: Achieving the perfect match takes time and practice. Don’t rush the process.
FAQ
1. What should I do if I can't match the texture?
If you can't achieve a perfect match, consider applying a uniform texture across the project to create a consistent look. Sometimes, completely re-texturing the wall can be more beneficial for aesthetic purposes.
2. How long should I wait before painting over new plaster?
Typically, you should allow the plaster to dry for at least 24-48 hours, but it's best to follow the specific manufacturer's guidelines for the product used.
3. Can I use any plaster to match my existing texture?
No, it's important to use the same type of plaster used on the existing walls. Different products can shrink or dry differently, leading to mismatched textures. Always opt for high-quality plaster for the best results.
4. Is it cheaper to hire a professional for this?
While DIY can save costs, hiring professionals can ensure that the match is perfect and saves you time. Prices vary, but investing in quality workmanship can pay off in the long run.
5. How do I maintain my plastered walls?
To maintain plastered walls, avoid abrasive cleaners, and dust them regularly. For repairs, it’s best to touch-up with similar plaster as soon damage appears.
Conclusion
Matching existing plaster texture may seem daunting, but with the right techniques and patience, you can achieve stunning results that make your space feel cohesive and well-maintained. Whether you are a homeowner, landlord, or property manager in London, these tips will guide you through the process. If you prefer to leave it to the pros, don’t hesitate to reach out to our London Plastering Service today. We are just a call away and ready to assist you!
Ready to match your plaster like a pro? Get started on your project or book a consultation with our professional team at London Plastering Service today!
Related Plastering Guides & Services
Need Professional Plastering?
Get expert plastering services in London. Free quotes within 60 minutes.