
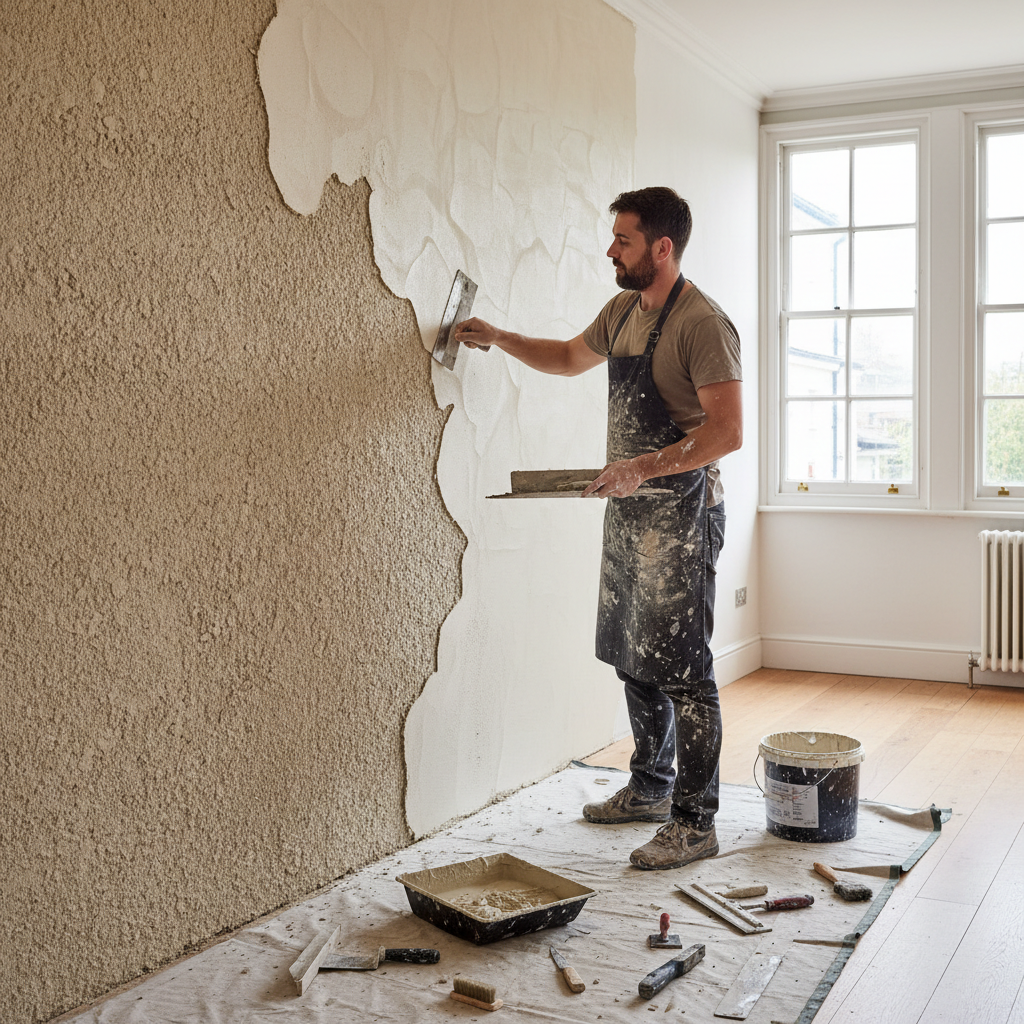
Perfectly Match Your Existing Plaster Texture: A Guide
How to Match Existing Plaster Texture Perfectly
Imagine you're in your bright, beautiful London home, perhaps in a lovely Victorian townhouse in Islington or a modern flat in Shoreditch. You’ve decided to spruce up a room but, upon finishing, you realize the new plastering doesn't quite blend with the existing texture. Suddenly, what should have been a refreshing change feels like a glaring blemish on your decor. If you've been in a similar predicament, you're not alone! Today, we're diving into the nuances of how to match that existing plaster texture flawlessly, ensuring your walls maintain a cohesive and polished look.
The Importance of Matching Plaster Texture
Matching plaster texture is not merely an aesthetic task. Whether you’re renovating a property in Camden or restoring a classic home in Kensington, maintaining a consistent plaster surface is key to achieving a professional finish. When texture mismatches occur, they can:
- Diminish the value of your home.
- Draw the eye away from tasteful decor.
- Reflect poorly on the quality of your renovations.
By understanding the various plaster textures and learning the methods to replicate them, you'll set yourself up for success.
Understanding Different Plaster Textures
Before you start the matching process, it's essential to familiarize yourself with the different plaster textures commonly found in London homes:
1. Flat or Smooth Finish
Often preferred for modern interiors, this texture involves a smooth application without any patterns.
2. Knockdown Texture
A popular choice in older homes, this technique features a stippled effect that is lightly flattened.
3. Stucco Texture
Typical in Mediterranean-style homes, this involves a rougher, more decorative finish.
4. Ornamental Plaster
This texture includes intricate patterns, often seen in higher-end properties or older buildings.
How to Perfectly Match Existing Plaster Texture
Now that you know the types of textures, let’s get down to the step-by-step process for achieving that perfect match.
Step 1: Assess the Existing Texture
Begin by physically inspecting the existing plaster. Here are some pointers to consider:
- Touch and feel: Is it rough, smooth, or patterned?
- Color: Is it consistent in hue? Consider age and wear.
- Extent of Damage: Determine if the damaged area is large enough to warrant a full replaster.
Step 2: Gather Your Tools and Materials
For any plastering job, having the right tools is essential:
- Trowel and Hawk
- Plaster Mix (pro tip: consider using a ready-mixed compound for easier application)
- Spray Bottle (for added moisture when necessary)
- Texture Pads or Brushes (depending on the finish)
- Polishing Tool (for knockdown and other textured finishes)
Step 3: Prepare Your Workspace
Before applying new plaster:
- Move furniture and cover the floor with dust sheets.
- Create ventilation by opening windows. This is particularly important in underground areas typical of locations like Clapham.
Step 4: Mix Your Plaster
Adhere to the manufacturer’s instructions while mixing your plaster. For a replacement layer, a thickness of about 3-5mm is standard. Take heed: the mixed consistency should smoothly flow but hold shape.
Step 5: Apply the Plaster
- Base Layer: Start by applying a base layer to the area requiring attention.
- Texture Application: Depending on your analysis of the existing texture:
- For flat finishes, smooth the surface thoroughly with a trowel.
- For knockdown, apply the plaster using a brush or texture pad and then lightly flatten with a trowel after the surface starts to set.
- For stucco, dab the plaster on with a trowel or your hands for a rough, durable finish.
- Color Matching: If the previous color has faded, consider adding a pigment or paint that closely resembles the existing hue after drying.
Step 6: Finishing Touches
- Sand if necessary: If the surface feels uneven or rough, lightly sand it once fully dried.
- Cleaning Up: Spills should be addressed quickly to avoid hard-to-remove stains.
Step 7: Allow to Cure
Let the plaster cure according to the manufacturer’s instructions, grounding the setting process within a damp environment to avoid cracking.
Practical Tips for Matching Existing Texture
Here are some additional tips to make the process smoother:
- Practice Texturing: If you're uncertain, practice your technique on a scrap piece of drywall first.
- Take Photos: Use pictures of the existing texture as a reference.
- Consult Professionals: If you feel overwhelmed, consider reaching out to our professional plastering team at London Plastering Service for expert advice.
FAQ
What if the new plaster doesn’t match perfectly?
It's common for the plaster to appear slightly different at first. Allow it to cure fully; it may lighten or darken over time. If the mismatch persists, consider painting the entire wall for a uniform look.
How much does it cost to hire a plasterer?
The cost for plastering services in London ranges from £20 to £40 per square meter, depending on the complexity of the work and the area. For high-quality texture matching, expect prices around £25 to £35 per square meter.
Can I do this myself, or should I hire a professional?
It depends on your skill level. While DIY can be rewarding, for optimal results, consider hiring our local plasterers in your area to ensure a flawless finish. Visit PlasterersNearMe to find reliable professionals.
How do I maintain my plastered walls?
Light cleaning with a damp cloth is sufficient for maintenance. Avoid harsh chemicals that could damage the texture, and repoint if you notice any cracks developing over time.
What are some common mistakes to avoid?
Watch out for:
- Not matching moisture levels in the new plaster.
- Rushing the drying process.
- Failing to practice before applying texture on the final surface.
Conclusion
Mastering the art of matching existing plaster texture can elevate your renovations from average to exceptional, ensuring the beauty of your London home shines through. Don’t let mismatched textures ruin your hard work; follow these steps for seamless integration on your walls. If you prefer professional help, our team at London Plastering Service is here to assist you. Contact us today for a free quote and let’s bring your vision to life!
Explore more plastering tips on our blog for additional guidance.
Related Plastering Guides & Services
Need Professional Plastering?
Get expert plastering services in London. Free quotes within 60 minutes.