
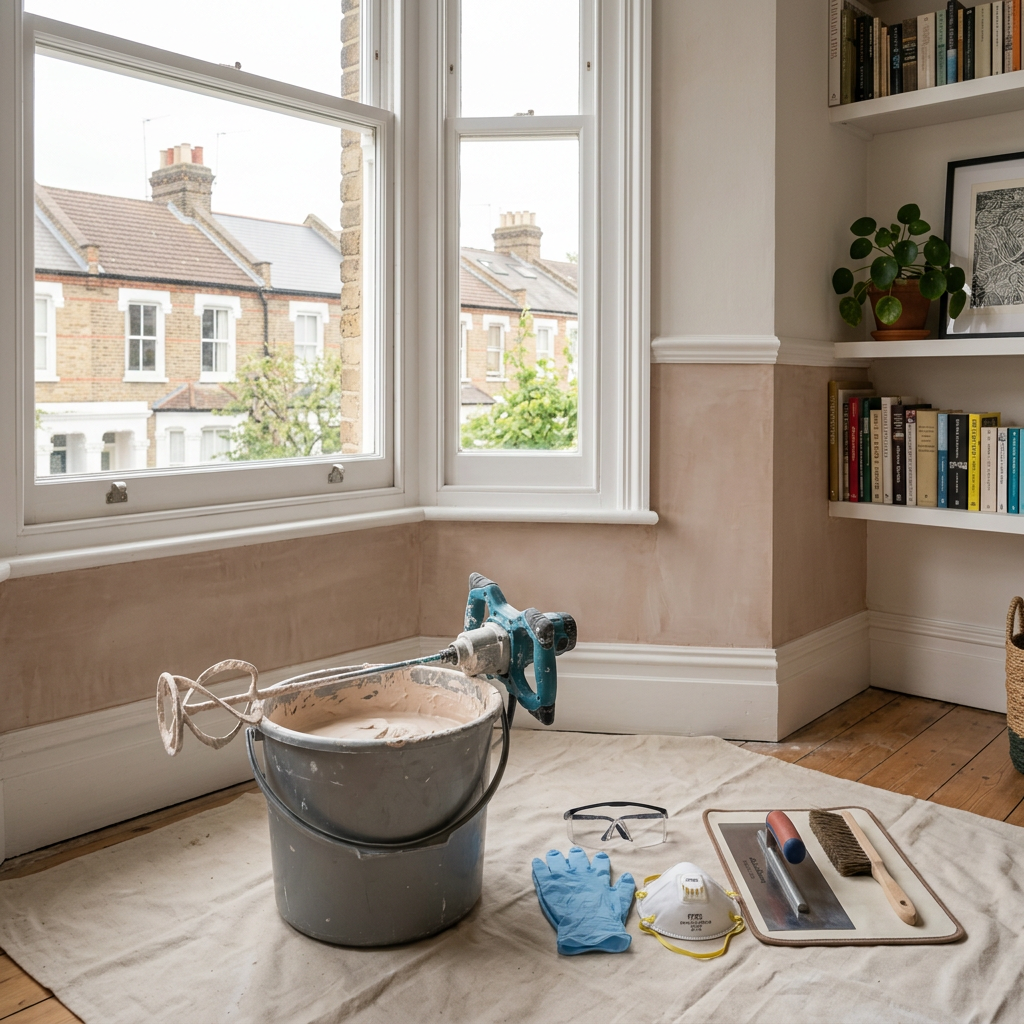
Mixing Plaster: A Step-by-Step Guide for London Homeowners
How to Mix Plaster Correctly: A Step-by-Step Guide
Imagine stepping into your home after a long day at work in bustling London, only to find those pesky cracks and uneven walls staring back at you. You’ve decided it’s time to take matters into your own hands and tackle the plastering job yourself. Mixing plaster correctly is key to achieving a smooth, professional finish, and this guide will walk you through the steps to do just that.
Understanding Plaster and Its Uses
Before we dive into the mixing process, let’s quickly discuss the types of plaster you might use in your London property:
- Gypsum Plaster: Ideal for interior walls and ceilings; it requires minimal curing time.
- Lime Plaster: Perfect for older buildings, allowing for breathability and flexibility.
- Cement Plaster: Excellent for exterior surfaces due to its durability and resistance to moisture.
Knowing which type of plaster is best for your project can save you time and ensure you get the stunning results your home deserves. Ready to learn how to mix it?
Materials You'll Need
Before mixing plaster, gather the following materials:
- Plaster Powder: Depending on your project, you might use gypsum or lime plaster.
- Water: Clean and free of impurities.
- Mixing Bucket: A sturdy, clean container to hold the plaster.
- Mixing Tool: A paddle mixer or a hand mixer will do the job.
- Measuring Cup: To measure both plaster and water accurately.
Step-by-Step Guide to Mixing Plaster
Step 1: Measure Your Plaster and Water
Start by measuring the right amounts of plaster and water. A common ratio for mixing plaster is 2 parts plaster powder to 1 part water. Depending on the surface area you’re covering, it might be helpful to mix in batches:
- For Small Jobs: 1 kg of plaster to 500 ml of water.
- For Larger Jobs: 5 kg of plaster to 2.5 litres of water.
Step 2: Pour Water into the Mixing Bucket
Pour the measured water into your mixing bucket first. This prevents clumping and helps with even mixing.
Step 3: Add Plaster Powder
Gently sprinkle the plaster powder over the water without stirring immediately. Allow it to absorb the water for a minute. This stage is essential as it allows the plaster to hydrate before mixing.
Step 4: Mix Thoroughly
Using your mixing tool, begin mixing the plaster. Start slowly to avoid splattering, and gradually increase your pace:
- For Hand Mixing: Use circular motions and ensure you reach the bottom of the bucket.
- For Paddle Mixing: Turn the mixer on low, then gradually increase speed until you achieve a lump-free consistency.
Step 5: Check the Consistency
Your plaster should be smooth and creamy, similar to the texture of mayonnaise. If it’s too dry, add a little water; if too wet, add a touch more plaster. Always blend these adjustments thoroughly.
Step 6: Avoid Over-Mixing
Once mixed, use your plaster as soon as possible. Plaster sets fairly quickly, especially gypsum plaster, which can harden within 20-30 minutes.
Practical Tips for Mixing Plaster
- Prepare Ahead: Plan your work area, keep all tools within reach, and ensure you have enough time to apply the plaster before it sets.
- Wear Protective Gear: Always wear a mask and goggles to protect against dust and splashes.
- Keep a Damp Cloth Handy: Mistakes can happen! Use a damp cloth for immediate clean-up before the plaster sets.
- Practice: If you’re a novice, practice on a board before tackling your walls or ceilings.
FAQ
1. How long does it take for plaster to dry?
Plaster typically takes 1-2 hours to set, but full drying can take up to 24-48 hours. The drying time varies based on thickness and humidity.
2. Can I mix plaster without a mixer?
Yes, you can mix plaster by hand. Just use a firm mixing tool—like a spatula or a hand mixer—to ensure a smooth consistency. However, for larger batches or more extensive areas, a paddle mixer simplifies the task.
3. What do I do if my plaster is too thick?
If the plaster is too thick after mixing, add a small amount of water and mix again. Gradually adding water avoids over-thinning it. If it sets too quickly or becomes unmanageable, it’s best to start fresh.
4. Are there any specific tips for plastering in damp areas?
Yes, if you’re plastering in a damp area (like bathrooms), consider using a water-resistant plaster. Application in such areas should be done carefully, with good ventilation to avoid moisture issues.
5. How do I know if my walls are ready for plaster?
Ensure your walls are clean, dry, and free of loose material. If needed, apply a bonding agent or primer to prepare them adequately.
Conclusion
Mixing plaster doesn’t have to be daunting. With the right steps and tips, you’ll ensure a smooth application and a beautiful finish to your London home. Whether you’re leveling cracks in your Westminster flat or renovating your humble abode in Hackney, being confident in mixing plaster will surely elevate your project.
For more tips and professional plastering services, feel free to explore our website: Home - London Plastering Service or view our Gallery - View our completed projects. If you find yourself overwhelmed, remember that our About - Professional plastering team is here to assist you!
Ready to get started? Don’t wait—grab your materials, follow these steps, and transform your space today! If you have any questions or want to leave the work to the experts, contact us for a consultation.
Related Plastering Guides & Services
Need Professional Plastering?
Get expert plastering services in London. Free quotes within 60 minutes.