
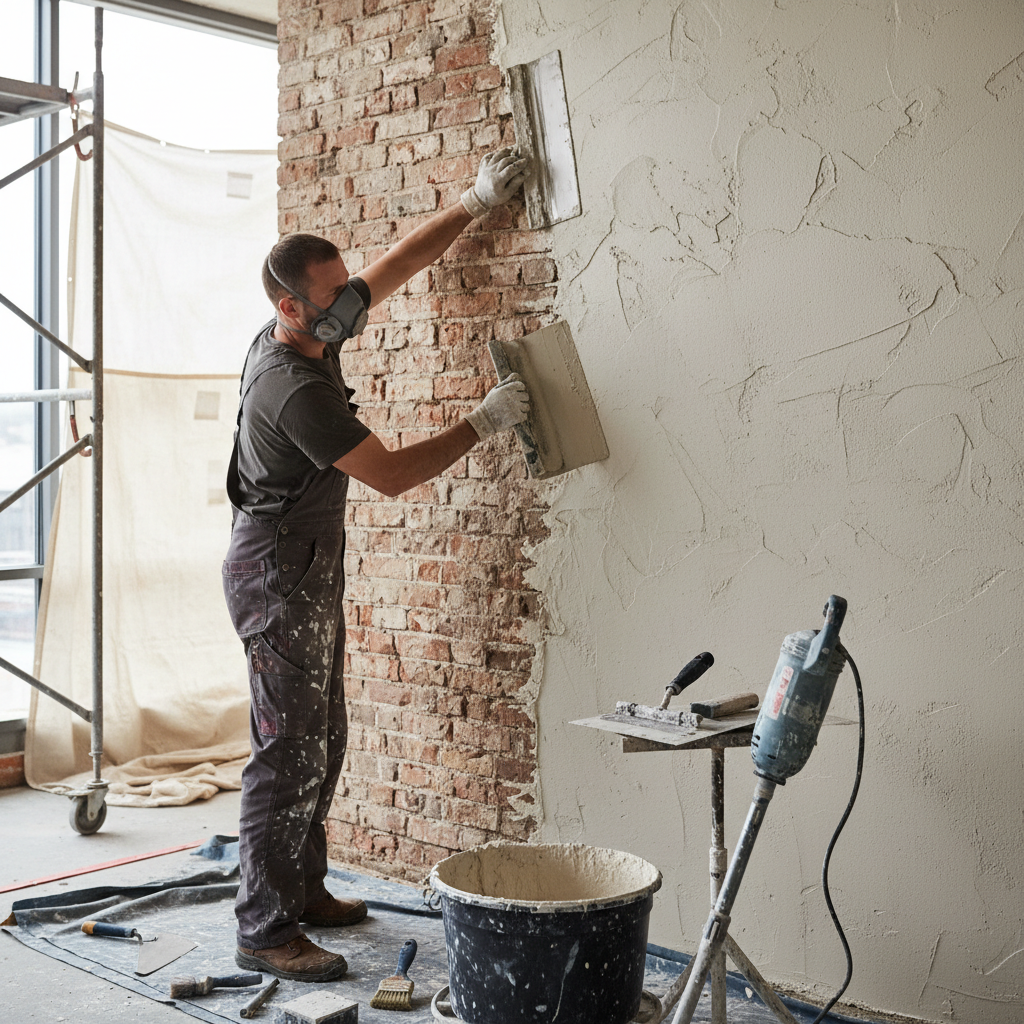
Mastering the Art of Plastering Uneven Brick Walls
The Best Way to Plaster Uneven Brick Walls
Have you ever walked into a room and had your sense of decorum shaken by the sight of uneven brick walls? You’re not alone. Many London homeowners, particularly those in charming historical neighborhoods like Islington or Camden, often face the dilemma of exposed bricks that don’t seem to belong in a well-decorated home. Surprisingly, though, uneven walls can be transformed into a canvas of smooth perfection with the right plastering techniques. In this guide, we’ll delve deep into the best practices for plastering those unsightly uneven brick walls, ensuring your home remains not just functional but a delight to the eyes.
Understanding the Challenge of Uneven Brick Walls
Before we get into the nitty-gritty of plastering, it’s essential to grasp why uneven walls can be problematic:
- Aesthetic Impact: Uneven walls can profoundly affect the charm of your space. Whether it’s a cozy flat near the River Thames or a Victorian terrace in Clapham, smooth walls enhance the ambiance.
- Emotional Effect: The visual chaos of uneven walls can create a sense of disorder, potentially affecting your mood.
- Structural Issues: Uneven walls can indicate deeper issues in older properties, particularly in regions with fluctuating weather conditions.
With this perspective, let’s explore how to bring those uneven walls back to life!
Step-by-Step Guide to Plastering Uneven Brick Walls
Step 1: Assess the Wall Structure
Before commencing your plastering journey, take the time to examine the depth of unevenness in your brick walls:
- Use a Level: Check for high and low spots across the wall.
- Identify Cracks and Gaps: Look for any cracks, gaps, or loose bricks that need addressing.
- Clean the Wall: Brush off dust, dirt, or debris from the wall, as a clean surface is key for adhering plaster.
Step 2: Gather Your Tools and Materials
To plaster like a pro, assemble the following tools and materials:
- Tools: Trowel, plastering float, hawk, sponge, and a mixing bucket.
- Materials: Plaster (such as finishing plaster), bonding agent, and optional sand or additional aggregate for texture.
Step 3: Prepare the Wall
To ensure your plaster adheres correctly, follow these preparatory steps:
- Apply a Bonding Agent: This helps the plaster grip onto the uneven surface. Apply it generously and let it set per the manufacturer's instructions (usually around 30 minutes).
- Mark High and Low Spots: Use a pencil to mark where the wall is uneven, so you can compensate when applying plaster.
Step 4: Apply the Base Coat
- Mix your plaster according to the instructions provided. Aim for a consistency that isn’t too runny or too thick.
- Use a trowel to apply the first coat: Start at the top and work your way down, filling in any gaps and dips. You should aim for a thickness of about 10mm.
- Allow to dry: This usually takes about 24 hours depending on the environment.
Step 5: Finish with the Top Coat
- Mix a finishing plaster that’s smoother and easy to spread.
- Apply the top coat with a trowel, smoothing it over the first coat. This layer should be around 2-5mm thick for the best finish.
- Feather the edges to ensure a seamless look where the plaster meets the wall.
- Use a sponge to add the final touches for a smooth finish.
- Let it dry completely. This may take another 24 hours.
Step 6: Sand and Paint
Once the plaster is dry, lightly sand the walls with fine-grit paper to achieve an ultra-smooth finish. Then, paint with your chosen color or apply wallpaper to give your room that designer touch.
Practical Tips for Successful Plastering
- Work in Sections: Tackling too large of an area can lead to drying issues.
- Keep Your Tools Clean: Clean your trowel and float between stages to avoid contamination.
- Consider Hiring a Professional: For complex or significantly uneven walls, hiring a professional with experience in plastering can save time and give better results. About - Professional plastering team.
FAQ
What is the best plaster for uneven brick walls?
The best plaster for uneven brick walls is finishing plaster, which holds well on various surfaces and allows for a smooth final coat. Brands like Thistle or British Gypsum are popular choices.
How much does it cost to plaster uneven brick walls in London?
The cost of plastering uneven brick walls in London can vary significantly based on wall conditions and area size, typically ranging from £20 to £35 per square meter. For larger areas, it might be beneficial to obtain quotes from local professionals like those at London Plastering Service.
Can I plaster over existing paint on brick walls?
Yes, you can plaster over painted brick walls, but it’s essential to ensure the paint is in good condition. Remove any loose paint and clean the surface to promote adhesive contact.
How long should plaster thoroughly dry before painting?
Plaster typically requires 24 to 48 hours to dry before you can paint over it. Airflow and room humidity can affect drying times, so check for a complete cure.
Can I attempt plastering uneven brick walls myself?
Absolutely! With the right tools, materials, and our detailed guide, you can successfully plaster your uneven brick walls yourself. However, if you’re unsure, consider connecting with a local plasterer for assistance. PlasterersNearMe can help you find local experts.
Conclusion: Take the Next Step Towards Smooth Walls
Uneven brick walls don’t have to be a structural nightmare when it comes to your home. With the right techniques and a bit of patience, you can transform them into smooth, attractive surfaces. If this process feels daunting, remember that help is always available. Our professional plastering team at London Plastering Service is just a call away to assist you with all your plastering needs. Don’t let uneven surfaces hold you back—reach out today for a consultation and watch your home transform into the space of your dreams!
Related Plastering Guides & Services
Need Professional Plastering?
Get expert plastering services in London. Free quotes within 60 minutes.