
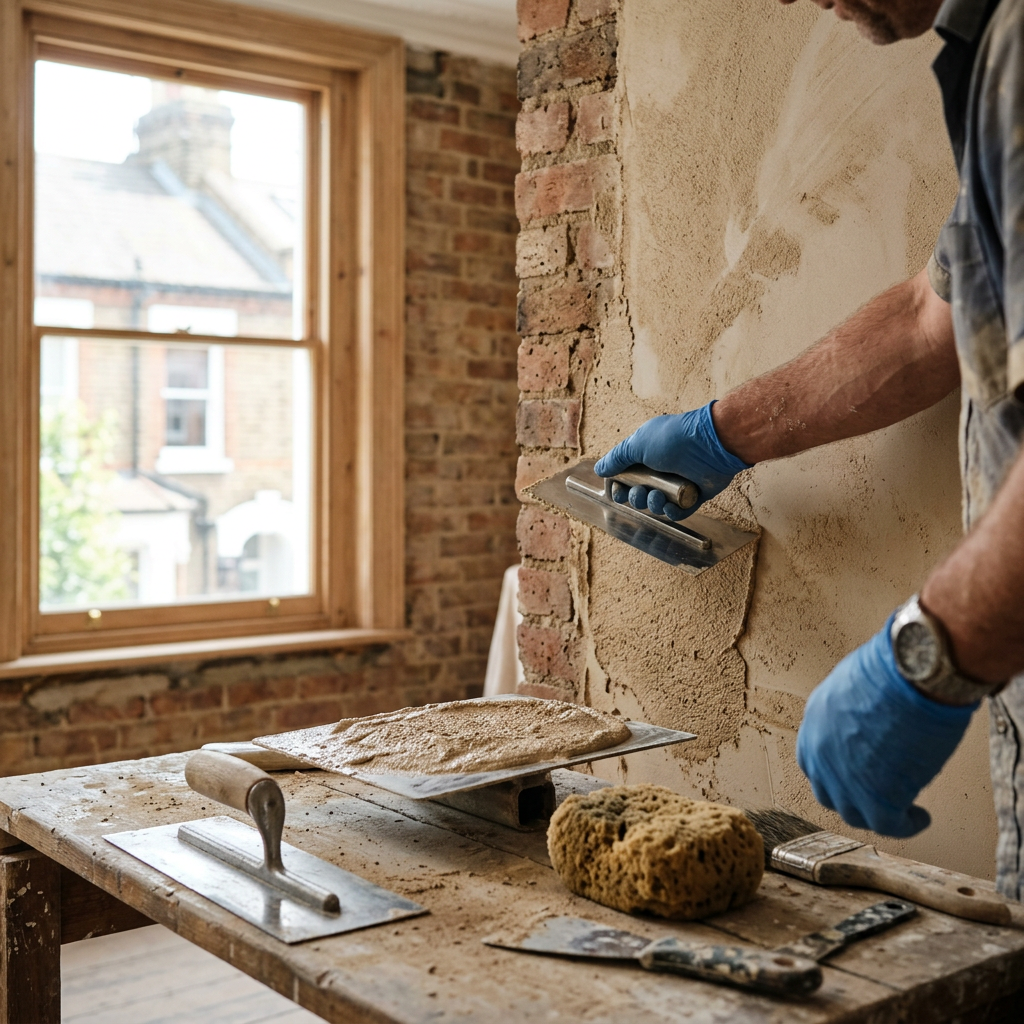
Mastering the Art of Matching Plaster Texture
Introduction
Imagine this: you’ve just finished painting your living room a beautiful shade of blue, but as you admire your handiwork, your eyes drift to a patch of wall that was never quite even. You remember it was repaired months ago but never blended seamlessly with the rest of your textured walls. This is the nightmare of every homeowner who has ever tried to touch up plaster.
Matching existing plaster texture can seem daunting, especially in a bustling city like London, where the styles and techniques vary from one borough to another. Whether you live in a period home in Kensington, a modern flat in Shoreditch, or a cozy cottage in Richmond, achieving that perfect texture can restore the beauty and aesthetic coherence of your space.
In this guide, we'll delve into practical tips and techniques for matching plaster textures like a pro. Plus, we’ll answer some burning FAQs to help you get started. Let’s make that wall look immaculate!
Understanding Plaster Texture Types
Before we dive into the nitty-gritty of matching plaster texture, let’s familiarize ourselves with various plaster textures you might encounter:
1. Sand Finish
- Description: This texture is created by mixing sand into the plaster, giving a rough, gritty feel.
- Application: Commonly used in older homes, especially in residential areas like Camden.
2. Smooth Finish
- Description: A clean, flat surface that is ideal for modern interiors.
- Application: Often used in upscale developments in Chelsea.
3. Knockdown Texture
- Description: This involves applying a textured coat and then 'knocking down' the peaks with a trowel.
- Application: Popular in many London homes from the 1970s and beyond.
4. Stucco
- Description: A thick plaster texture often used outdoors but can be used inside as well.
- Application: Frequently seen in suburban areas like Harrow.
Understanding these textures will help you identify what you need to replicate.
Practical Tips for Matching Plaster Texture
Step 1: Assess the Existing Texture
Take a close look at the area you want to repair:
- Feel it: Run your hand over it to understand its texture.
- Look closely: Use a magnifying glass if necessary to examine the surface and notice the imperfections.
- Take notes: Record details like how coarse or smooth it is, and whether there are any unique patterns.
Step 2: Gather Your Materials
You’ll need the following:
- Plaster mix: Choose a ready-mixed plaster suitable for your texture type.
- Tools: Trowels, spatulas, and textured rollers or brushes.
- Sponge or spray bottle: For moistening your surface before application.
- Sample area: Use thin cardboard as a practice tool to try different techniques before applying directly to the wall.
Step 3: Prepare the Wall
- Clean the area: Remove any dust and debris.
- Moisten the surface: This helps the new plaster adhere better; use a spray bottle to lightly mist the area.
Step 4: Apply the Plaster
For Smooth Finishes:
- Apply the plaster using a trowel in long, even strokes.
- Use a wet sponge to smooth out bumps and imperfections.
For Textured Finishes:
- Employ a brush or roller to mimic the texture of the existing plaster.
- Allow it to set slightly (follow manufacturer's instructions), then use a trowel for knockdown or a sponge for sand finishes.
Step 5: Painting and Finishing Touches
Once your plaster has dried (typically 24-48 hours), you can paint over it with a matching color. Consider using a small brush or roller for direct application.
- Remember to paint a test patch first to make sure it blends in seamlessly!
Cost Considerations
In London, hiring a professional plasterer can range from £15 to £40 per hour or £200 to £600 for day rates, depending on the type of texture and the area you live in. For DIYers, materials alone could cost around £40-£70.
FAQ
1. Can I match plaster texture myself?
Yes! With the right tools and techniques, homeowners can match plaster texture themselves. However, it may take practice to perfect the technique.
2. How long does plaster take to dry?
Generally, plaster takes 24-48 hours to fully dry depending on the thickness and environment.
3. What if my repair doesn’t match?
If your repair isn’t perfect, don’t be discouraged. You can try blending it with the existing texture using sandpaper or additional coats until it matches.
4. Is it worth hiring a professional?
If you’re unsure about your plastering skills or have a large area to cover, consider visiting About - Professional plastering team to find skilled local plasterers who can help.
5. How can I find local plasterers in London?
You can check our PlasterersNearMe section to find reputable plasterers in your area.
Conclusion
In the vibrant and diverse city of London, matching existing plaster texture doesn’t have to be stressful. With the right knowledge and a bit of practice, you’ll be able to restore the beauty of your walls with confidence. Whether you choose to tackle it yourself or hire a trusted professional through London Plastering Service, achieving that seamless finish is within your reach. Don’t forget to check out our Gallery - View our completed projects for inspiration and to see what our team is capable of!
Ready to transform your walls? Contact us today for a quote and let’s get started on your next project.
Related Plastering Guides & Services
Need Professional Plastering?
Get expert plastering services in London. Free quotes within 60 minutes.