
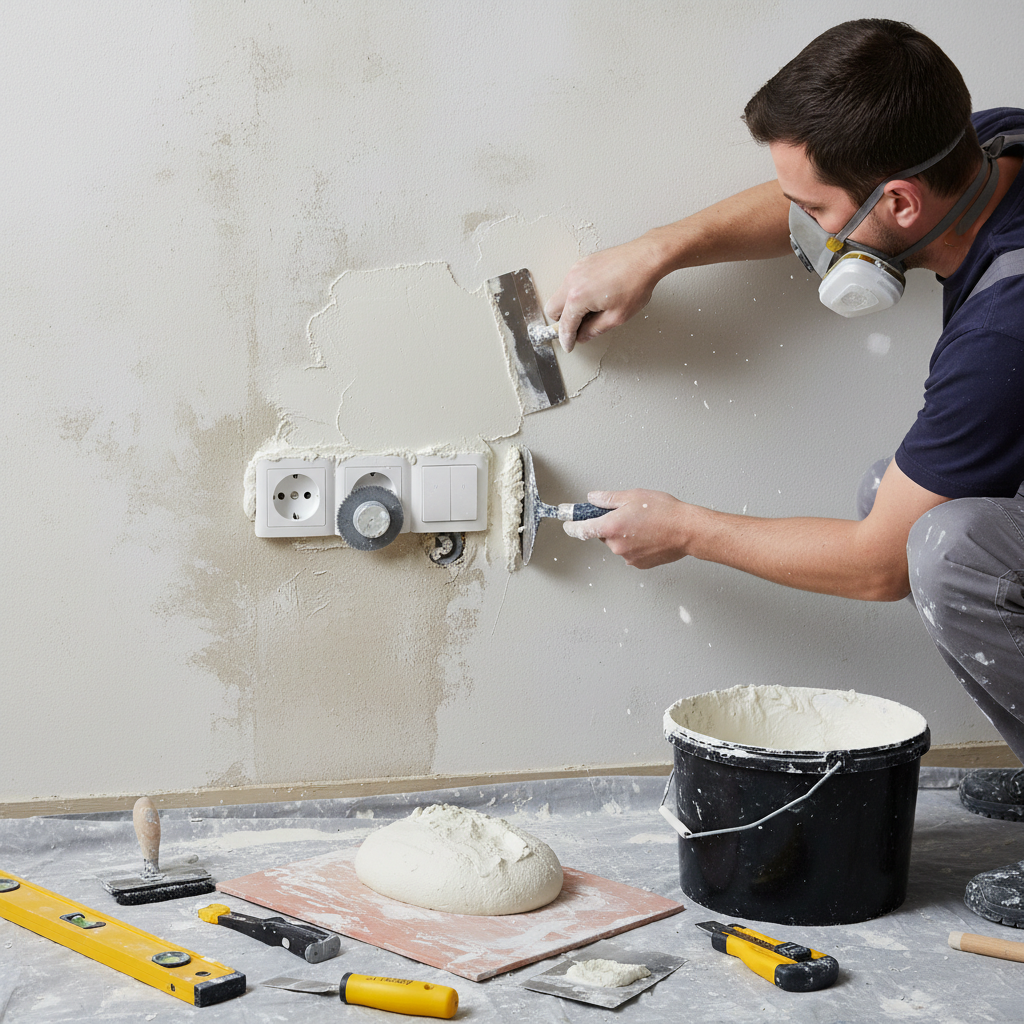
Mastering Plastering Around Sockets and Switches
How to Plaster Around Sockets and Switches
Have you ever noticed how a perfect wall can be ruined by poorly plastered sockets or switches? Many homeowners in bustling London neighborhoods like Kensington or Shoreditch find themselves overwhelmed by small DIY projects that can become frustrating if not executed properly. While these electrical installations are often the last thing on your mind when planning a redecoration, knowing how to plaster around them can make all the difference in achieving a professional finish.
In this comprehensive guide, we’ll walk you through the process of plastering around sockets and switches, share practical tips from seasoned professionals, and answer your burning questions so your walls can shine like brand new!
Why Is Plastering Around Sockets and Switches Important?
Proper plastering not only enhances the aesthetic of your walls but also helps conceal imperfections caused by drilling or installation of electrical fixtures. Mismanaged plastering can lead to visible cracks or gaps, which can detract from the overall appeal of your rooms.
Tools and Materials Needed for Plastering Around Sockets and Switches
Before diving into the plastering process, gather the following tools:
- Plaster (premixed or powder form) - Around £15-£30 for a decent bag.
- Plastering trowel - Essential for applying and smoothing.
- Putty knife - Useful for detailed work around edges.
- Sanding block - For finishing touches.
- Dust sheet - To protect your floors and furniture.
- Masking tape - To create clean lines.
- Wet sponge - For smoothing plaster.
Step-by-Step Guide to Plastering Around Sockets and Switches
-
Preparation
- Turn off the electricity to the sockets and switches to avoid accidents.
- Remove the faceplates of the sockets using your screwdriver, and place them safely aside.
- Clean the area around the switches with a damp cloth to remove any dust.
-
Masking
- Use masking tape around the sockets and switches to ensure a clean edge. This will also protect the electrical fixtures from plaster drips.
-
Applying the Plaster
- Mix your plaster (if using powder form) according to the manufacturer’s instructions. Aim for a consistency that’s easy to spread but not too watery.
- Using your trowel, start applying the plaster around the edges of the socket or switch:
- Press the plaster into the gaps using your trowel to fill any holes or uneven areas.
- If the socket is protruding, apply more plaster until it’s flush with the wall.
- Work your way around, smoothing the plaster as you go.
-
Smoothing the Finish
- Once the plaster is on, take your wet sponge and gently smooth the surface. This helps in creating a polished finish, especially around the edges.
- Remove the masking tape while the plaster is still wet to avoid peeling.
-
Leave to Dry
- Allow the plaster to dry according to the product guidelines. This can take several hours, so plan your work!
- Sand the area lightly after drying if necessary, to ensure a completely smooth finish.
-
Reattach Faceplates
- Once everything is finished and perfectly dry, replace the faceplates. Turn your power back on.
Final Tips for a Professional Finish
- Work in sections: Don’t try to do too much at once. For larger areas, consider plastering around multiple sockets and switches to reduce the workload.
- Practice your technique: If you’re new to plastering, practice on a scrap piece of board to get the hang of using your trowel.
- Choose the right time: Ideal conditions for plastering are when it's not too humid. This helps the plaster set correctly without cracking.
FAQ
What type of plaster should I use for walls with sockets and switches?
A premixed plaster is often easier for DIY projects, but you can also use a setting-type plaster for quicker drying. Just ensure it's suitable for interiors.
How much does it cost to hire a professional for plastering?
In London, hiring a professional plasterer usually costs between £100-£200 daily, depending on experience and location. For larger areas, expect prices to vary based on sq ft.
Can I plaster over the wires safely?
No! Always ensure wires are safely tucked back and not overlaid with plaster. This process should always be handled with the power off and ideally inspected by a professional electrician.
How long does plaster take to dry?
Typically, plaster needs about 24 hours to dry before it's sanded or painted. However, this may vary depending on product specifications and room humidity.
What if I find the plaster cracking later?
Cracks can occur due to settling or temperature changes. Assess the crack; if it's minor, be prepared to fill and sand it out again. For larger issues, consult a professional.
For more plastering tips, check out our Blog page, and remember to have a look at our Gallery to see some of our completed projects!
Conclusion
Plastering around sockets and switches may seem daunting, but with the right tools and techniques, it can easily become your next successful DIY project. Not only do you improve the look of your walls, but you also increase the overall value of your property—a win-win for homeowners in lively areas like Camden or Wimbledon!
If you’re ever unsure or the project feels too big, don’t hesitate to reach out to our professional plastering team at London Plastering Service. We’re here to help you achieve the walls you’ve always wanted. Don’t wait—connect with us today for a consultation or to learn about our services! Visit Home.
Happy plastering!
Related Plastering Guides & Services
Need Professional Plastering?
Get expert plastering services in London. Free quotes within 60 minutes.