
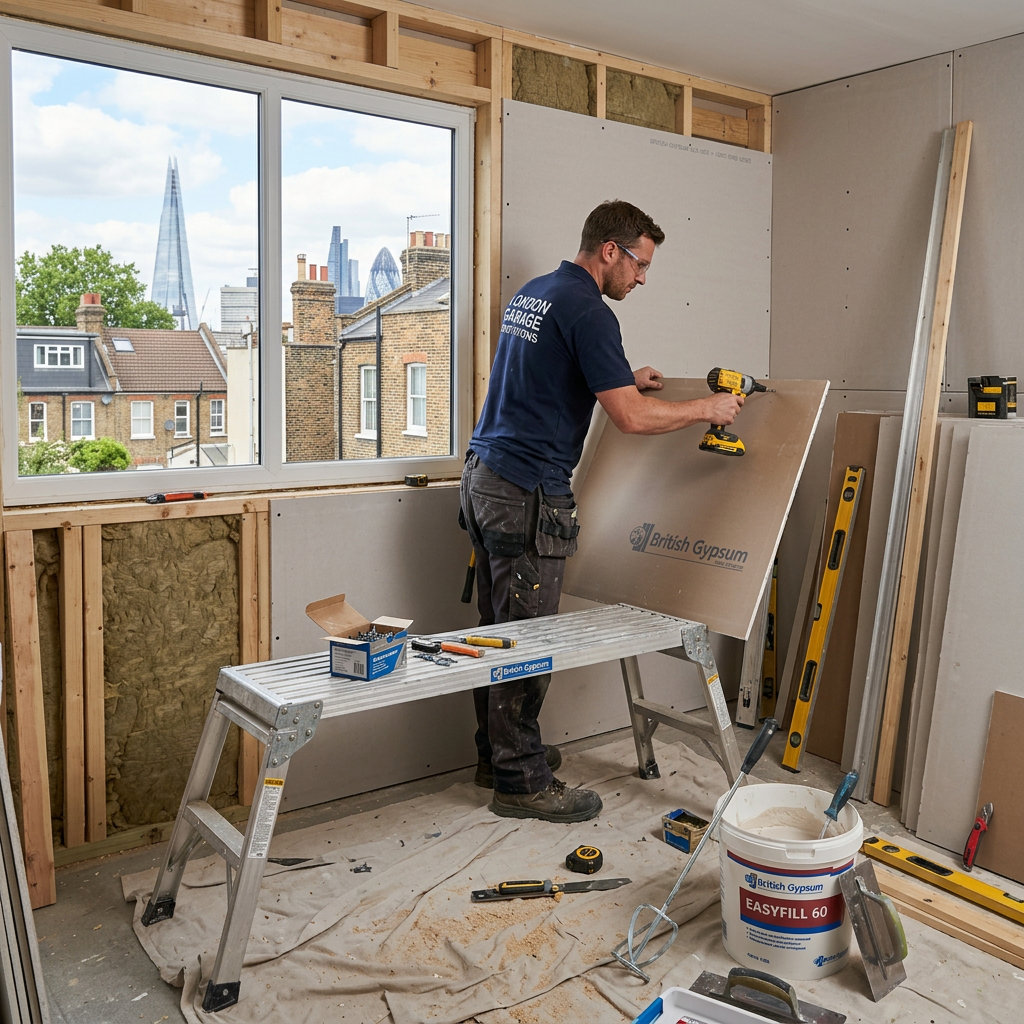
Mastering Plasterboarding a Garage Conversion in London
An Unexpected Journey in Home Transformation
Imagine you live in a bustling terrace house in Clapham, complete with charming brickwork and the faint scent of freshly brewed tea wafting from the kitchen. You’ve always felt that your garage, tucked away at the end of your driveway, could become a brilliant home office—a retreat to escape the chaos of family life and the distractions of the local cafe down the street. However, turning that dream into reality means tackling the often-unseen yet crucial aspect of any conversion: plasterboarding.
What if I told you that learning to plasterboard your garage conversion could change the entire project’s perception, not just structurally, but also aesthetically? The right plasterboarding can make your garage feel like an extension of your home rather than a cold storage unit.
In this comprehensive guide, we’ll explore all the ins and outs of plasterboarding your garage conversion in London. From understanding the materials you need to common pitfalls and practical tips, you’ll learn how to execute this vital task successfully.
Why Plasterboarding is Essential
Plasterboarding, or installing plasterboard (drywall), is a critical part of transforming an unfinished garage into a functional living space. It provides:
- Insulation: Proper plasterboarding ensures your garage stays warm in the winter and cool in the summer, aiding climate control.
- Finish and Aesthetics: A smooth, dry finish on the walls creates a clean canvas for painting and decorating.
- Sound Proofing: Well-installed plasterboards can minimize noise, offering a quieter workspace.
The Step-by-Step Process of Plasterboarding
Step 1: Gather Your Materials
To start, you’ll need to purchase the following:
- Plasterboard sheets (about £8-£12 each, available at local suppliers like B&Q or Wickes)
- Drywall screws
- Joint tape
- Joint compound (also known as mud)
- A drywall saw
- A T-square and utility knife
- A drill/screwdriver
Step 2: Measure and Cut
- Measure your garage walls: Accurate measurements will ensure you buy only what you need and minimize waste.
- Cut the plasterboard: Use a T-square and utility knife for straight cuts, scoring the board and snapping it along the line.
Step 3: Install the Plasterboard
- Start from one corner of the garage and work your way around the room, using the drywall screws to secure the boards to your wooden or metal stud framework.
- Make sure to stagger the seams of the boards to add more strength.
- Leave a gap at the floor for expansion and moisture control.
Step 4: Tape and Mud the Joints
- Apply joint tape over the seams where two plasterboard sheets meet.
- Using a putty knife, cover the tape with joint compound, feathering the edges to prevent visible seams.
Step 5: Sand and Finish
- Once the joint compound is dry, sand it down for a smooth finish, then paint or decorate as desired.
Practical Tips for Successful Plasterboarding
- Choose moisture-resistant plasterboard for a garage, especially if you anticipate damp conditions.
- Consider hiring local professionals like London Plastering Service for a flawless finish and to save time.
- Don’t rush the mudding process; allow adequate drying time to avoid issues later.
Common Pitfalls to Avoid
- Not measuring correctly: This can lead to wasted materials and increased costs.
- Ignoring insulation: Ensure you have proper insulation behind the boards to keep the temperature regulated.
- Neglecting safety: Always wear protective gear when cutting plasterboard.
FAQ
1. How long does it take to plasterboard a garage conversion?
The time it takes can vary depending on the size of your garage and your level of experience, but typically, it can take anywhere from a day to several days. Allow extra time for drying joint compound between layers.
2. Do I need a permit for a garage conversion in London?
Yes, you might need a permit, especially if structural changes are made. It’s best to check with your local council in boroughs like Lambeth or Hammersmith.
3. What is the average cost of plasterboarding a garage conversion?
The cost largely depends on the size of the garage and materials used but expect around £500-£800 for both materials and labor for a standard-sized garage.
4. Can I do plasterboarding myself?
Absolutely! With proper tools and guidance, many homeowners can successfully plasterboard. However, for a professional finish, hiring experts like those found on PlasterersNearMe might be beneficial.
5. What type of plasterboard should I use for a garage?
Use moisture-resistant plasterboards, especially for garages susceptible to dampness. These boards help protect against mold growth.
Conclusion
Transforming your garage into a livable space can bring significant value and enjoyment to your home. By understanding the plasterboarding process and following our expert tips, you’ll be well on your way to creating a beautiful and functional area that enhances your daily life.
Remember, if you ever feel stuck or want to ensure the job is done right, consider reaching out to professionals at London Plastering Service. We’re here to make your dream garage conversion a reality!
Ready to start your project? Contact us today for an estimate and take the first step towards transforming your garage into the perfect living space.
Related Plastering Guides & Services
Need Professional Plastering?
Get expert plastering services in London. Free quotes within 60 minutes.