
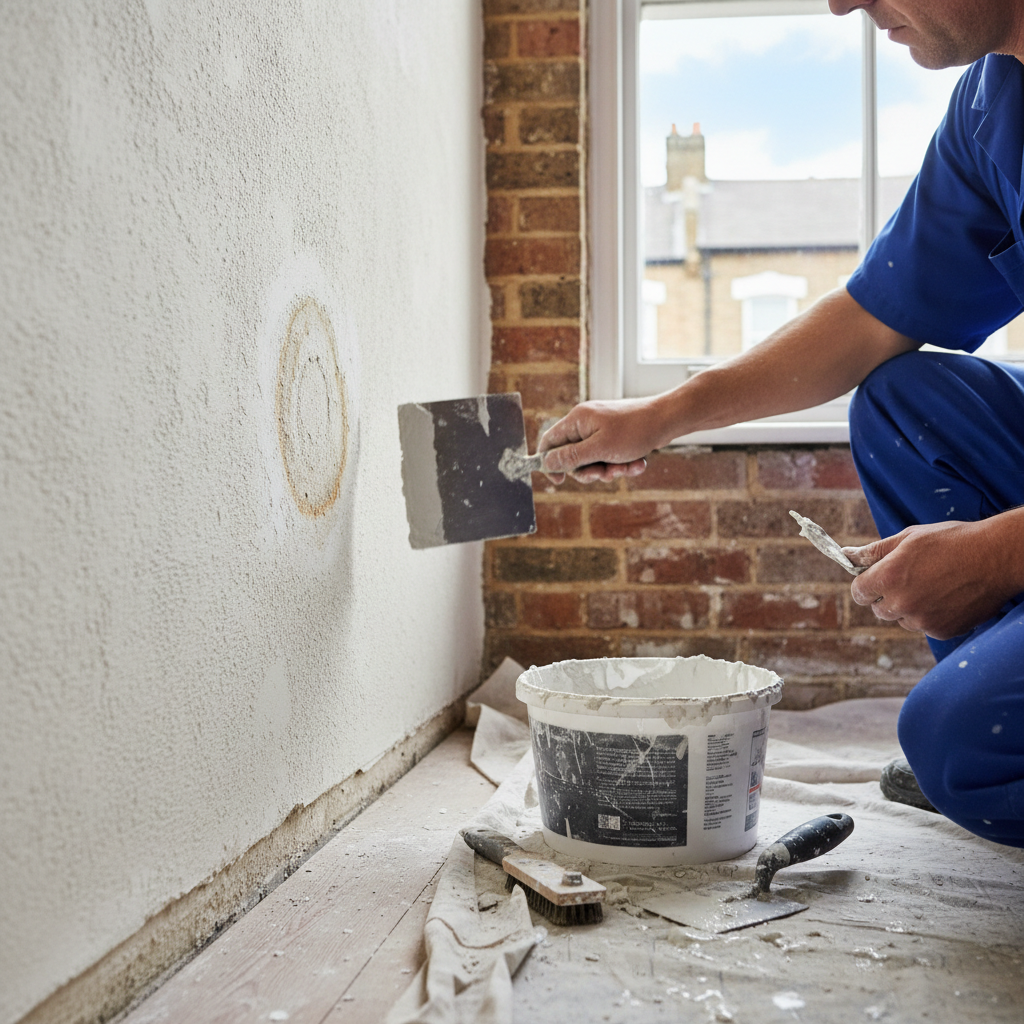
Mastering Plaster Repair After a Pipe Leak in London
The Aftermath of a Pipe Leak
Imagine waking up to the sound of dripping water from a neglected pipe. This common scenario often leaves homeowners in a panic, worrying not just about the immediate leak but the damage it may cause to the walls and plaster of their beloved homes. Here in London, the hustle and bustle of daily life makes it easy to overlook small leaks until they become significant plaster disasters. In this detailed guide, we'll walk you through effective plaster repair after a pipe leak, ensuring your home retains its charm and integrity.
Understanding the Impact of Pipe Leaks on Plaster
Pipe leaks can cause extensive damage to both your walls and the plaster that coats them. The moisture from a leak can:
- Weaken the plaster: Over time, prolonged exposure to moisture can lead to the deterioration of plaster, causing it to crack and flake away.
- Foster mold growth: A damp environment provides the perfect breeding ground for mold and mildew, further complicating repairs and potentially affecting indoor air quality.
- Cause structural issues: In severe cases, water damage can compromise the structural integrity of your home.
Signs of Damage to Look For
As a homeowner in London, particularly in historic boroughs like Islington, Camden, or Kensington, it’s crucial to be vigilant. Look for these signs of plaster damage after a pipe leak:
- Discoloration: Yellow or brown stains on walls are often indicative of water damage.
- Cracking or Peeling: Noticeable cracks or peeling paint and plaster signifies underlying issues.
- Mold or Mildew: Green or black patches can be an indication of mold growth due to persistent damp.
The Repair Process: Restoring Your Walls
Step 1: Assess the Damage
Before starting any plaster repair, assess the extent of the damage:
- Identify the leak: Determine where the leak originated and ensure it has been fixed to prevent future issues.
- Evaluate the affected area: Check for mold and decide whether you need to call a professional for the full extent of damage.
Step 2: Gather Your Tools and Materials
For effective plaster repair, you'll need the following:
- Plaster or plaster repair compound
- Trowel
- Sandpaper
- Primer and paint
- Mold inhibitor (if necessary)
- Protective gear (gloves and mask)
Step 3: Prepare the Area
- Clear the area: Move furniture and cover floors with drop cloths to protect from falling debris.
- Remove damaged plaster: Using a trowel, chip away any loose plaster until you reach stable plaster. This ensures a solid foundation for your repairs.
- Clean the surface: Make sure to remove any dirt, dust, or mildew with a damp cloth. For mold, use a mildew solution to treat the area.
Step 4: Apply New Plaster
- Mix your plaster: Follow the manufacturer’s instructions to mix plaster or repair compound.
- Apply the plaster: Using a trowel, apply the new plaster to the damaged area, smoothing it out evenly.
- Layering if necessary: Depending on the depth of the repair, you may need to apply multiple layers. Let each layer dry before adding another.
Step 5: Finishing Touches
- Sand the surface: Once dry, use sandpaper to smooth out the surface to match the surrounding wall.
- Prime and paint: Apply primer before painting to ensure even color and adherence. Use paint that matches your existing wall color for a seamless look.
Practical Tips for Longevity
- Regularly check pipes: Schedule routine inspections to catch leaks early.
- Ensure proper ventilation: Good airflow helps reduce moisture buildup that can lead to leaks and mold.
- Consult professionals: If repairs seem extensive, don’t hesitate to call in our professional plastering team at London Plastering Service for expertise and help.
FAQ
What causes a pipe leak?
Pipe leaks can occur due to corrosion, joint failures, temperature fluctuations, or excessive water pressure. Regular maintenance is essential to avoid unexpected issues.
How quickly should I repair plaster damage after a leak?
It’s crucial to address any plaster damage immediately after identifying a leak to prevent further deterioration and mitigate mold growth.
Can I DIY plaster repair?
Yes, homeowners can successfully DIY minor repairs using the steps outlined above. However, for significant damage or complex repairs, consider hiring professionals for a lasting solution.
How much will plaster repair cost in London?
Costs can vary significantly based on the extent of the damage. Minor repairs might range from £100 to £300, while more complex projects may cost between £400 and £800. Always seek quotes from local plasterers in your area.
What can I do if mold appears after a leak?
If mold develops, it's expertly recommended to remove it safely. Clean the affected area with antifungal solutions and ensure the underlying moisture issue is resolved. For larger infestations, a professional should handle the remediation.
Conclusion
A pipe leak can be a daunting experience, but with the right knowledge and tools, you can restore your plaster walls effectively. With our guide, London homeowners can take charge of their plaster repair after a pipe leak and bring their walls back to life. If you're feeling overwhelmed or the damage seems too extensive, don’t hesitate to contact us at London Plastering Service for professional assistance. Our dedicated team will ensure your home not only looks great but is also structurally sound. Don’t wait — start your repair journey today, or check out our gallery of completed projects for inspiration!
Related Plastering Guides & Services
Need Professional Plastering?
Get expert plastering services in London. Free quotes within 60 minutes.