
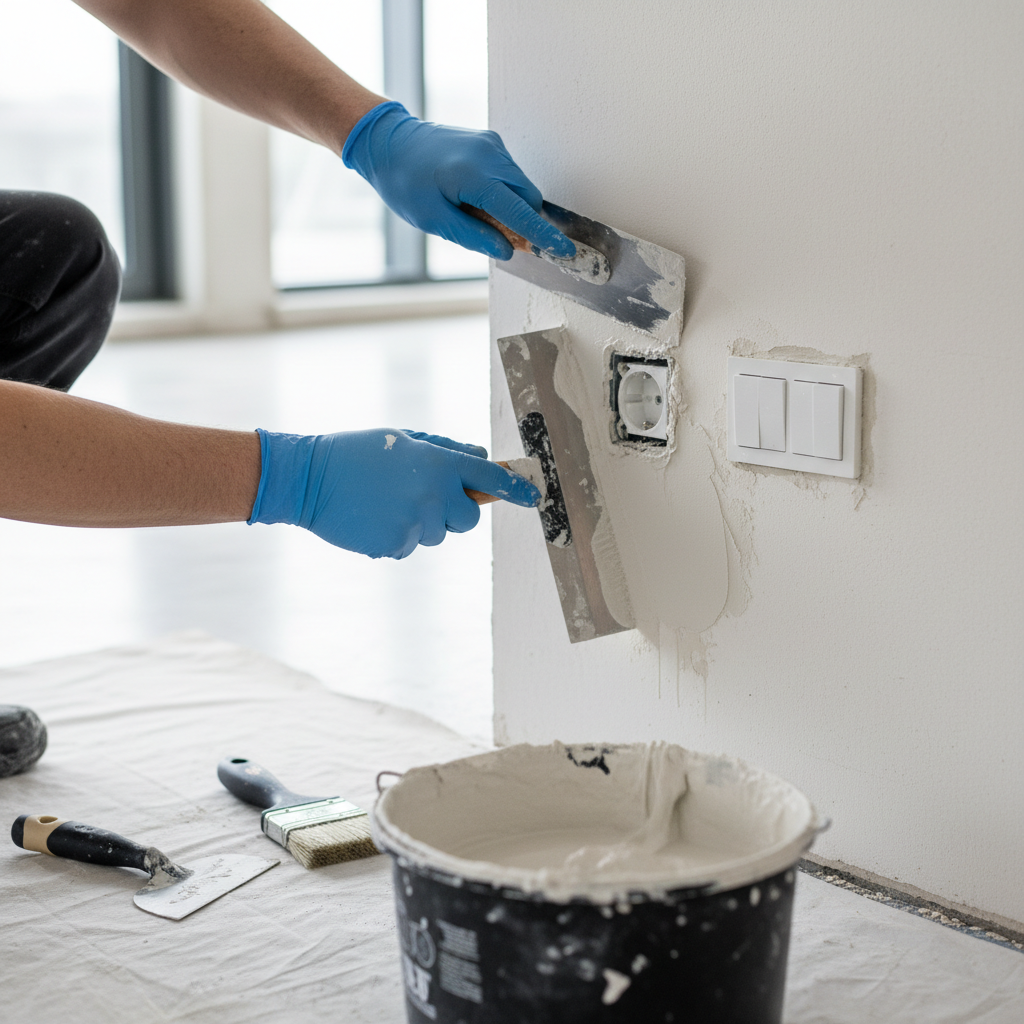
Mastering Plaster Around Sockets and Switches
Mastering Plaster Around Sockets and Switches
Imagine this: you’ve just finished painting your newly plastered walls, and as you step back to admire your handiwork, you notice rough patches and uneven plaster around the sockets and switches. Frustrating, isn’t it? Properly plastering around these areas can transform not only the look but also the durability of your walls. Join us as we explore the techniques to master this essential DIY skill, providing you with all the tips and tricks you need to get it right!
Why Proper Plastering Around Sockets and Switches Matters
Plastering around sockets and switches may seem trivial, but it has a significant impact on the overall finish of your walls. Poorly plastered areas can:
- Affect Aesthetics: Uneven surfaces make your walls look unfinished and detract from the room's decor.
- Cause Future Problems: Gaps can lead to moisture damage over time, affecting the integrity of your electrical fixtures.
- Impact Value: For landlords and property managers, poorly finished work can lower rental appeal and property value.
With the right techniques, you can achieve a professional finish, ensuring your home in London, whether in urban areas like Shoreditch or leafy suburbs like Richmond, looks its best.
Tools and Materials You’ll Need
Before diving into the plastering process, it’s essential to gather your materials. Here's what you'll need:
- Tools:
- Plastering trowel
- Sponge and water
- Feather edge or straight edge
- Utility knife for trimming
- Plastering float
- Materials:
- Ready-mixed plaster or finishing plaster
- Primer for the walls
- Safety Gear:
- Dust mask
- Safety goggles
Step-by-Step Guide on How to Plaster Around Sockets and Switches
Plastering around sockets and switches requires careful preparation and a steady hand. Follow these steps for a seamless finish:
Step 1: Prepare the Area
Begin by switching off the power supply to the sockets and switches you'll be working around. Remove the faceplates with a screwdriver and secure the wires with electrical tape to prevent any accidents. It’s essential that your workspace is safe before you start.
Step 2: Clean the Surface
Use a damp sponge to clean the area around the socket. Remove any old plaster, paint, or dust to ensure a smooth bond with the new plaster.
Step 3: Apply the Primer
To enhance adhesion, apply a thin layer of primer around the edges of the socket or switch. This step is especially important for newly plastered walls. Let it dry completely before proceeding.
Step 4: Mix the Plaster
According to the manufacturer's instructions, mix your plaster until it reaches a creamy consistency. Avoid mixing too much at once to prevent it from drying out before you use it.
Step 5: Plastering Technique
- Apply Initial Layer: Using your trowel, apply a thin layer of plaster around the socket or switch. Start from the top and work your way down, feathering the edges to blend with the surrounding wall.
- Build Up Layers: If necessary, apply a second coat after the first layer has set slightly. Build up the plaster to match the surrounding wall’s thickness.
- Smooth the Finish: Use a plastering float to smooth the surface. Be careful not to overwork the plaster, which can lead to further imperfections.
Step 6: Final Touches
After the plaster has dried (this usually takes a few hours), you may need to sand down any rough areas lightly. Once satisfied, reinstall the socket or switch faceplates.
Step 7: Clean Up
Dispose of any plaster waste and clean your tools immediately, as dried plaster can be difficult to remove.
Practical Tips for Perfect Plastering
- Practice Makes Perfect: If you’re new to plastering, consider practicing on a less visible area first.
- Use the Right Amount of Plaster: Don’t overload your trowel. A thin layer usually works best.
- Work in Small Sections: To avoid plaster drying out during application, work in manageable sections.
- Temperature Matters: Avoid plastering in extreme temperatures as this can affect curing. Ideal conditions are around 15-20°C.
FAQ
Q1: How long does it take for plaster around sockets to dry?
A1: Typically, plaster takes about 24 to 48 hours to dry completely. However, this can vary based on humidity levels in your area and the thickness of your application. Ensure your room is well-ventilated to aid the drying process.
Q2: Can I plaster directly over the socket box?
A2: It’s best to avoid plastering directly over the socket box itself, as this can interfere with the fitting and wiring. Instead, plaster around the box, leaving it clear for reinstallation of faceplates.
Q3: What if I’m unsure about my plastering skills?
A3: If you feel unsure about performing the task yourself, consider hiring professionals. At London Plastering Service, we offer expert services that ensure a flawless finish.
Q4: Can I do this in a rented property?
A4: Yes, but always obtain permission from your landlord before making any alterations to the property. It is essential to return the property to its original condition when you vacate.
Q5: What is the average cost for a professional to plaster around sockets?
A5: Prices can vary, but expect to pay between £100 to £300, depending on your location in London and the complexity of the work. For an accurate estimate, reach out to local plasterers. Check our PlasterersNearMe page for nearby services.
Conclusion
Successfully plastering around sockets and switches is a skill that enhances your home’s finish while protecting your electrical systems. Armed with the right tools and the steps outlined above, you can tackle this job with confidence. Whether you're updating a single room or prepping for a larger renovation, these techniques will ensure that your final result is flawless.
If you find yourself overwhelmed or short on time, don’t hesitate to contact us at London Plastering Service for professional help in your plastering projects. Let’s give your home the polished look it deserves!
Ready to take on your next plastering project? Let’s get started!
Related Plastering Guides & Services
Need Professional Plastering?
Get expert plastering services in London. Free quotes within 60 minutes.