
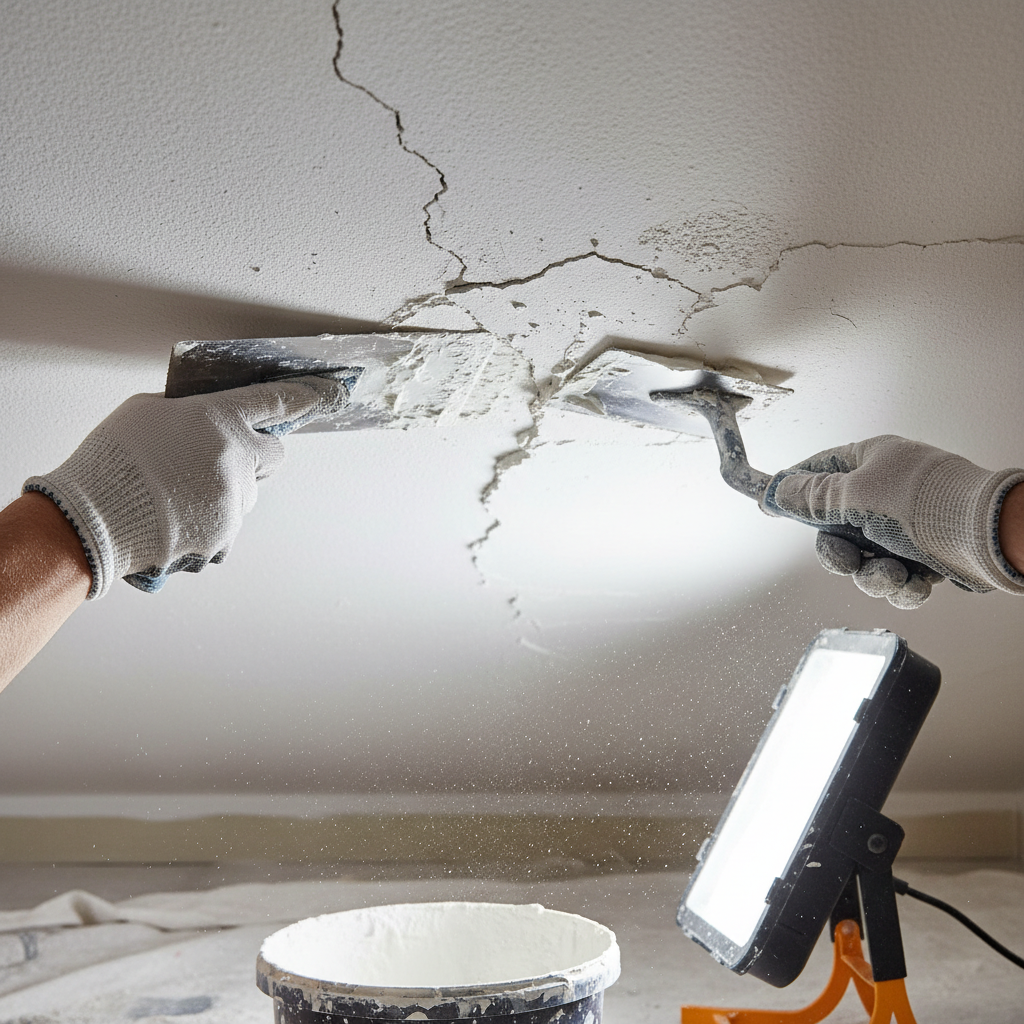
Mastering Ceiling Plaster: Fixing Cracks Before Decorating
Introduction
Imagine this: you’ve planned a lovely evening to decorate your living room in your London flat, perhaps in a trendy borough like Shoreditch or a more classic area like Hampstead. You’ve picked the perfect paint colour, set up your brushes, and suddenly, you notice it. The ceiling above you is marred by unsightly cracks, the remnants of an old issue you thought was out of sight, out of mind. Frustrating, isn’t it?
Cracks in ceiling plaster aren’t just unattractive; they can signal deeper issues within your property. Before you begin your decorating project, addressing these cracks is crucial for a flawless finish. Fortunately, fixing ceiling plaster cracks is a manageable DIY task that, with a little guidance, can save you both time and money.
In this blog post, we’ll delve into the types of cracks you might encounter, how to fix them, and some expert tips to ensure your ceiling is ready for that fresh coat of paint. Let’s bring your ceiling back to life!
Understanding the Types of Ceiling Plaster Cracks
Before grabbing your plaster and tools, it’s essential to identify what type of crack you’re dealing with. Here are the main categories:
1. Hairline Cracks
These are very thin cracks, often just a millimetre or so wide. They may be due to normal settling of the building or minor temperature fluctuations.
2. Shrinkage Cracks
Commonly seen in newly plastered surfaces, these cracks occur as the plaster dries and contracts. These often appear as straight lines.
3. Structural Cracks
These are wider and can indicate underlying issues such as a settling foundation or water damage. It’s crucial to address these thoroughly, possibly with the help of professionals like London Plastering Service.
4. Cracks Due to Moisture Damage
Often caused by leaks or humidity, these cracks can worsen if not addressed promptly. If you notice a discoloration around the crack, it’s a good idea to investigate the source of moisture.
Tools and Materials Needed
Before you start fixing those cracks, gather your tools and materials:
- Plaster filler or joint compound – for filling the cracks.
- Putty knife – to apply the plaster filler.
- Sandpaper – to smooth the surface after fixing.
- Primer and paint – to finish off your newly repaired ceiling.
- Ladder – to reach high areas safely.
Step-by-Step Guide to Fixing Ceiling Cracks
Step 1: Prepare the Area
- Safety First! Move any furniture away from the area to protect it from dust.
- Lay down a drop cloth to catch debris and plaster.
- Ensure adequate lighting to see the cracks clearly.
Step 2: Clean the Cracks
- Use a utility knife to carefully open up the crack slightly, creating a V-shape. This allows the filler to adhere better.
- Clean out any loose debris or dust from the cracks to ensure a good bond.
Step 3: Apply the Filler
- Using your putty knife, fill the crack with plaster filler. Press the filler firmly into the crack to fill it completely.
- Smooth the surface with the knife, feathering the edges to blend with the existing plaster.
Step 4: Let it Dry
- Allow the filler to dry as per the manufacturer’s instructions; typically, this can take a few hours.
Step 5: Sand and Prime
- Once dried, sand the filled areas until smooth, ensuring they are flush with the ceiling.
- Wipe away dust and apply a primer to seal the new plaster, allowing it to dry.
Step 6: Paint
- Finally, use the paint of your choice to cover the area. Consider using a ceiling-specific paint to ensure durability.
Practical Tips for Success
- Conduct Regular Checks: Monitor for any new cracks after repairs.
- Stay Observant: Check your ceilings after heavy rainfall or changes in the seasons, as these can exacerbate existing issues.
- Ask for Help: If the crack is large or you suspect structural issues, consult professionals like PlasterersNearMe to ensure the problem is correctly diagnosed.
FAQ
1. How much does it cost to fix ceiling cracks?
The cost varies depending on the severity and size of the cracks. Minor repairs can cost around £50 to £100, whereas larger, structural issues might range from £200 to £500 or more, especially if skilled plasterers are needed.
2. Can I paint over cracked plaster?
It's essential to repair the cracks first before painting. Painting over cracks can lead to further issues as the underlying problem persists, and it often leads to a poor finish.
3. What tools do I need to repair ceiling cracks?
Basic tools include a putty knife, plaster filler, sandpaper, and safety equipment like goggles and a dust mask. A ladder is also necessary to reach high ceilings safely.
4. How can I tell if a crack is serious?
If the crack is wider than 1/8 inch, has a significant gap, or reappears shortly after repair, it can be a sign of a serious structural issue, and you should consult a professional.
5. Should I hire a professional?
For minor hairline and shrinkage cracks, DIY is usually sufficient. However, for structural or significant damage, it’s best to consult a team like About - Professional plastering team.
Conclusion
Fixing cracks in your ceiling plaster before decorating is a vital step in creating a beautiful, perfect finish in your home. By understanding the types of cracks, using the right tools, and following our step-by-step guide, you can refresh your ceiling and be ready to roll with your decorating plan!
If you find yourself overwhelmed or need professional assistance, don’t hesitate to reach out to London Plastering Service for expert help. Let us help you ensure your ceiling looks as good as new!
Ready to Get Started?
Contact us today for a no-obligation quote and elevate your space with our expert plastering services.
Related Plastering Guides & Services
Need Professional Plastering?
Get expert plastering services in London. Free quotes within 60 minutes.