
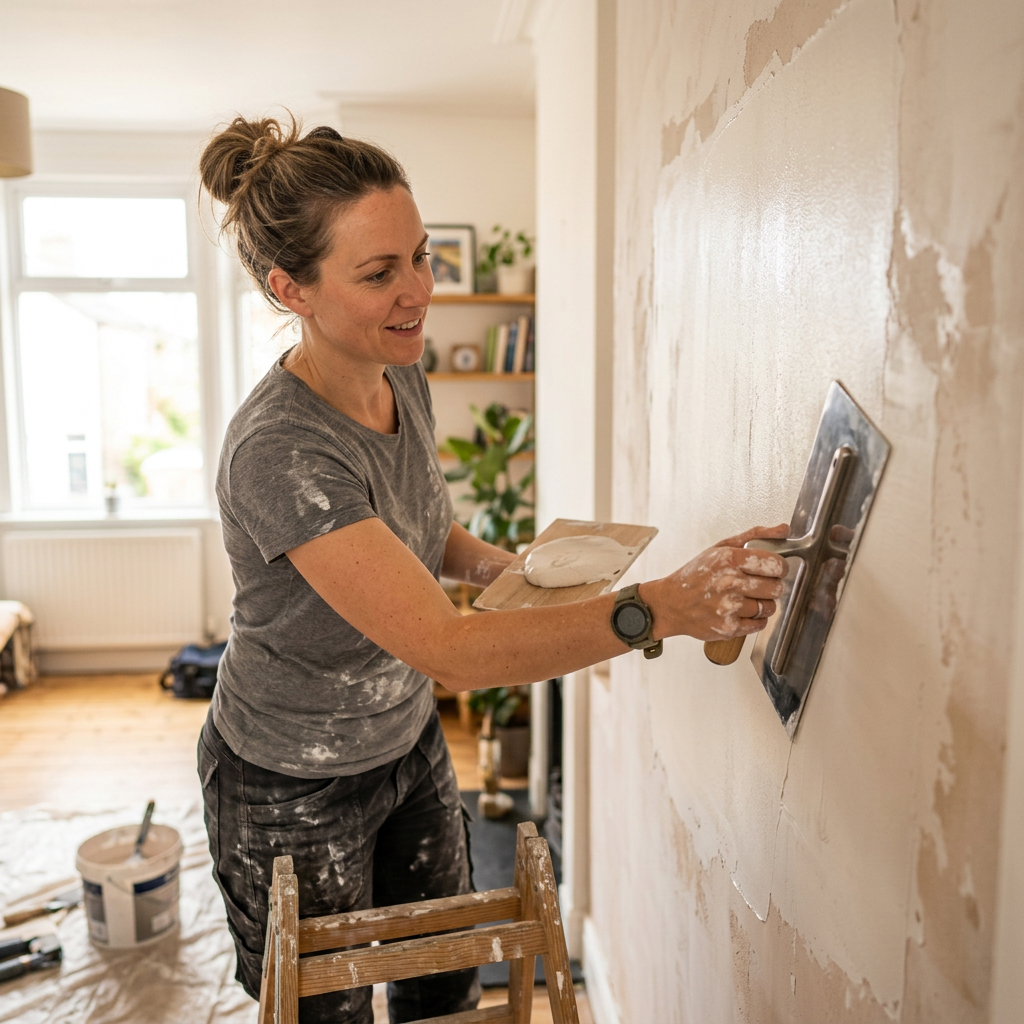
Learn How to Skim a Wall from Scratch: A Beginner's Guide
How to Skim a Wall from Scratch: A Beginner's Guide
Have you ever walked into a room and gazed at the wall, noticing its imperfections? Perhaps it’s a patchwork of old splashes of paint and remnants of previous wallpaper. If you’re a London homeowner, landlord, or property manager, you know how important it is to keep your property's interior looking fresh and appealing. Luckily, skimming a wall isn’t as scary as it sounds! In fact, with a few straightforward steps, you can transform a damaged wall into a sleek canvas for your next design project.
The Magic of Skimming
Skimming, also known as thin plastering, is a technique where a thin layer of plaster is applied over the surface of the wall. This method can effectively conceal imperfections and create a smooth finish, perfect for painting or wallpapering later on. Whether you're based in vibrant Camden, historic Westminster, or the charming streets of Notting Hill, knowing how to skim a wall can save you money and add value to your space.
What You'll Need
Before diving into the process, here's a quick list of supplies you’ll require to skim a wall effectively:
- Plastering trowel (preferably stainless steel)
- Hawk (for holding the plaster)
- Ready-mixed plaster or dry plaster mix
- Bucket
- Sandpaper (fine grit)
- Water
- Mixing paddle (if using dry mix)
- Protective gear (gloves, goggles, dust mask)
Preparing Your Workspace
Before you start skimming, it’s crucial to prepare both your materials and your workspace:
- Clean the Wall: Remove any wallpaper, dust and loose paint from the wall surface to ensure good adhesion.
- Check for Dampness: Make sure your wall is dry; if there are wet or damp patches, deal with these first to avoid future issues.
- Protect Surroundings: Cover your floors and any furniture with dust sheets or plastic to prevent plaster from getting on them.
Step-by-Step Guide to Skim a Wall
Now, let’s break down the skimming process into manageable steps:
Step 1: Mix the Plaster
- If you’re using dry plaster mix, combine it with water according to the manufacturer's instructions until you achieve a smooth, lump-free consistency.
- For ready-mixed plaster, thoroughly stir it in the bucket until it’s uniformly smooth.
Step 2: Load the Hawk
- Use your trowel to scoop plaster onto your hawk. Typically, a manageable amount is around the size of a football.
Step 3: Apply the Plaster
- Start from the bottom of the wall and work your way up. Hold the trowel at a 30-45 degree angle and apply the plaster firmly onto the wall.
- Spread using upward strokes, creating an even layer of approximately 2-3mm thick.
- Overlap each stroke slightly to blend the edges of the plaster.
Step 4: Feather the Edges
- Once you’ve filled a section, use the trowel to smooth the edges to ensure they blend seamlessly with the wall. This technique, known as feathering, is essential!
Step 5: Let it Set
- Allow the plaster to set according to the instructions (usually around 30-60 minutes). You’ll notice it begin to harden and change color.
Step 6: Tidy Up
- Once the plaster feels firm but is not fully dry, take your trowel and gently smooth over the surface to remove any marks.
- Avoid overworking the plaster, as it can cause it to dry unevenly.
Step 7: Sand Down
- After the plaster has completely cured, use fine-grit sandpaper to refine the surface further. This will help you achieve the perfect smooth finish.
Practical Tips for Success
- Humidity and Temperature: Plaster cures best in moderate humidity and temperatures between 10°C - 25°C. Be aware if you're skimming a room during cold winter days in London.
- Work Fast: Once you start applying the plaster, you’ll want to work quickly to ensure it doesn’t dry unevenly.
- Practice Makes Perfect: Don’t be discouraged if it doesn’t look perfect the first time. Like any skill, practice is key. Consider starting in a small, inconspicuous area.
Cost Expectations
Skimming a wall can be a cost-effective DIY project, especially if you’re familiar with the process. Here’s what you might expect:
- Materials: Expect to pay approximately £40-£80 for plaster, depending on the coverage needed.
- Tools: If you don’t have tools already, invest around £50-£70. Compared to hiring a professional plastering service, this DIY approach can save you hundreds of pounds!
FAQ
What is the best plaster for skimming?
Ready-mixed plaster is user-friendly for beginners as it only requires stirring. However, traditional multi-finish plaster can be more cost-effective if you’re up for mixing and applying.
Is skimming the same as plastering?
While skimming is a form of plastering, it specifically refers to applying a thin layer over an existing wall, primarily to create a smoother finish.
How long does it take for skimmed plaster to dry?
Typically, skimmed plaster takes around 2-3 days to cure fully; however, it may feel dry to the touch sooner. Keep the environment well-ventilated to speed up this process.
Can I paint over freshly skimmed walls?
It’s best to wait at least two weeks for the skimmed wall to completely dry before painting to ensure proper adhesion and finish.
Do you offer professional skimming services?
Absolutely! At London Plastering Service, our professional team is ready to help if you prefer expert help over a DIY project. We proudly serve various areas in London, from Barking to Barnet.
Conclusion
Skimming a wall from scratch might seem daunting at first, but with the right materials, methods, and some practice, you can achieve stunning results. Remember, even the finest London homes were once in need of a little TLC! So grab your tools, put on your protective gear, and let this guide be your companion in transforming your home's interior. If you ever need assistance or wish to hire experienced plasterers, our team at London Plastering Service is here to help you realize your home improvement dreams! Don’t hesitate to reach out for a quote!
Related Plastering Guides & Services
Need Professional Plastering?
Get expert plastering services in London. Free quotes within 60 minutes.