
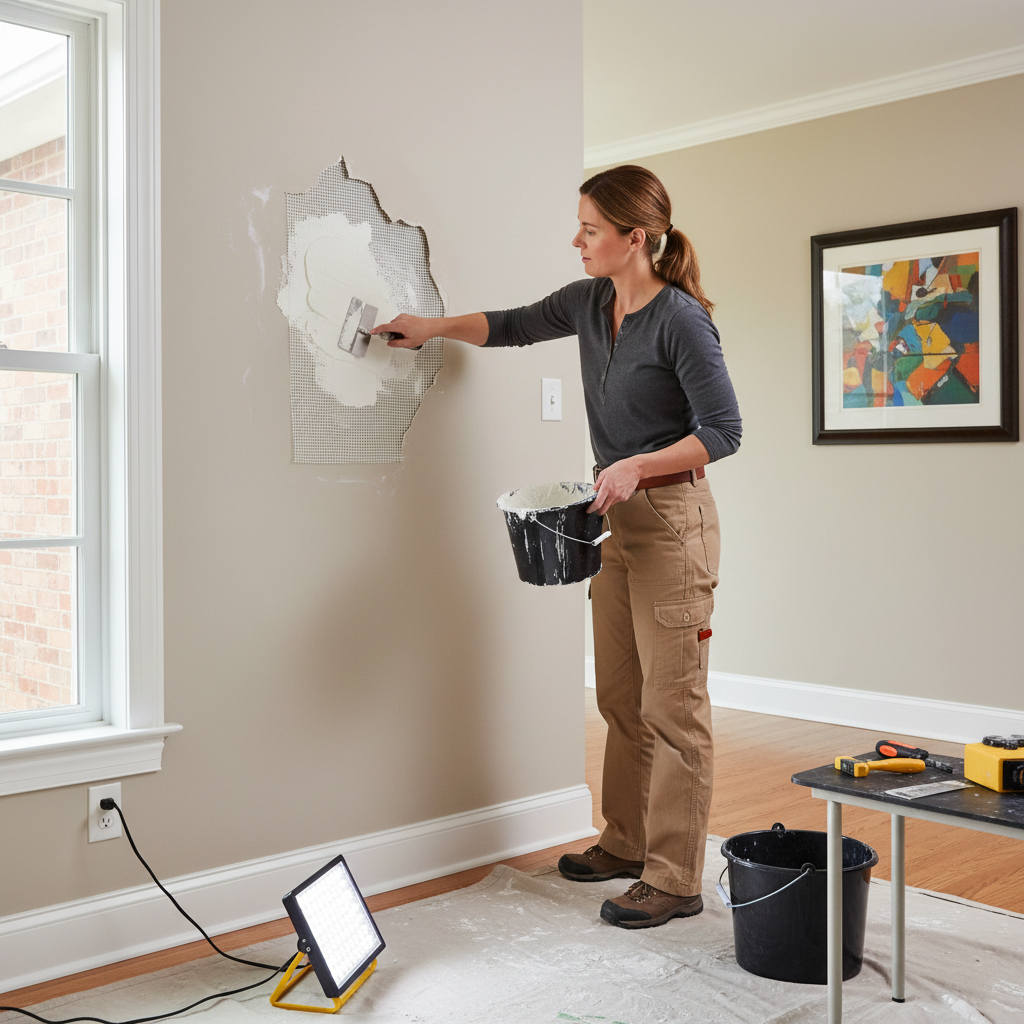
How to Repair Large Holes in Plaster Walls: A Handy Guide
How to Repair Large Holes in Plaster Walls: A Handy Guide
Imagine this: you've just moved into a charming Victorian house in Clapham, and after unpacking, a lovely picture frame falls from the wall, leaving a gaping hole in your pristine plaster wall. Next thing you know, your wall is marred by this unsightly blemish, and let's be honest, it’s an eyesore! If you’ve ever been in this predicament, fear not! Repairing large holes in plaster walls can be a straightforward task with the right approach.
Whether you're a homeowner, landlord, or property manager, learning how to effectively patch those large plaster holes will keep your living spaces looking fresh, especially in a vibrant city like London where aesthetics matter. This guide will walk you through the process step by step, arm you with practical tips, and provide you with the answers to your most pressing questions.
Understanding Plaster Damage
Before jumping into the how's and what's of the repair process, it’s essential to understand what causes large holes in your walls. Common causes include:
- Nail and screw removals that leave behind significant voids.
- Accidental impacts from furniture, pets, or kids playing indoors.
- Water damage, which often leads to crumbling plaster.
Understanding these causes helps you prevent future damage in your beautiful London home, whether it's in Westminster, Islington, or Kensington.
Tools and Materials You Will Need
Before commencing any repair work, ensure you have the following tools and materials on hand:
Tools:
- Trowel
- Utility knife
- Sanding block or sandpaper (medium and fine-grit)
- Paintbrush
- Roller or large sponge
Materials:
- Patching compound or joint compound
- fiberglass mesh tape (for larger holes)
- primer and paint matching your current wall color
- utility cloth for cleaning
Step-by-Step Guide to Repair Large Holes in Plaster Walls
Now, let’s dive into the step-by-step process to restore that lovely wall in your home. Follow these instructions carefully to achieve a professional finish.
Step 1: Clean the Area
- Clear the surrounding space of furniture or decor items.
- Remove any loose or crumbling plaster around the hole. Use a utility knife to carefully cut away the damaged edges, creating a clean and smooth surface.
- Clean the dust and debris from the area using a damp utility cloth.
Step 2: Apply the Mesh Tape (if applicable)
- If the hole is larger than two inches in diameter, cover the hole with fiberglass mesh tape. Cut a piece slightly larger than the hole, then press it firmly around the edges. This adds structure and prevents future cracking.
Step 3: Mix the Patching Compound
- Follow the manufacturer's instructions on mixing the patching compound.
- Aim for a consistency similar to peanut butter, making it easy to spread but not too runny.
Step 4: Fill the Hole
- Using the trowel, apply the patching compound over the hole, working it into the area.
- Smooth the surface out to meet the surrounding wall. You want the patched area to be level with the existing plaster.
- If necessary, apply a second layer after the first has dried, following the same steps to ensure a flush finish.
Step 5: Sand the Surface
- Once dried, take out your sanding block or sandpaper. Gently sand the patch until smooth, ensuring it blends seamlessly with the adjacent plaster.
Step 6: Prime and Paint
- Apply a primer to the freshly patched area. This helps the paint adhere properly.
- Once the primer is dry, paint over the patched area with a color that matches your wall. You might need a few coats depending on the color.
Finishing Touches
- Clean any surrounding areas and put your furniture back in place. Enjoy your beautifully repaired wall!
Practical Tips for a Flawless Finish
- Timing is Key: Ensure you allow each layer of compound to dry completely before sanding or applying a subsequent layer. This could take several hours or more, depending on the weather.
- Choose the Right Paint: When painting, make sure to use the same finish as your existing wall for consistency.
- Consider Professional Help: If the hole is exceptionally large or if you’re uncertain, don’t hesitate to reach out to London Plastering Service for expert advice.
FAQ
What type of plaster compound should I use?
When repairing large holes, a ready-mixed patching compound is ideal. For severe damage, consider a product specifically designed for plaster repairs, which offers more durability.
How long does the repair process take?
Depending on the size of the hole and how many layers you need, the total repair could take anywhere from a few hours to a full day (including drying times).
Can I paint over the patch right away?
No, it’s important to allow the primer and patches to dry thoroughly. Painting too soon can lead to peeling or uneven finishes.
Should I hire a professional if I’m not skilled?
If you’re unsure or if the hole is larger than 6 inches in diameter, it's often worth hiring professional plasterers to ensure a high-quality repair.
How much do repairs typically cost?
Repairing a large hole can range from £100 to £300 depending on the size, complexity, and whether you need professional help. This makes it a worthwhile investment in maintaining your property’s aesthetic.
Conclusion
Repairing large holes in plaster walls might seem daunting, but with the right tools and guidance, you can restore your wall to its former glory. Remember, whether you're dealing with new damage or refurbishing an old property in areas like Camden or Shoreditch, don't hesitate to call on the expertise of a professional when in doubt. For more tips, visit our Blog for more plastering insights, or check our Gallery to see our work.
Your walls deserve to look pristine, so take action today and shine again!
Related Plastering Guides & Services
Need Professional Plastering?
Get expert plastering services in London. Free quotes within 60 minutes.