
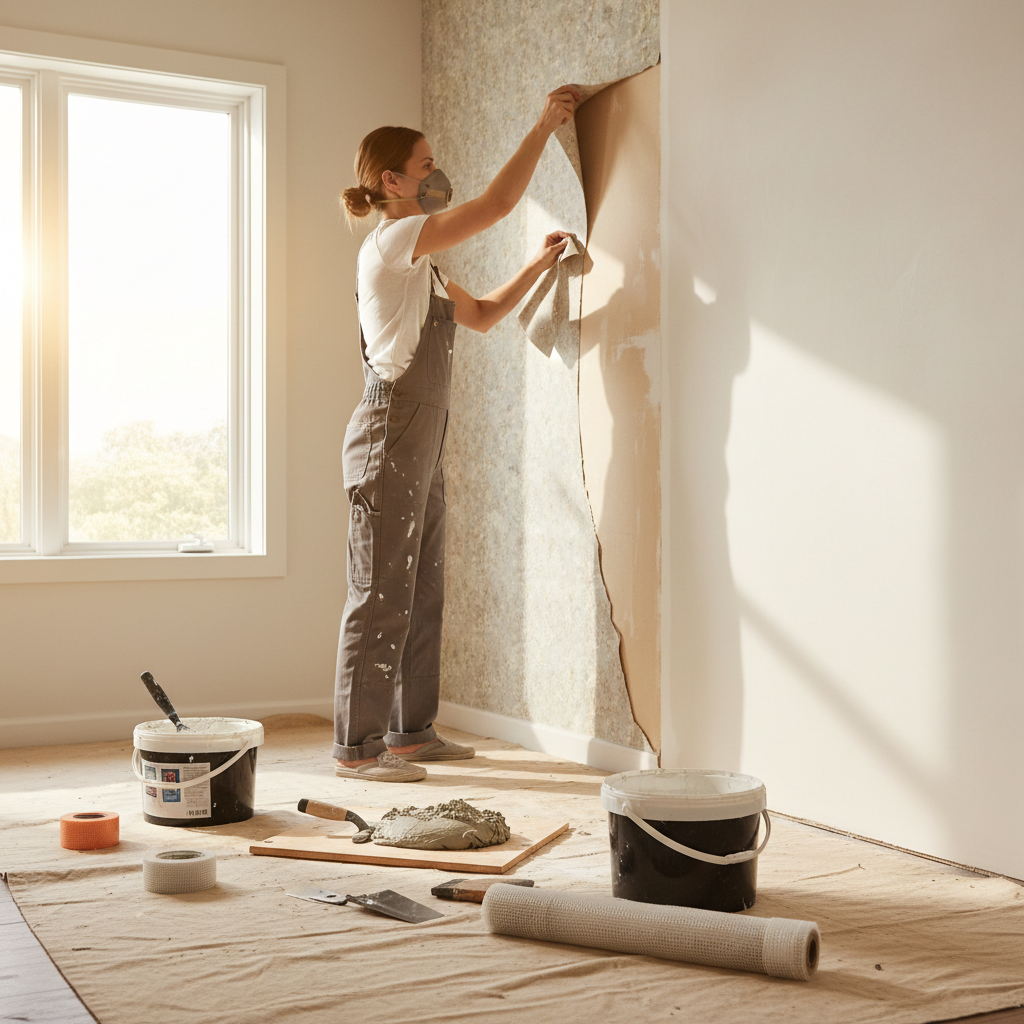
How To Prepare Walls for Plastering After Wallpaper Removal
How To Prepare Walls for Plastering After Wallpaper Removal
Removing wallpaper can feel like a daunting task, often revealing walls that are far from pristine. Imagine pulling down that last piece, only to uncover a patchwork of imperfections, old adhesive, and peeling paint. The anticipation of transforming your space is suddenly met with a reality check. If you're a homeowner in London, particularly in bustling neighborhoods like Camden or serene areas near Hampstead Heath, getting your walls ready for plastering is crucial for achieving that perfect finish. In this guide, we'll take you through each step to ensure your walls are well-prepared for plastering, bringing you one step closer to your dream home.
Why Proper Preparation Matters
Proper wall preparation not only influences the aesthetic appeal but also the longevity of your plasterwork. Neglecting this step can lead to a patchy finish, cracking, and peeling in no time. Investing a little effort initially can save you significant repair costs and heartache down the road.
Step-by-Step Guide to Preparing Your Walls
Step 1: Remove Existing Wallpaper and Adhesive
- Work Methodically: Start in a corner and use a wallpaper scraper to lift the edges of the wallpaper. Carefully peel it away, ensuring you don’t damage the underlying wall.
- Use a Wallpaper Remover: For stubborn adhesive, mix warm water with a few drops of dish soap or use a commercial wallpaper remover. Apply this solution with a sponge and let it sit for several minutes before scraping.
- Rinse the Walls: After removing the wallpaper, wipe down the walls with clean water to remove any remaining adhesive.
Step 2: Assess the Wall Condition
- Check for Damage: Look for holes, cracks, or uneven areas that may need filling. Look for areas of dampness, especially in older London buildings.
- To Fix Indentations or Cracks: Use a pre-mixed filler to fill any holes or cracks and allow it to dry completely.
Step 3: Sand and Smooth the Surface
- Sanding: Once the filler is dry, sand the repaired areas with medium-grit sandpaper until smooth, blending the filled spots with the surrounding wall.
- Dust Removal: Use a vacuum or a damp cloth to remove dust created by sanding. This is important, as any particles left can affect how plaster adheres to the wall.
Step 4: Prime the Walls
- Priming: Apply a wall primer suitable for plastering. This will increase adhesion and create a uniform surface for the plaster. Choose a primer designed to seal the surface, especially if your walls are porous or if there has been prior dampness.
- Tip: If you need a local expert, consider London Plastering Service for perfect application.
Step 5: Plan Your Plastering Approach
- Type of Plastering: Decide whether you will apply a traditional plaster finish, board-on-board, or skimming.
- Gather Your Materials: Ensure you have your plaster, trowel, float, bucket, and drill (if mixing is required).
Step 6: Timing and Weather Considerations
- Best Time to Plaster: Experts advise that the ideal temperature for plastering is between 10-20°C, as extreme temperatures can affect drying times and the finish quality.
Practical Tips for a Smooth Plastering Experience
- Wear Protective Gear: Always protect your eyes and respiratory system when sanding or applying plaster to avoid irritation.
- Keep the Area Ventilated: Ensure there’s good airflow to help with drying and reduce any odor from the primer/paint.
- Clean as You Go: Maintain a tidy worksite to avoid mess spilling onto finished areas or inflating cleanup time.
- Have a Go-To Plasterer: If DIY sounds too daunting, remember, you can always reach out to your local experts at PlasterersNearMe.
FAQ
1. How long after removing wallpaper can I plaster?
It's best to wait at least 24-48 hours after removing wallpaper to allow the walls to dry completely before applying any plaster. Make sure to also ensure that adhesive remnants are thoroughly cleaned off.
2. What tools do I need for wall preparation?
You will need wallpaper scraper, sponge, sandpaper, filler, trowels, float, and possibly a drill for mixing plaster. Always have a vacuum or cloth handy to clean up dust.
3. Can I plaster over paint?
Yes, you can plaster over paint; however, it is advisable to sand the painted surface to remove gloss and improve adhesion. If the paint is flaky, make sure to remove it before proceeding with plastering.
4. How much does it cost to prepare walls for plastering?
DIY wall preparation can cost as little as £50 for materials if you do it yourself. If you hire a professional service, costs in London can range from £200 to £600 depending on the condition of the walls and the size of the area.
5. Should I hire professionals for plastering?
While some homeowners prefer DIY, hiring professionals can ensure a better quality finish, especially in older homes, where walls may have unique challenges. Visit our About page to learn about our professional plastering team.
Conclusion
Preparing your walls for plastering after removing wallpaper doesn’t have to be an overwhelming task. With proper steps and attention to detail, you can achieve the flawless finish your home deserves. Whether you're in Kensington or Greenwich, the journey from old wallpaper to smooth plaster can be fulfilling when done right. If you’re feeling unsure about your ability to handle this on your own, don’t hesitate to reach out to our team at London Plastering Service for expert assistance. Let us help you get one step closer to enjoying your beautiful, newly finished walls in your London home!
Related Plastering Guides & Services
Need Professional Plastering?
Get expert plastering services in London. Free quotes within 60 minutes.