
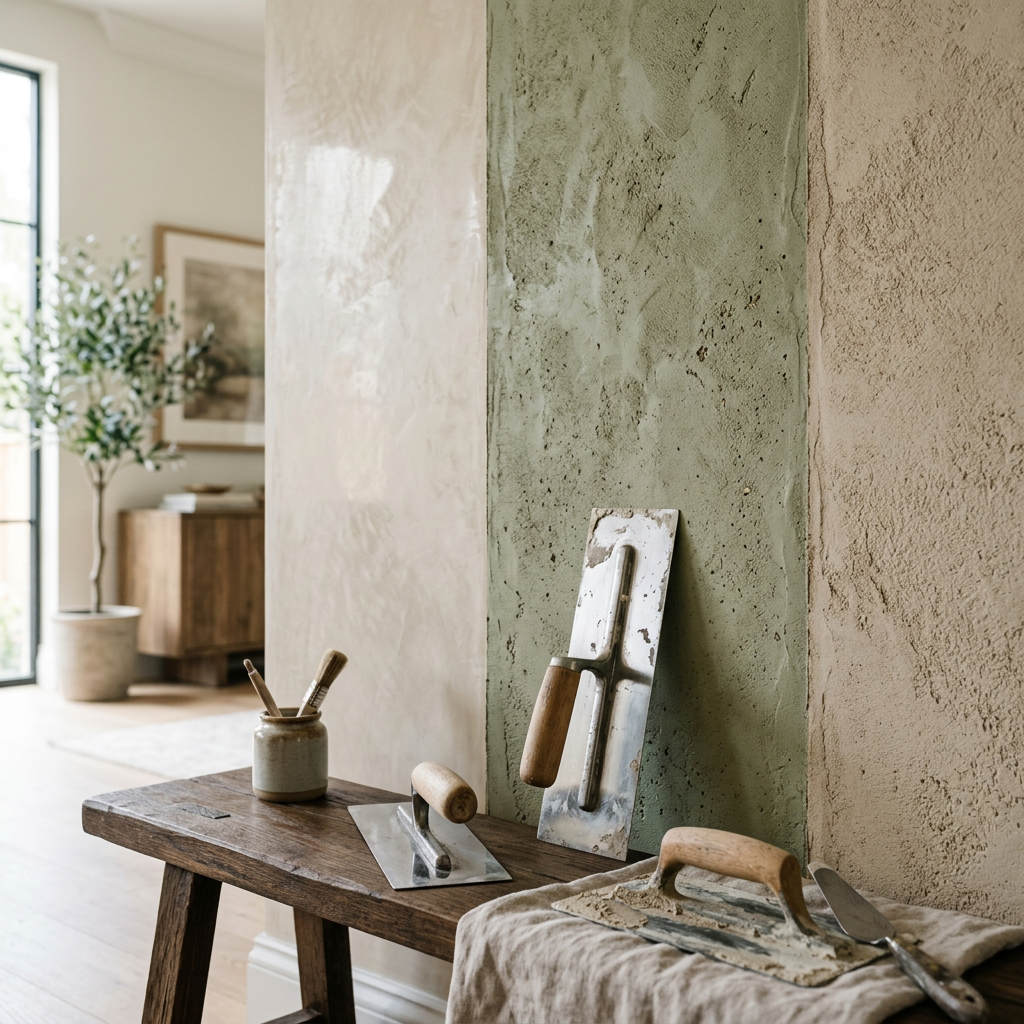
How to Match Existing Plaster Texture Perfectly
How to Match Existing Plaster Texture Perfectly
Have you ever walked into a room, admiring the charm of old plasterwork, only to be faced with the daunting task of repairing or renewing a wall? It’s like stepping onto a stage set; stunning but with its own unique character that must be preserved. This scenario is all too common for homeowners in London, especially those residing in neighborhoods like Islington or Kensington, where plastering techniques dating back centuries can be found. The good news? With the right approach and some insider tips, you can match existing plaster texture perfectly.
Understanding Plaster Textures
Before you can match plaster textures, it’s important to understand the variety of textures that may exist in your home. Plaster finishes can be smooth, textured, or patterned, each with its distinct appearance and feel. Some common types include:
- Flat or Smooth: A polished look that requires extensive sanding.
- Sponge or Travertine: Made with a sponge to create a dappled effect.
- Knockdown: Characterized by a textured finish that is partially flattened.
- Sand Finish: Incorporates sand for a rougher texture.
Fun Fact: Did you know that many local older London homes, especially in boroughs like Camden, still feature original plasterwork that can date back over 100 years?
Steps to Match Existing Plaster Texture
Step 1: Assessing the Current Texture
- Examine the Look: Carefully look at the texture you want to match. Use a flashlight to identify any subtle details here.
- Feel the Surface: Check how the plaster feels – rough, smooth, or uneven? This will guide your repair technique.
Step 2: Gather Your Tools and Materials
To achieve a perfect match, you'll need:
- Plaster mix (choose according to your desired finish)
- Trowel and hawk
- Texture brushes or sponges
- Spray bottle with water
- Sandpaper (for flat finishes)
- Drop cloths to protect your floors
Estimated Cost: Expect to spend around £20-£50 on basic materials, depending on the finish needed.
Step 3: Preparing the Area
- Clean the Surface: Remove any dust or debris. A clean surface will help the new plaster adhere better.
- Patch Holes: If there are any major gaps or uneven areas, use a quick-setting compound to level out the spots before applying your texture.
- Protect Surroundings: Use drop cloths to cover furniture and floors.
Step 4: Matching the Texture
-
For Smooth Finishes:
- Mix plaster until it reaches a smooth consistency.
- Apply a thin layer using the trowel, ensuring a flat, even coat.
- Let dry, sand lightly, and repeat if necessary.
-
For Textured Finishes:
- Use a sponge or brush and apply the plaster in a pattern that mimics the existing texture.
- Practice on a spare board if possible to get the feel right.
- Use a spray bottle with water to soften edges, blending into the existing texture.
Step 5: Final Touches and Drying
Once your plaster is applied:
- Allow it to dry completely (typically 24 hours).
- Inspect for any needed touch-ups, and ensure the finish matches by comparing with the existing surfaces.
Practical Tips for Perfect Matching
- Work In Sections: If you’re doing a big area, break it down into smaller sections to maintain control over your texture application.
- Timing is Key: Apply your texture while the plaster is still damp for optimal blending.
- Use the Right Lighting: Natural light can help you see how well your match is going.
FAQ
## FAQ
-
Can I match old plaster texture without professional help?
Yes, many homeowners successfully match plaster textures on their own with practice and the right tools. However, for large areas or intricate designs, hiring a professional like the team at London Plastering Service can save you time and frustration. -
What is the best plaster product to use for matching textures?
The choice of plaster depends on your desired finish; for a smooth finish, choose a ready-mix joint compound, while for textured finishes, specific plaster products designed for texturing are ideal. You can find examples in our Gallery. -
How long will it take for the new plaster to dry?
Typically, plaster takes about 24-48 hours to dry completely, but this can vary based on the thickness of the application and humidity in your home. -
Are there special tools for texturing plaster?
Yes! Tools like texture rollers, brushes, and sponges can help create various textures, making them essential for homeowners trying to match finish accurately. -
What if my match isn’t perfect?
Don’t worry! You can easily sand down mistakes once the plaster is dry. Also, learning the proper technique will improve your skills over time.
Conclusion
Matching existing plaster texture doesn’t have to be an overwhelming task for London homeowners. With the proper tools, techniques, and a bit of patience, you can ensure a seamless blend with your home’s original character. For those who prefer a professional touch, our skilled team at London Plastering Service is ready to help!
Contact us today for a consultation, and let’s transform your space with perfect plastering!
Related Plastering Guides & Services
Need Professional Plastering?
Get expert plastering services in London. Free quotes within 60 minutes.