
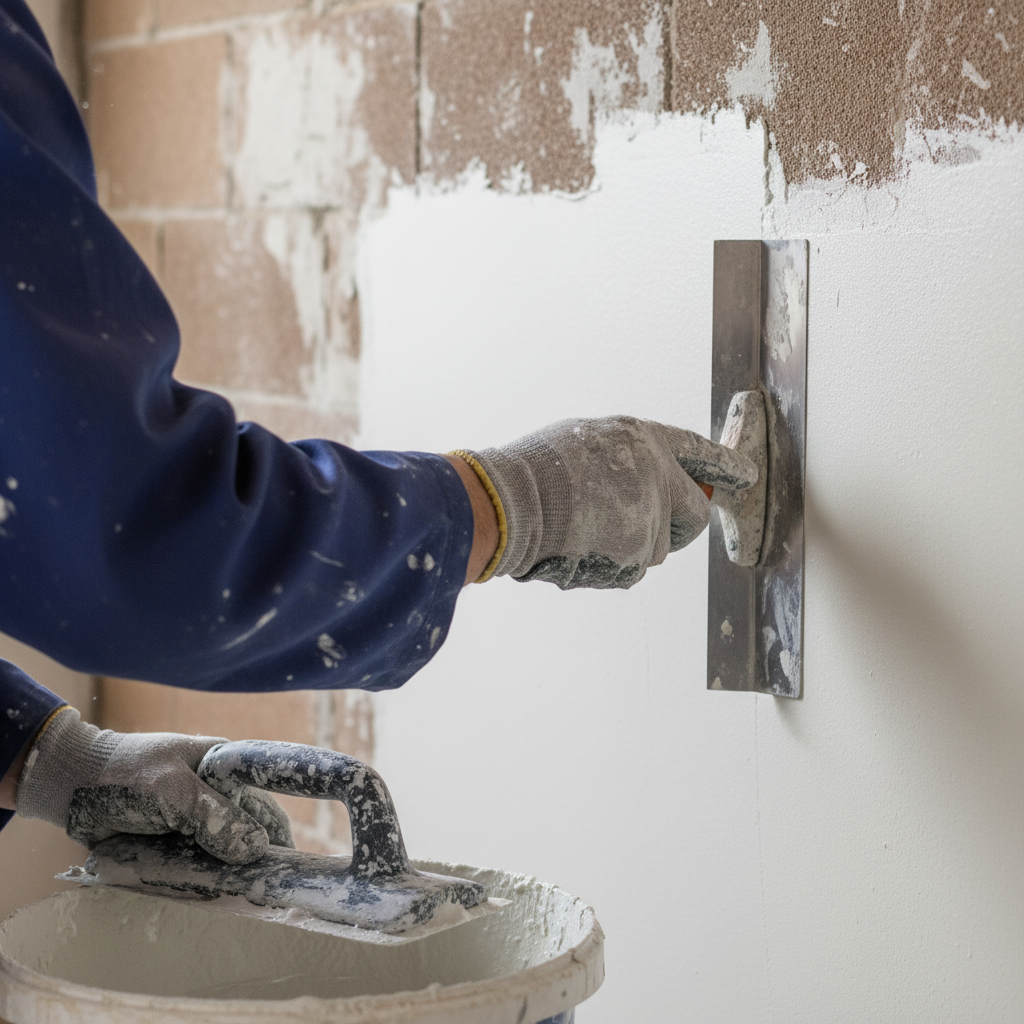
How to Fix Uneven Plaster Finish: A Complete Guide
How to Fix Uneven Plaster Finish: A Complete Guide
Picture this: You're moving into your new London flat in Shoreditch, and after peeling back the old wallpaper, you discover an unsightly uneven plaster finish. It's not what you expected, and now you're left wondering how to resolve this problem before you can truly call this place home.
Whether you're a first-time homeowner, a landlord trying to get your property rental-ready, or simply a proud resident hoping to enhance your space, knowing how to fix uneven plaster can save you time, money, and a lot of headaches.
In this comprehensive guide, we'll explore the causes of uneven plaster, step-by-step solutions, and practical tips for achieving that smooth, professional finish you desire. Plus, we'll answer common questions about plastering techniques and when to consult local plasterers in your area.
Understanding Uneven Plaster Finish
Before diving into solutions, it's important to understand what gives rise to uneven plaster finishes. Here are a few common culprits:
- Poor Application: Plastering is an art; uneven application or rush jobs can lead to bumpy, rough surfaces.
- Moisture Issues: Walls that have significant moisture exposure can disrupt the plaster smoothing process, leading to dips or bumps.
- Old Surfaces: If you're plastering over old paint or wallpaper, the existing texture can create a flawed finish.
Once you identify the underlying cause, you can proceed with the best strategy to fix it.
Step-by-Step Guide to Fix Uneven Plaster Finish
Step 1: Gather Your Tools and Materials
Before starting, ensure you have all necessary tools ready:
- Steel Trowel: For applying the plaster.
- Plaster Float: To smooth out and polish the surface.
- Sanding Sponge: To smooth out rough edges.
- PVA Primer: To prepare the surface before applying new plaster.
- Plaster Mix: Decide if you're using a premixed option or dry powder.
Step 2: Prepare the Surface
- Inspect the Area: Identify all the uneven spots, and be sure to mark them for reference.
- Clean the Wall: Remove any dust, grease, or old flaking plaster with a damp cloth or a stiff brush.
- Apply PVA Primer: This helps the new plaster adhere better and reduces suction from the wall.
Step 3: Apply the Plaster
Here’s how to apply the plaster:
- Mix Your Plaster: Following the manufacturer’s instructions, mix your plaster to a smooth consistency.
- Apply the First Coat: Using your steel trowel, apply a thin coat of plaster to the uneven areas. Work from the bottom to the top.
- Smoothing: After the first coat is applied, use your plaster float to smooth the surface. Use long, sweeping motions for the best results.
- Let It Set: Allow the first coat to dry according to the manufacturer’s guidelines, usually about 24 hours.
- Apply Additional Coats: If needed, repeat the process for a second or even third coat, depending on how uneven the surface was originally.
Step 4: Sanding and Finishing
- Once your final coat is fully dry, use a sanding sponge to smooth any imperfections. This is key for achieving that professional appearance.
- Be sure to feather the edges where plaster meets the original plaster to ensure a seamless transition.
Step 5: Clean Up the Space
Don’t forget to clean your tools and any mess made during the process! A tidy workspace can help you see your progress clearly.
Practical Tips for a Perfect Finish
- Be Patient: Take your time with each coat to avoid rushing and making mistakes.
- Work in Good Light: Make sure your workspace is well-lit to spot any areas that need attention.
- Test First: If you're unsure about your skills, do a small test area before tackling the entire wall.
- Consider Professional Help: If the job seems overwhelming, reach out to the professional plastering team at London Plastering Service for expert assistance.
FAQ
Q1: Can I plaster over uneven plaster?
A1: It's generally not recommended to plaster over significantly uneven surfaces, as this can result in the same problem recurring. It's better to fix the underlying issue before applying new plaster.
Q2: What are the costs for plaster repair in London?
A2: Repairing uneven plaster can range from £15 to £25 per square meter depending on the extent of the damage, the type of plaster used, and labor in London areas. For precise quotes, consider consulting with your local plasterers.
Q3: How long does plaster take to dry?
A3: Most plaster types take around 24-48 hours to dry completely, but this can vary based on humidity and temperature. Always check manufacturer guidelines.
Q4: Do I need to paint after plastering?
A4: Yes, after plastering, it's recommended to paint the walls. This not only enhances appearance but also protects the plaster from moisture damage.
Q5: Can I do it myself, or do I need a professional?
A5: While DIY is possible, if you're inexperienced, hiring a professional can save you time and ensure a perfect finish. Check out our Gallery to see our past projects!
Conclusion
Fixing an uneven plaster finish may seem daunting, but with patience and the right tools, it’s entirely within your reach. Whether you're refreshing your own home in Camden or preparing a rental property in Harrow, a smooth, beautiful wall can make all the difference in your space.
If you need expert assistance, don’t hesitate to contact us at London Plastering Service. Our professional plastering team is here to ensure your walls look flawless, just like those featured in our Gallery. Ready to transform your home? Let’s get started on that perfect finish today!
Related Plastering Guides & Services
Need Professional Plastering?
Get expert plastering services in London. Free quotes within 60 minutes.