
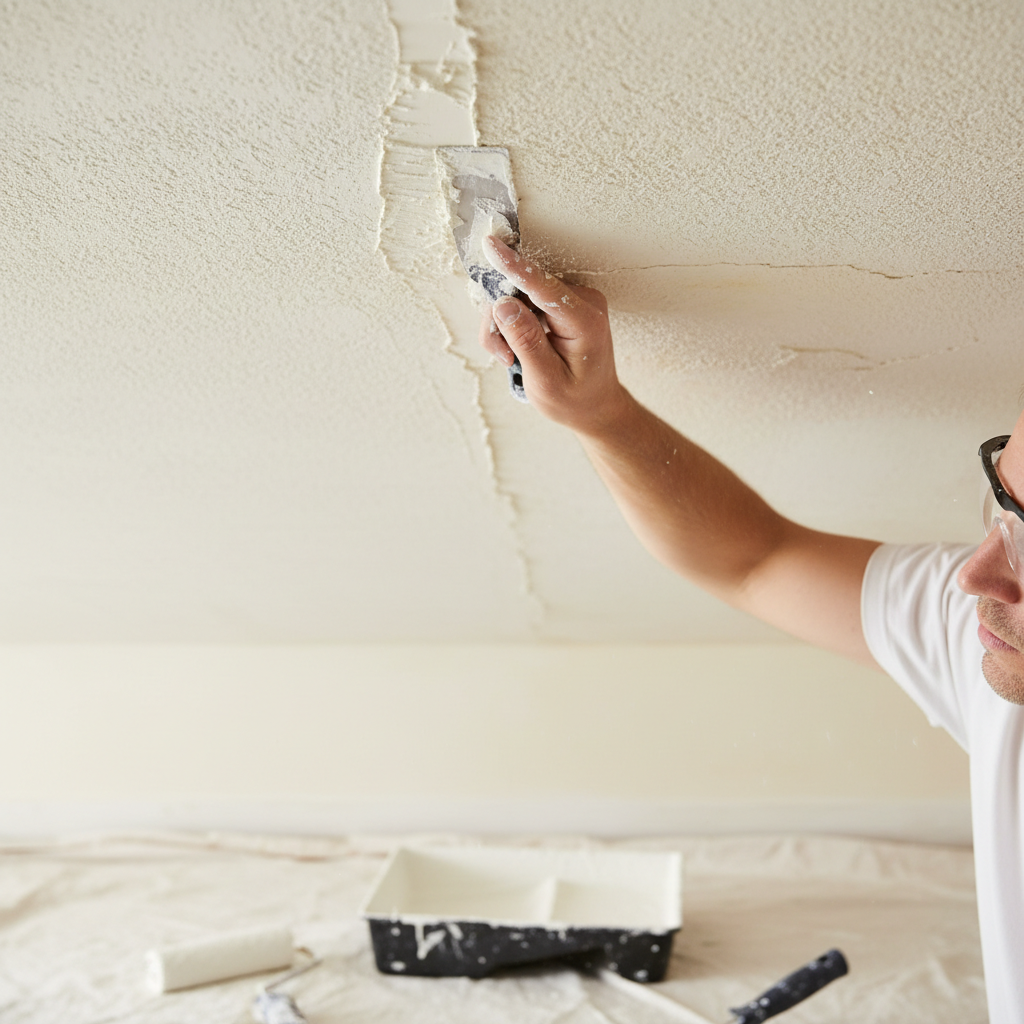
How to Fix Cracks in Ceiling Plaster: A Homeowner's Guide
How to Fix Cracks in Ceiling Plaster Before Decorating
Imagine this: You’ve just finished painting your living room in a stunning shade of gray, the perfect backdrop for your vibrant artwork. But as you step back to admire your work, your eye catches a nasty crack running right across the ceiling! Before you can enjoy your freshly decorated space, you’ll need to tackle that pesky plaster crack. Fortunately, fixing ceiling cracks is not just for professional plasterers. With a little know-how and the right tools, you can have a beautifully smooth ceiling ready for decorating!
Understanding the Problem
Why Do Cracks Appear?
Cracks can develop in your ceiling plaster for several reasons, including:
- House Settling: As homes age, they settle, which can lead to minor structural shifts.
- Temperature Changes: Rapid temperature fluctuations can cause plaster to expand and contract.
- Moisture: Leaks or high humidity can weaken the plaster.
- Poor Installation: In many cases, if the original plaster wasn't applied correctly, it may be prone to cracking.
Before proceeding with repairs, it's essential to identify the cause of the cracks. If they result from structural issues, it’s best to consult a professional like the London Plastering Service to assess any underlying problems.
Tools and Materials You Will Need
Before you start the repair, gather the following tools and materials:
- Putty knife or trowel
- Joint compound or plaster filler
- Sandpaper (medium and fine grit)
- Primer
- Paint
- Drop cloths to protect your flooring
- Paintbrush or roller
Cost Estimates
Fixing ceiling plaster cracks yourself can save you money. Expect to spend around £30-£70 on materials, depending on the size of the area and the quality of the products you choose. If you decide to hire a professional plasterer in London, costs typically range from £20 to £40 per hour, with a total project cost that can vary widely based on the extent of the damage.
Step-by-Step Guide to Fixing Cracks in Ceiling Plaster
Step 1: Prepare the Area
- Clear the Room: Remove any furniture, or at least move them away from the work area. Cover the floor with drop cloths to catch any debris.
- Assess the Crack: Use your fingers to press along the crack and see how deep it is. For larger cracks, you may need to widen the crack slightly with a utility knife to facilitate better adhesion of the filler.
Step 2: Clean the Crack
- Remove Dust and Debris: Clean out the crack by removing any loose plaster or dust using a putty knife.
- Moisten the Area: Lightly dampen the area around the crack to help the filler adhere better. Avoid soaking it, as excess moisture can weaken the plaster.
Step 3: Apply the Filler
- Choose the Right Filler: For small cracks, a ready-made plaster filler works well. For larger gaps, consider joint compound.
- Use the Putty Knife: Apply the filler into the crack using your putty knife, ensuring you press it in firmly. Smooth it out so that it's level with the surrounding surface.
Step 4: Let It Dry
Allow the filler to dry completely as per the manufacturer’s instructions. This can take several hours or even a full day.
Step 5: Sand the Area Smooth
Once dry, use medium-grit sandpaper to smooth out the area. Follow up with fine-grit sandpaper for a polished finish. Be sure to feather the edges so there are no rough patches.
Step 6: Prime and Paint
After sanding, wipe the area with a damp cloth to remove dust.
- Apply a primer to seal the area, especially if using joint compound.
- Once the primer is dry, paint over the area to match your ceiling.
Practical Tips for a Flawless Finish
- Don't Rush: Allow ample drying time for the filler and primer for the best result.
- Test the Paint: Test the paint color on a small area after priming to ensure the match is perfect.
- Lighting Matters: Check your work under different lighting to ensure smoothness and color consistency.
FAQ
## FAQ
1. How do I know if the cracks are a sign of a bigger problem?
If the cracks are large or are accompanied by other issues such as doors not closing properly or visible bowing, it’s best to call a professional to assess possible structural problems. If they’re just hairline cracks, they’re typically manageable.
2. Can I use regular home fillers for ceiling cracks?
While you can use standard fillers, it’s better to use products specifically designed for plaster repairs, as they typically offer better adhesion and flexibility.
3. How long does it take for the plaster filler to dry?
Drying times vary by product, but most fillers can take anywhere from a few hours to a full day. Always refer to the product instructions.
4. Is it necessary to prime before painting?
Yes, priming is essential as it seals the repaired area and helps the paint adhere better, ensuring an even finish.
5. What are some common areas to check for ceiling cracks?
Common areas include around light fixtures, vents, and along edges where the ceiling meets the wall. Pay extra attention to these spots during your inspections.
Conclusion
Now that you’ve mastered the steps on how to fix cracks in ceiling plaster before decorating, it’s time to get to work! Not only will this DIY project save you money, but it will also give you that satisfying feeling of accomplishment as you prepare your space for a fresh look. Remember, if you encounter any major issues, don’t hesitate to reach out to expertly trained professionals like the ones at London Plastering Service for assistance.
Ready to get started? Gather your tools and tackle those cracks today! For further inspiration, be sure to check out our Gallery of completed projects. And for more plastering tips and guides, visit our Blog for more helpful insights. Happy decorating!
Related Plastering Guides & Services
Need Professional Plastering?
Get expert plastering services in London. Free quotes within 60 minutes.