
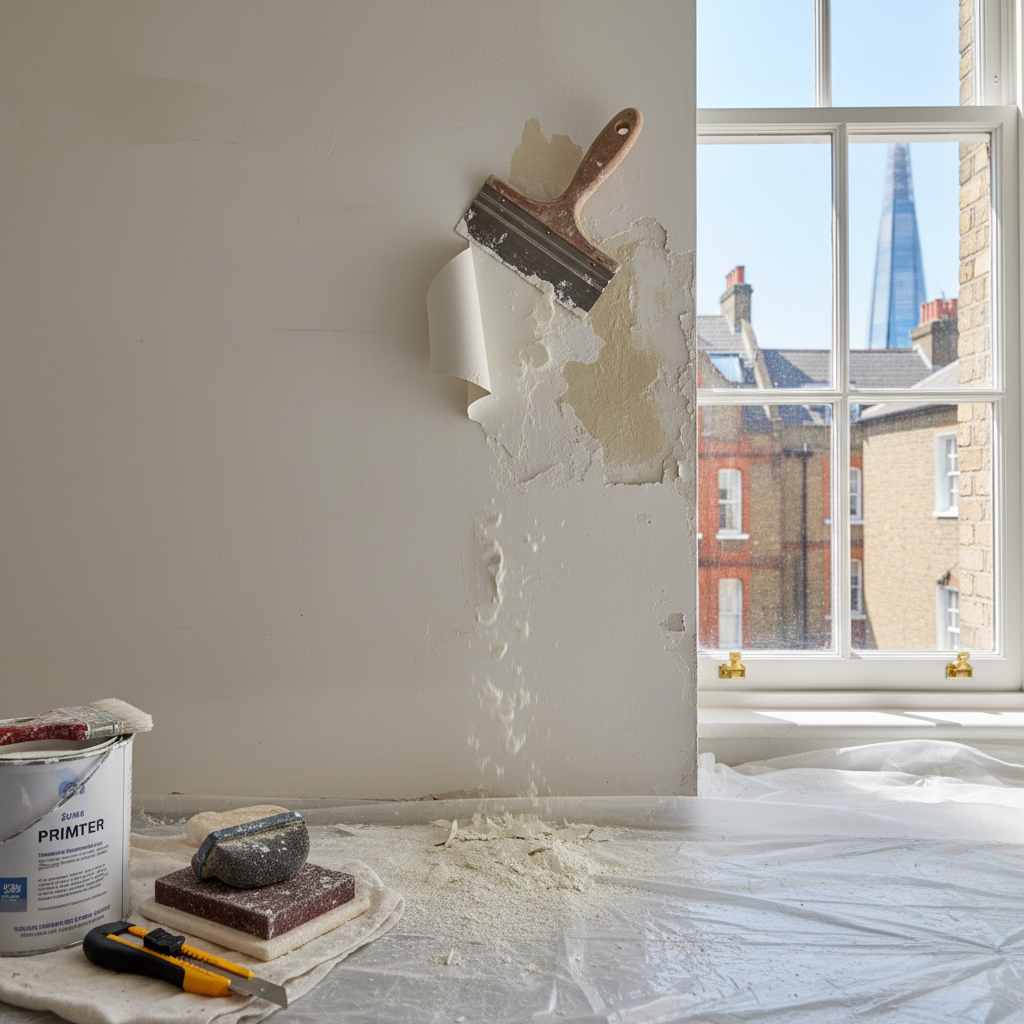
How to Fix Bubbling Paint on New Plaster: Expert Guide
How to Fix Bubbling Paint on New Plaster: Expert Guide
Imagine this: you’ve just finished a beautiful renovation in your London home—new plaster walls have been applied, the paint is fresh, and your living space looks stunning. You step back to admire your work, only to notice ugly bubbles forming underneath the paint. Your heart sinks. What went wrong? And more importantly, how do you fix it?
Bubbling paint on new plaster is a common issue that can turn a happy renovation into a headache. But fear not! In this comprehensive guide, we’ll explore the causes of bubbling paint and provide actionable solutions to get your walls looking flawless once more.
Why Does Paint Bubble on Fresh Plaster?
Before we jump into solutions, it’s essential to understand why this annoying issue occurs. Here are the main culprits:
- Moisture Trapped in the Plaster: New plaster contains water, and if it isn't allowed to cure properly, moisture gets trapped, causing paint to bubble.
- Wrong Paint Type: Using the wrong type of paint for the job can lead to bubbling. For example, applying oil-based paint over a freshly plastered surface is a no-go.
- Poor Surface Preparation: If the plaster was dirty, uneven, or hadn't dried sufficiently before painting, bubbling can result.
- Temperature and Humidity: Extreme temperature variations and high humidity can negatively impact newly painted surfaces.
Having identified the possible causes, let’s look at how to fix this problem.
How to Fix Bubbling Paint on New Plaster
Here’s a step-by-step approach to fixing bubbling paint effectively:
Step 1: Assess the Damage
- Inspect the Affected Area: Check how extensive the bubbling is. If the paint is bubbling in isolated spots, you may only need to treat those areas.
- Avoid Over-painting: If the bubbling is minor, repainting over it will only mask the problem temporarily.
Step 2: Prepare Your Tools and Materials
You’ll need:
- Putty knife or scraper
- Sandpaper (medium and fine grit)
- Primer (preferably a breathable one)
- Paint (suitable for plaster)
- Sponges or cloths
- Bucket and water
Step 3: Remove the Bubbling Paint
- Scrape Off the Bubbles: Use your putty knife to gently scrape off the bubbling paint, making sure to remove any loose paint and debris.
- Clean the Area: Wipe down the area with a damp cloth to remove any dust or residue. Allow it to dry fully before proceeding.
Step 4: Sand and Prime the Area
- Sand the Surface: Use medium-grit sandpaper to smooth the area where the bubbles were. Follow up with fine-grit sandpaper for a smooth finish. Be gentle to avoid damaging the plaster.
- Apply Primer: Choose a breathable primer that allows moisture to escape without trapping it. This will help prevent future bubbling. Allow the primer to dry according to the manufacturer's instructions.
Step 5: Repaint the Area
- Use the Right Paint: Select a high-quality paint suited for newly plastered walls such as water-based emulsion.
- Apply Paint Properly: Use even strokes and allow each coat to dry thoroughly. You may need two coats for the best finish.
Step 6: Maintain Ideal Conditions
- Control Humidity: Use dehumidifiers if necessary, especially in humid London neighborhoods like Brixton or Croydon.
- Keep the Area Ventilated: Open windows or use fans to ensure good airflow during the drying process.
Practical Tips to Prevent Bubbling in the Future
- Choose Quality Materials: Invest in high-quality plaster, primers, and paints to ensure longevity and effectiveness.
- Allow Plaster to Cure: Always allow new plaster to dry and cure completely—this may take several weeks depending on weather conditions.
- Check Your Walls: Before painting, ensure your new plaster is clean, dry, and well-prepared to prevent future bubbling.
FAQ
## 1. How long should I let new plaster dry before painting?
Typically, new plaster should cure for at least 2-4 weeks before applying paint. This gives enough time for any moisture to evaporate and helps prevent issues such as bubbling. Always check the manufacturer's recommendations, especially for specific types of plaster.
2. Can I use any paint on new plaster?
No. Always use breathable water-based paints on new plaster to allow it to ‘breathe’ and dry properly. Avoid oil-based paints as they can trap moisture.
3. Why does the paint bubble in the middle of a wall that looks fine?
This may indicate that moisture is trapped beneath that section. This can happen from inconsistent plaster drying times or a building leak. Investigate underlying plumbing issues and assess the wall for leaks.
4. What tools do I need to fix bubbling paint?
You will need a putty knife, sandpaper (medium and fine grit), primer, suitable paint, a sponge or cloth for cleaning, and possibly a bucket of water.
5. Can I use a hairdryer to speed up the drying process?
Using a hairdryer can be damaging. It’s best to allow walls to dry naturally in controlled environments to prevent further issues. Instead, ensure proper ventilation and temperature control.
Conclusion
Bubbling paint on new plaster can, unfortunately, mar the beauty of your freshly decorated space. However, by following the steps outlined in this guide, you can restore your walls to their former glory. If you’re involved in home renovations in bustling areas such as Islington, Camden, or Westminster, we invite you to explore our London Plastering Service for assistance.
With a professional plastering team that understands local conditions and best practices, you can prevent these issues from arising in the future. Take a peek at our completed projects for inspiration or reach out for a quote today! Don't hesitate to check out more tips and guides on our blog. Happy decorating!
Related Plastering Guides & Services
Need Professional Plastering?
Get expert plastering services in London. Free quotes within 60 minutes.