
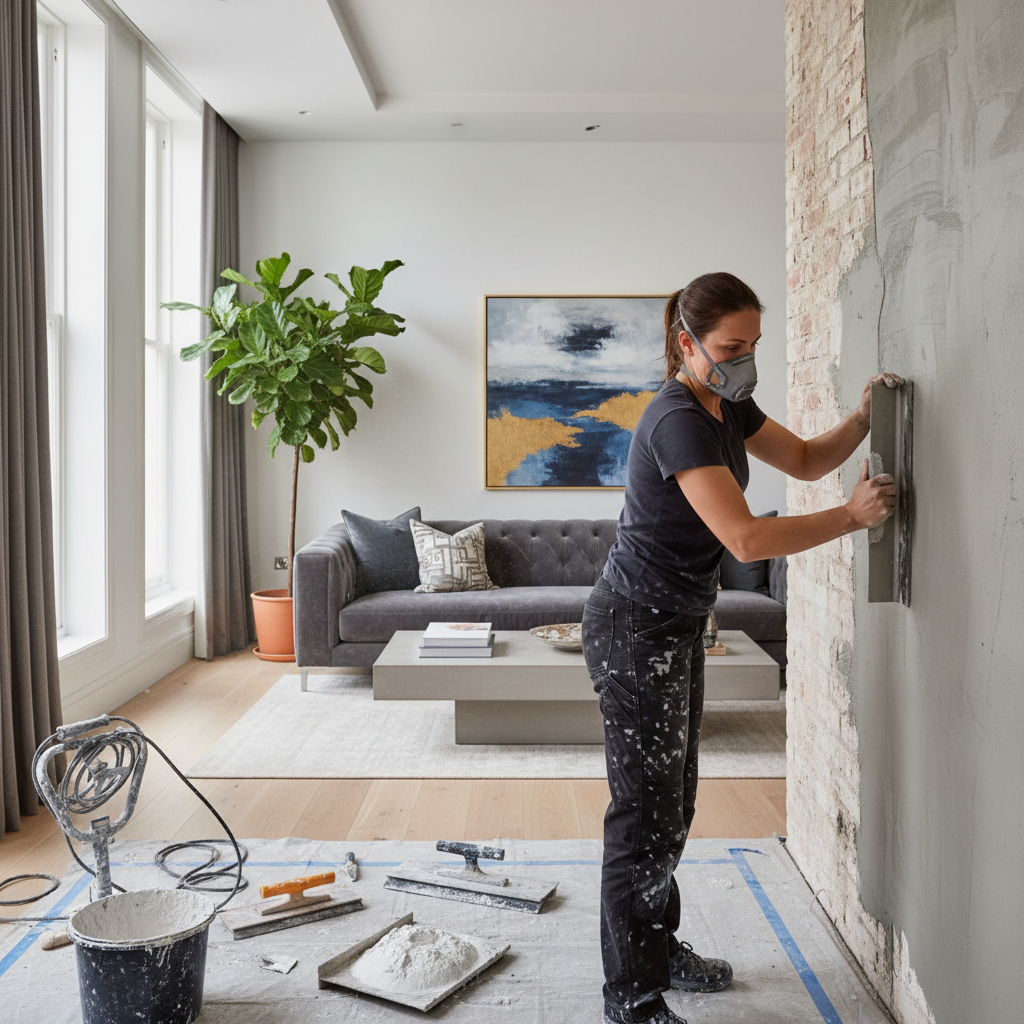
Fixing Uneven Plaster Finishes: Your Step-by-Step Guide
How to Fix Uneven Plaster Finish in Your London Home
Have you ever walked into a room and noticed that the walls look like they were treated with a paint roller created by a toddler? You’re not alone. A surprising 37% of London homeowners find themselves dealing with uneven plaster finishes at some point. It's that moment when you raise an eyebrow at the walls, wondering if something went wrong during the application process or if your walls simply have a rebellious streak. Fear not! In this guide, we're going to delve into practical steps to fix those bumps and ridges, ensuring your home looks flawless whether you're in Chelsea, Islington, or Croydon.
Understanding the Causes of Uneven Plaster Finish
Before we jump into the solutions, let’s take a moment to understand what might have caused the uneven plaster finish in the first place:
- Improper Mixing: If the plaster mixture wasn’t blended correctly, it could lead to inconsistent textures when applied.
- Application Technique: Rushing through the application or applying the plaster at the wrong angles can make for a bumpy finish.
- Moisture Issues: High humidity or moisture levels can negatively affect how the plaster adheres and dries.
- Poor Wall Preparation: Failing to properly clean or prepare the surface can lead to poor adhesion and uneven surfaces.
Recognizing these issues can not only help when fixing the current problem but may also prevent future ones!
Step-by-Step Guide to Fixing Uneven Plaster
Let’s dive into the nuts and bolts of fixing your uneven plaster finish. This guide is perfect for DIY enthusiasts or even landlords looking to provide their tenants with a lovely space.
Tools and Materials You’ll Need:
- Plaster or patching compound
- Trowel and/or putty knife
- Sandpaper (medium and fine grit)
- Sponge
- Bucket for mixing
- Dust mask and protective eyewear
- Primer and paint (for finishing touches)
1. Evaluate the Damage
Start by assessing the area. Is it just some minor bumps or significant unevenness? If it’s only a small area, you may be able to patch it quickly. For larger patches, you might need to consider reapplying plaster to the whole wall.
2. Prepare the Surface
- Clean the Area: Use a damp sponge to wipe away dust or grease. This will help the new plaster adhere better.
- Identify High Spots: Use a straightedge or level to find high spots. Mark these with a pencil.
3. Sand Down High Spots
Gently sand down the high spots you marked. Be cautious; you want to remove the unevenness without damaging the surrounding areas. Use medium-grit sandpaper to start, followed by fine grit for smoothing.
4. Apply the New Plaster or Compound
- Mix the Plaster: Following the manufacturer’s instructions, mix your plaster or patch compound in a clean bucket.
- Apply with a Trowel: For areas that are significantly uneven, use a trowel to apply a layer of plaster over the affected areas. Aim for a smooth and even application, feathering the edges to blend into the surrounding wall.
5. Let It Cure
Allow the new plaster to set according to the manufacturer’s recommendations (often 24-48 hours). Don’t rush this step, as it’s crucial for a good finish.
6. Sand Smooth Again
Once dry, sand the new plaster smoothly using fine-grit sandpaper. Once completed, run your hand over it to check for any remaining imperfections.
7. Clean and Prime
Wipe down the area with a damp sponge after sanding to remove dust. Once dry, apply a primer to even out the paint absorption and ensure an excellent finish.
8. Final Coat of Paint
After the primer has dried, apply a fresh coat of paint to complete the job, ensuring consistency in texture and color.
By following these steps, you can transform uneven plaster into a smooth, professional-looking finish. The cost for materials can range from £20-£50 depending on the size of the area and the products used. Hiring professionals could run you between £200-£500, especially in areas like Kensington or Camden, where quality service comes at a premium.
Practical Tips for Future Plastering Projects
- Always Mix Well: Take your time when mixing plaster to avoid clumps!
- Consider the Weather: Avoid plastering in high humidity or very cold conditions to minimize the impact on the finish.
- Hire Experts for Large Jobs: If a wall is too large or too uneven, consider hiring London Plastering Service for professional results.
FAQ
How much does it cost to fix uneven plaster?
The cost of fixing uneven plaster can vary significantly based on the extent of the work needed. DIY fixes can be done for around £20-£50 for materials, while hiring professionals might cost between £200-£500 depending on your area in London.
Can I fix uneven plaster myself?
Yes! As long as the damage isn’t extensive, many homeowners can repair uneven plaster with the right tools and preparation. Always remember to follow safety precautions and consider professional help for larger issues.
What’s the best plaster for repair work?
For most repairs, a premixed patching compound or ready-mixed plaster is sufficient. Look for products marketed for wall repairs, and consider visiting our Gallery for project inspirations and tips.
How long does plaster take to dry?
Plaster typically takes 24-48 hours to dry, but this can depend on the thickness and humidity levels in your home. Always check the manufacturer's guidelines for specific curing times.
Does uneven plaster affect paint application?
Absolutely! Uneven plaster can cause paint to adhere improperly, leading to an unattractive finish. Fixing the plaster before painting is essential for achieving a professional look.
Conclusion
Achieving a smooth plaster finish doesn’t have to be a daunting task! With just a bit of patience and care, you can turn that bumpy wall into a showcase of craftsmanship. If you're in London and unsure about tackling this yourself, don’t hesitate to reach out to our professional team at London Plastering Service, where we take pride in delivering high-quality plastering solutions tailored to your needs. Let’s get your home looking its best!
For more tips on home improvement and plastering, explore our Blog for guides that will help you maintain and enhance your property. Like the vibrant neighborhoods of London, your home deserves to shine beautifully!
Related Plastering Guides & Services
Need Professional Plastering?
Get expert plastering services in London. Free quotes within 60 minutes.