
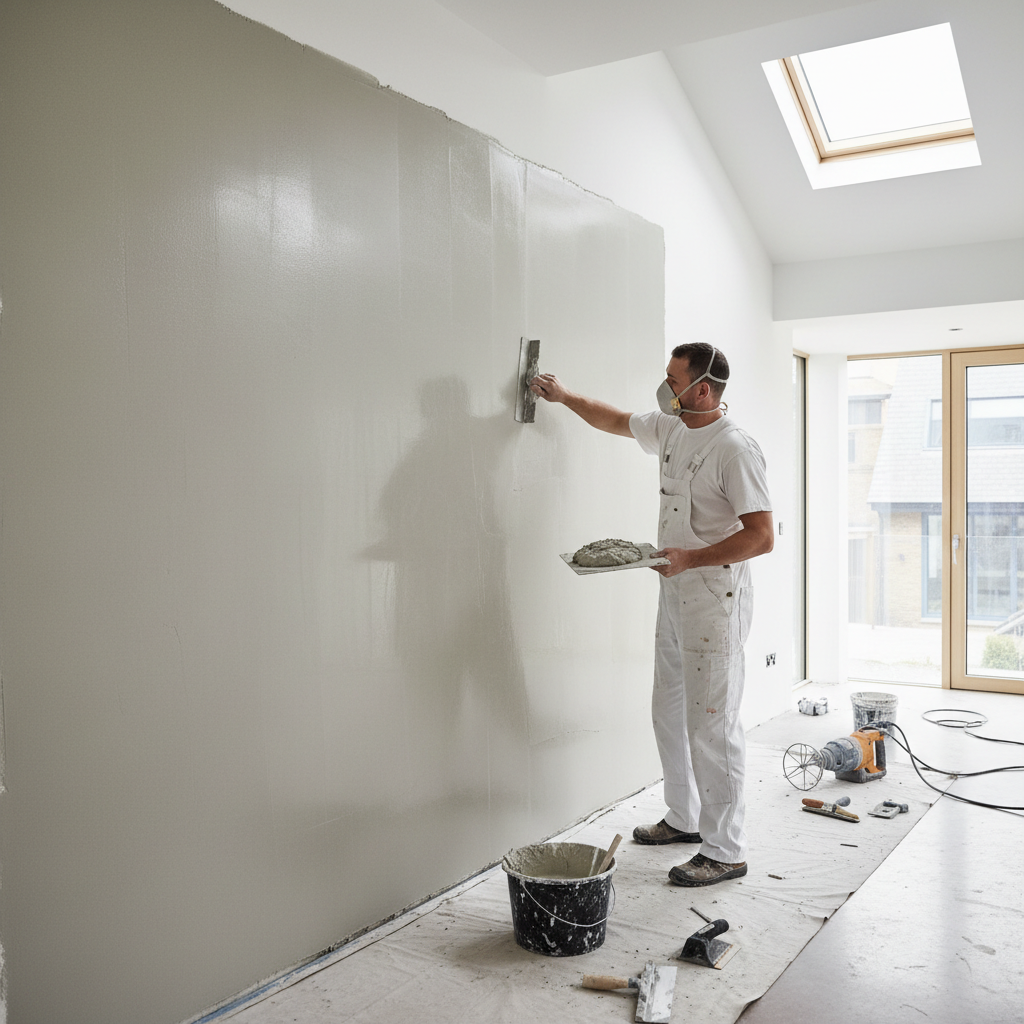
Fixing Uneven Plaster Finish: A Step-by-Step Guide
Introduction
Imagine this: you’ve just completed your long-awaited renovation, and the walls look fantastic—until you step back and notice the uneven plaster finish that makes everything look off. It can feel disheartening to invest time and resources into a project only to be greeted by a wavy or bumpy surface. The good news? Fixing an uneven plaster finish is achievable with the right approach and tools. In this blog post, we’ll guide you through identifying the issues, fixing them properly, and achieving that smooth finish you deserve.
Understanding the Causes of Uneven Plaster Finishes
Before diving into solutions, it’s essential to understand why uneven plaster finishes occur. Here are some common reasons:
- Poor Application: Inexperienced plasterers may leave behind inconsistencies due to rushed work.
- Drying Issues: Rapid drying can cause cracks or bumps, especially in humid London environments.
- Lack of Preparation: Not prepping the wall properly leads to improper adhesion.
- Inferior Materials: Using low-quality plaster can lead to poor results.
By identifying the underlying cause, you can take steps to avoid similar issues in future projects.
Tools and Materials Needed
To fix an uneven plaster finish, gather the following tools and materials:
- Plaster: Fresh mix of high-quality plaster.
- Trowel: For applying and smoothing.
- Hawk: To hold plaster while you work.
- Sandpaper: Fine grit for smoothing rough spots.
- Sponges: For cleaning and final finishes.
- Level: To ensure your finish is even.
- Dust Mask and Safety Goggles: Protection is essential!
Step-by-Step Guide to Fixing Uneven Plaster Finishes
Now that you have your materials ready let’s dive into the nitty-gritty of fixing your uneven plaster. Here’s a step-by-step guide you can follow:
Step 1: Assess the Damage
Walk around your room to examine the uneven spots carefully. Use a level to identify particularly bumpy areas. This step is crucial to plan your repair approach accurately.
Step 2: Prepare the Area
- Clear the Space: Move furniture and cover the floor with a drop cloth to protect against dust and debris.
- Create a Clean Work Surface: If needed, scrape off any loose plaster using a trowel first, making the surface more amenable for the new plaster.
Step 3: Mix the Plaster
Follow the manufacturer's instructions to mix your plaster correctly. A good consistency is key—too thick will not spread, too runny won’t adhere.
Step 4: Apply the Plaster
Using your hawk and trowel, apply the new layer of plaster over the uneven areas. Here’s how to do it effectively:
- Start at the top and work your way down.
- Aim for even coverage, applying with firm pressure.
- Depending on the severity, you might need a few layers.
Step 5: Level the Surface
After applying plaster, use the long edge of your trowel or a straightedge to skim over the surface, ensuring it’s level. This technique will help remove any extra plaster and further improve smoothness.
Step 6: Sand Here and There
Once the plaster is dry (follow drying times on the manufacturer’s instructions), use fine sandpaper to smooth out any rough spots. Be gentle to avoid stripping away too much material.
Step 7: Clean Up
After sanding, wipe down the surface with a damp sponge to remove dust. You’re now ready for painting or applying finishes!
Practical Tips for a Flawless Finish
- Take Your Time: Rushing can lead to mistakes. Patience is your ally here!
- Work in Small Sections: This allows for better control and more manageable repairs.
- Check Your Measurements: Ensure even thickness while applying plaster.
- Practice Your Technique: If you’re unfamiliar, practice on a small area before tackling larger spots.
How Much Should You Expect to Pay?
Costs for fixing uneven plaster finishes can vary widely based on labor and materials. A DIY approach could cost around £20-£100 for materials depending on the extent of the damage and quality of materials used. For professional repair, pricing typically ranges from £200-£600, especially in sought-after areas like Chelsea or Camden.
Consider investing in a professional plasterer if the job feels daunting. For reliable service, check out our Home - London Plastering Service for more information!
Frequently Asked Questions (FAQ)
## FAQ
Q: Can I fix uneven plaster myself, or should I hire a professional?
A: If you’re comfortable working with plasters and have some experience, DIY is feasible. However, for significant unevenness or lack of experience, hiring professionals is advisable. Our About - Professional plastering team can help!
Q: What type of plaster should I use for repairs?
A: Choose a high-quality finishing plaster for better results. Brands like British Gypsum or Knauf are recommended.
Q: How long does it take for plaster to dry?
A: Typically, plaster takes 24-48 hours to dry fully. However, curing can depend on thickness and room conditions.
Q: Will I need to paint over patched areas?
A: Yes, painting is usually necessary to ensure the repaired area blends seamlessly with the surrounding wall.
Q: Can an uneven finish affect my home in any way?
A: Yes, beyond aesthetics, uneven plaster can lead to issues with paint adhesion, moisture retention, and overall wall integrity.
Conclusion
Fixing an uneven plaster finish may seem daunting at first, but with the right tools and techniques, you can achieve walls that look expertly done. Remember that taking your time and investing in quality materials can make a significant difference in the outcome. For homeowners, landlords, and property managers in London, ensure that your plastering job meets the high standards expected in our beautiful city.
If you find yourself overwhelmed by the process, don’t hesitate to reach out to local experts. Our team at PlasterersNearMe is ready to assist you with any plastering needs!
For more tips and professional guidance on plastering, check out our Blog - More plastering tips and guides. Your home deserves the best!
Related Plastering Guides & Services
Need Professional Plastering?
Get expert plastering services in London. Free quotes within 60 minutes.