
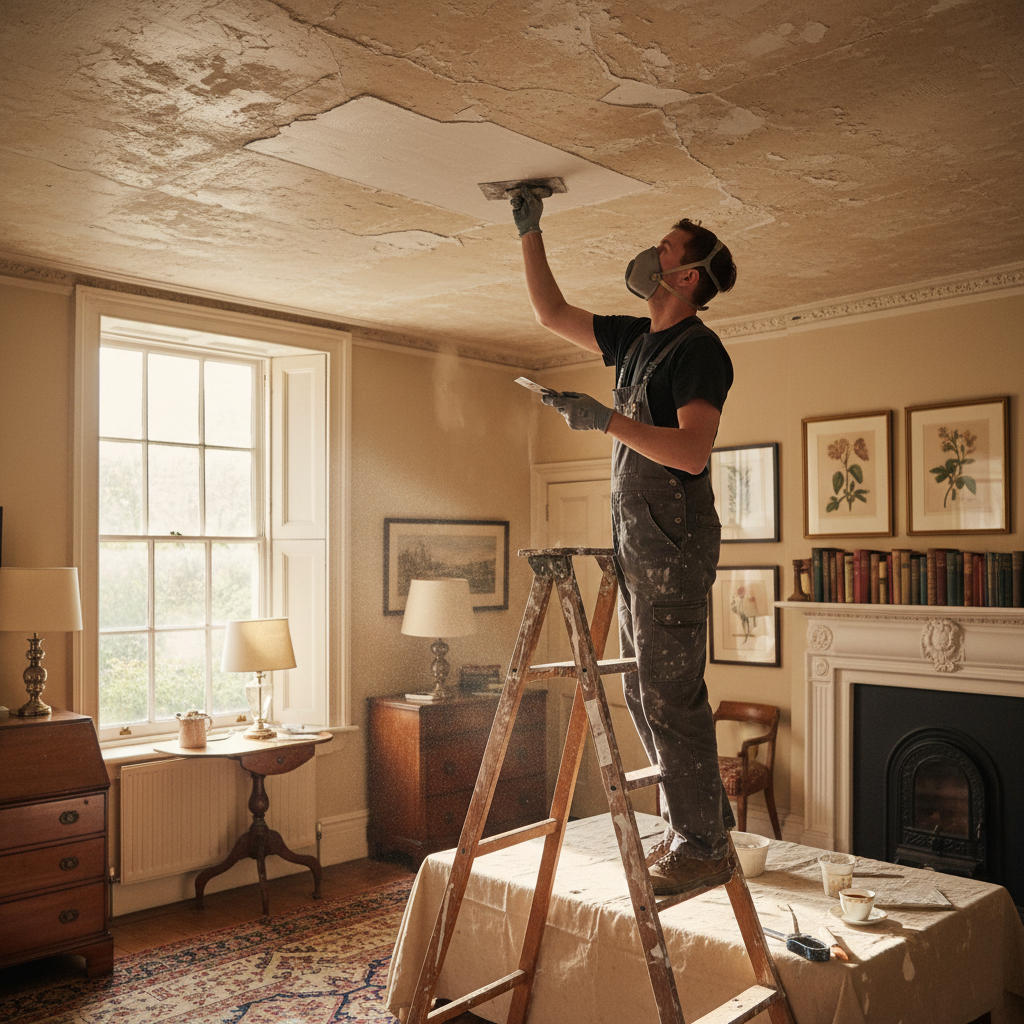
Fixing Cracks in Ceiling Plaster Before Decorating
How to Fix Cracks in Ceiling Plaster Before Decorating
There you are, standing in your newly acquired London flat, ready to slap on that fresh coat of paint you've been dreaming about. But wait! What’s this? A spider web of cracks on the ceiling plaster threatens to spoil your perfect vision. If this sounds familiar, you’re not alone. Many homeowners in bustling boroughs like Camden and Kensington face the same dilemma. Cracks in ceiling plaster are common, especially in older Victorian homes. But before you break out the paintbrush, let’s tackle these unsightly cracks together.
In this guide, we’ll discuss how to effectively fix ceiling cracks, ensuring your ceiling is smooth and ready for decoration. Whether you're a DIY enthusiast or prefer to bring in the pros, we’ve got you covered.
Understanding the Causes of Ceiling Cracks
Before we jump into fixing those cracks, it’s crucial to understand why they occur in the first place:
- Structural Settlement: Many buildings in London undergo natural settling, leading to cracks in plaster.
- Temperature Fluctuations: Extreme changes in temperature can cause plaster to expand and contract, resulting in cracks.
- Humidity and Moisture: High humidity can weaken plaster, making it more prone to cracking.
- Poor Installation: Sometimes, cracks can arise from improper plastering techniques during installation.
Recognizing these factors can help in choosing the best methods for repair.
Essential Tools and Materials
Before addressing the cracks, gather the following tools and materials:
- Scraper or putty knife
- Sandpaper (fine grit)
- Plaster repair compound or filler
- Primer (for ceiling)
- Paint (of your choice)
- Dust mask and goggles
- Lambda stick (if needed for larger cracks)
- Trowel or sponge for smoothing
Step-by-Step Guide to Fixing Cracks in Ceiling Plaster
Step 1: Prepare the Area
Start by clearing the room of furniture or covering it with old sheets to protect against dust and debris.
Step 2: Examine the Cracks
Examine the cracks closely to determine their size and depth. Small cracks (less than 1/8 inch) can often be filled easily, while larger cracks may require more extensive repairs.
Step 3: Clean the Cracks
Using a scraper, gently remove any loose plaster around the cracks. Be careful not to damage the surrounding area. Dust the area with a damp cloth to remove any debris.
Step 4: Apply the Filler
For smaller cracks:
- Use a putty knife to apply plaster repair compound into the crack.
- Ensure it’s pushed deeply into the crack for a secure hold.
For larger cracks:
- Widen the crack slightly with the scraper to allow the filler to grip.
- Use a trowel to apply the filler, smoothing it out.
Step 5: Smooth the Surface
Once the filler has dried, use fine-grit sandpaper to smooth the area. This helps blend the repair seamlessly with the surrounding surface.
Step 6: Prime and Paint
Apply a primer to the repaired areas to seal them. After it dries, paint the entire ceiling to ensure a consistent look.
Step 7: Clean Up
Once everything is dry, clean your workspace and admire your hard work!
Practical Tips for London Homeowners
- Timing Matters: Avoid repairing plaster during extreme weather (very hot or cold), as it can affect drying times.
- Seek Expert Help: If cracks are extensive or seem to be part of larger structural issues, consider contacting London Plastering Service for a professional inspection.
- Regular Maintenance: Inspect your ceilings regularly, especially after heavy rains or extreme weather.
FAQ
What is the typical cost to repair plaster cracks in London?
The cost to repair cracks can vary considerably based on the extent of the damage and the area of London. On average, small repairs might cost around £100-£200, while more extensive work could reach £400-£800.
Can I do this repair myself?
Absolutely! Many homeowners successfully tackle small cracks using the steps outlined above. However, for large structural cracks, it’s advisable to consult with a professional plastering team to avoid further damage.
How long does it take for the filler to dry?
Most plaster fillers can take from a few hours to overnight to dry, depending on the brand and the thickness of the application.
What if the cracks reappear?
If cracks continue to reappear, it might be indicative of a larger issue, such as structural problems or settling. In such cases, consult a professional plasterer to assess and provide a long-term solution. Find local experts like PlasterersNearMe for assistance.
Should I hire a professional for large ceiling cracks?
Yes, for any cracks larger than 1/4 inch or if you suspect structural issues, it's best to call in a professional. Check out our About page to learn more about our expert team.
Conclusion
Fixing cracks in your ceiling plaster doesn't have to be a daunting task. With the right tools, materials, and techniques, you can enhance your home's appeal before decorating. Remember, taking care of these issues not only beautifies your space but also preserves the integrity of your property. If you find yourself overwhelmed or facing extensive damage, don’t hesitate to enlist the help of professionals at London Plastering Service. Ready to get started? Visit our Gallery to see our completed projects and maybe get inspired for your next home upgrade!
Related Plastering Guides & Services
Need Professional Plastering?
Get expert plastering services in London. Free quotes within 60 minutes.