
Do I Need to PVA Walls Before Plastering? Expert Insights
Do I Need to PVA Walls Before Plastering? An Essential Guide for London Homeowners
Have you ever stared at a wall in your home and pondered whether your upcoming plastering project will turn out as expected? This is exactly what happened to Sarah, a new homeowner in Islington. With visions of smooth, flawless walls dancing in her head, she was left puzzled at the thought of whether to use PVA (Polyvinyl Acetate) before diving into plastering. As she scoured the internet for guidance, she discovered the game-changing role PVA plays in the plastering process. In this guide, we’re diving deep into whether you should PVA your walls, and how this simple step can end up saving you time, effort, and money.
What is PVA and Why Should You Use It?
PVA is a versatile adhesive that is primarily used as a primer. Within the context of plastering, it serves pivotal functions:
- Surface Preparation: It acts as a bonding agent, enhancing the adhesion of plaster to walls, especially when the surface is porous.
- Water Resistance: PVA can help mitigate dampness absorption by creating a water-resistant layer, crucial for preventing plaster from degrading over time.
- Sealant for Dust and Debris: It effectively seals dust and debris from porous surfaces, allowing for a smoother application of plaster.
But the real question remains: do I need to use PVA on my walls before plastering? Let's explore this.
Why PVA is Essential for Plastering
When you’re engaging in a plastering project, the state of your existing walls can significantly influence the outcome. Here’s why using PVA is often recommended:
1. Enhances Adhesion
Using PVA ensures your plaster has a strong grip on the surface, especially if you're working with old, dusty, or uneven walls found in many Victorian houses across neighborhoods like Clapham or Hackney.
2. Prevents Cracking and Shedding
Plaster that doesn’t bond well with the wall is susceptible to cracking and falling away. PVA helps alleviate these concerns.
3. Reduces Plaster Absorption
Walls can absorb moisture from the plaster; PVA helps control this by forming a barrier, thereby allowing a more uniform drying process.
4. Easy Application
PVA is user-friendly; it's as simple as rolling it onto the wall. A thin layer allows it to do its job effectively.
5. Cost-effective Solution
PVA is relatively inexpensive—around £20-£30 for a 5-liter container—which can save you costly repairs later on.
How to PVA Your Walls: A Step-by-Step Guide
Ready to prep your walls? Here’s a straightforward guide to applying PVA:
Materials Needed:
- PVA Adhesive
- Roller or Brush
- Paint Tray
- Masking Tape
- Water (if dilution is necessary)
- Drop Cloths (to protect floors)
Step-by-Step Application:
- Prep the Area: Clear the room of furniture and cover the floors with drop cloths.
- Repair Any Damage: Fill holes or cracks with filler and sand the surface smooth.
- Tape Off Edges: Use masking tape to protect areas you don’t want to get PVA.
- Dilute the PVA (if needed): Depending on the manufacturer’s instructions, you may need to dilute 1 part PVA with 4 parts water for optimal adhesion on highly porous surfaces.
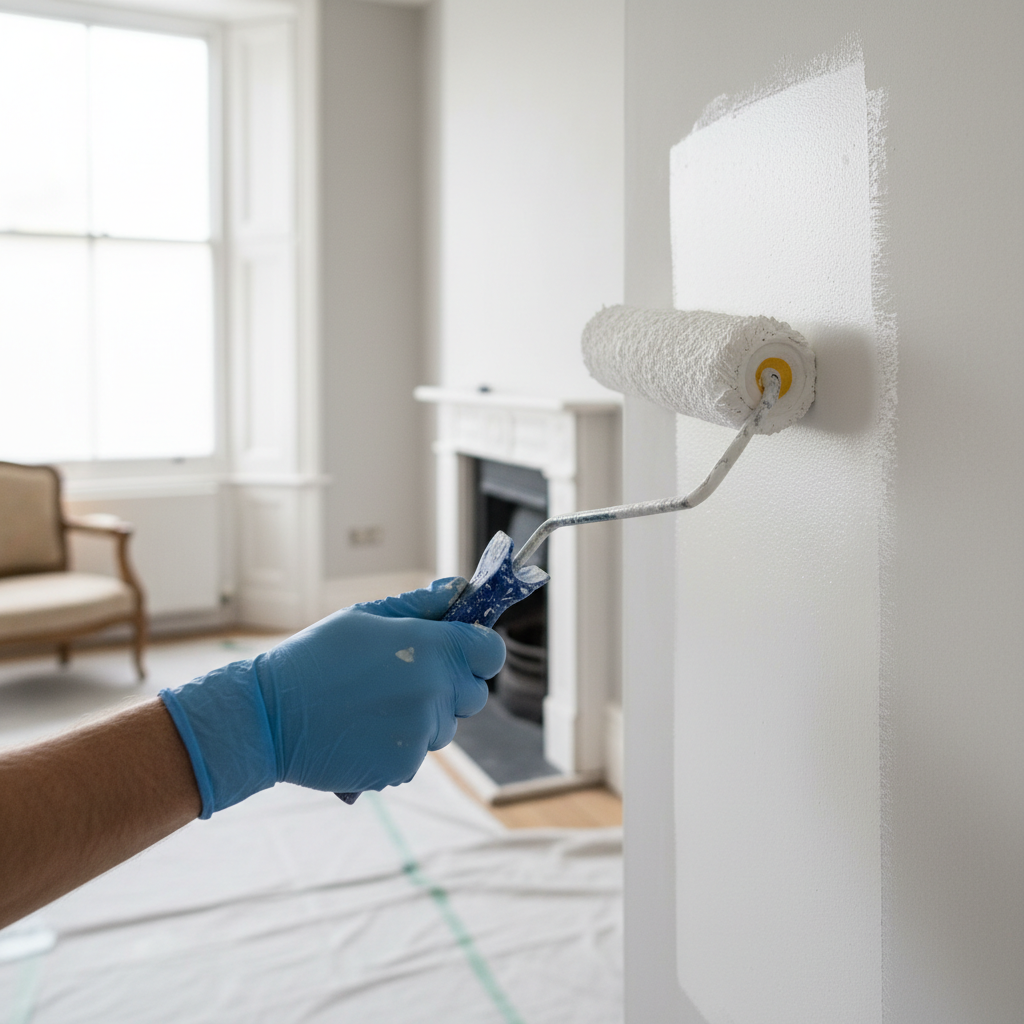
- Apply PVA: Use a roller or brush to spread a thin, even coat of PVA over the wall. Make sure to cover all areas uniformly.
- Let it Dry: Allow the PVA to dry completely, which usually takes 1-2 hours.
- Start Plastering: Once dry, you’re ready to apply your plaster.
For a glimpse into successful plastering projects, view our completed projects to see how PVA has worked wonders!
Common Dilemmas: When Not to PVA
While PVA is an excellent primer in most cases, there are scenarios where it might not be necessary:
- Flint, Stone, or Cement Walls: These surfaces often require specific types of primers instead.
- Well-Bonding Surfaces: If you're plastering over existing plaster and it’s in good condition, PVA might not be necessary.
- High Humidity Areas: In bathrooms or kitchens with high moisture levels, consider using a damp-proof primer instead.
FAQ
## FAQ
Q1: How long does PVA take to dry before plastering?
A: Typically, PVA will dry in about 1-2 hours, depending on humidity and room temperature.
Q2: What happens if I don’t PVA my walls before plastering?
A: Without PVA, plaster may not stick properly, leading to cracks, peeling, or shedding over time.
Q3: Can I use PVA on fresh plaster?
A: It’s not recommended; PVA can hinder the natural curing process of fresh plaster.
Q4: How much does hiring a professional cost for plastering?
A: In London, costs can vary significantly but expect to pay between £150 and £300 for a typical room, depending on the size and complexity of the job.
Q5: Do I need to PVA ceiling before plastering too?
A: Yes, the same principles apply. PVA should be used on ceilings for optimal adhesion and finish.
For more tips on plastering, check out our Blog for guides and expert advice.
Conclusion
Using PVA on your walls before plastering is one of those simple yet effective steps that can make all the difference in your home renovation project. Whether you’re refreshing a flat in Kensington or renovating a townhouse in Brixton, applying PVA ensures that your plaster will adhere properly, creating a beautiful finish that lasts.
Ready to take the plunge into plastering? If you’re still unsure or would rather have it done by experienced professionals, feel free to reach out to our dedicated team at London Plastering Service for a free quote today. Transform your walls into a canvas of beauty and functionality!
Related Plastering Guides & Services
Need Professional Plastering?
Get expert plastering services in London. Free quotes within 60 minutes.