
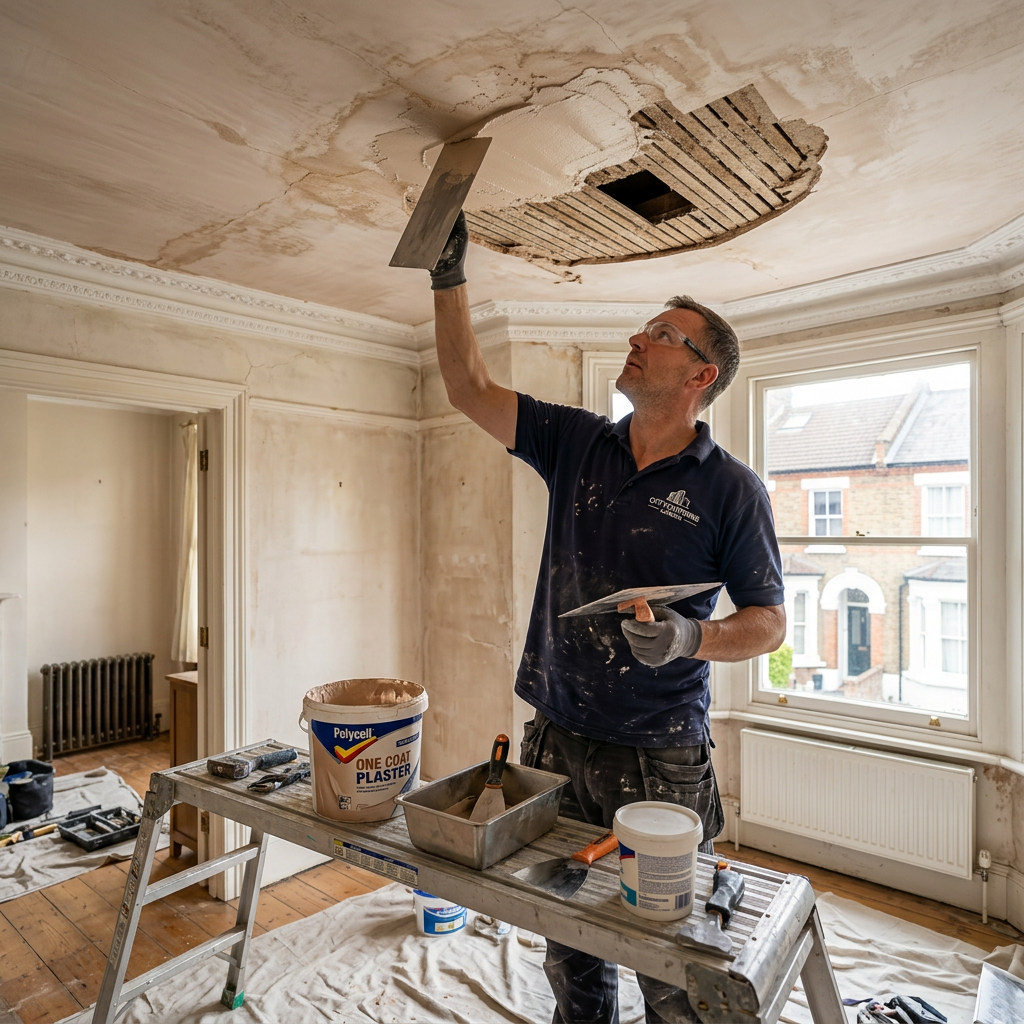
DIY Guide to Repairing Water Damaged Plaster Ceilings
How to Repair Water Damaged Plaster Ceiling
Imagine it’s Sunday afternoon in your cozy London home. You’re preparing for guests and suddenly you notice something alarming: a brown stain spreading across your plaster ceiling. Panic sets in as you realize this is a classic sign of water damage, possibly from a leaky roof or a burst pipe. The good news is that with the right tools and techniques, you can fix this unsightly blemish and restore your ceiling to its former glory. In this guide, we’ll walk you through the steps to repair a water damaged plaster ceiling, and help you tackle this challenge head-on.
Assessing the Damage
Before you grab your tools, it’s crucial to assess the damage:
- Identify the Source: Determine if the leak is ongoing. Pay attention to any plumbing issues or roof leaks that need immediate resolution. If the leakage persists, the damage will only worsen, leading to more extensive repairs.
- Inspect the Area: Look for any signs of mold or structural damage. If areas feel soft to the touch, they may need more than just a simple repair.
- Gather Your Tools: Ensure you have the necessary supplies including:
- Drop cloths
- Scraper
- Plaster mix or patching compound
- Putty knife
- Sandpaper
- Primer and paint
If you’re unsure of the quality of your ceiling’s condition, it may be wise to consult professionals like those at London Plastering Service.
Step-by-Step Repair Process
Step 1: Prepare the Area
To begin, protect your floors and furniture:
- Lay down drop cloths to catch any debris and plaster that falls during repairs.
- Remove any furniture from the area or cover it thoroughly.
Step 2: Remove Damaged Plaster
Using a scraper:
- Gently remove the damaged plaster—start from the edges of the stained area and work your way to the center. Be careful not to damage the underlying lath or drywall.
- Cut a square around the stained area if the damage is extensive. This makes it easier to apply new plaster.
Step 3: Prepare the Surface
- Clean the area with a damp cloth to remove dust and debris.
- Allow it to dry completely, especially if moisture is a concern.
Step 4: Patch the Area
- Mix your plaster compound according to the package instructions, usually a blend of water and plaster.
- Using a putty knife, apply a thin layer of plaster over the damaged area. Make sure to feather the edges to blend it in with the existing plaster.
- Allow it to dry completely, generally around 24 hours.
Step 5: Sand and Smooth
- Once dry, use fine sandpaper to smooth out the patched area.
- Check for bumps or imperfections, and reapply plaster if necessary.
Step 6: Prime and Paint
- Apply a coat of primer to the patched area once it’s smooth. This helps the paint adhere better.
- Finish with a coat of paint that matches your existing ceiling. This step not only enhances the look but also serves as an additional protective layer.
Cost Considerations
Repairing a water-damaged plaster ceiling can range from £100 to £500 depending on the extent of the damage and whether you choose to DIY or hire professionals. If you opt for professional help, consider getting quotes from local plasterers nearby.
Practical Tips for Successful Repair
- Always test a small area with your plaster compound before fully applying.
- When painting, consider using a mould-resistant paint to prevent future issues, especially in vulnerable areas like kitchens and bathrooms.
- Regularly check for leaks and address them immediately to prevent recurring problems.
FAQ
Q1: How do I know if the plaster needs replacement?
A: If the plaster feels soft, crumbles easily, or has extensive water damage, it may be better to replace it entirely. Consult a professional if you are unsure.
Q2: What if I find mold in the damaged area?
A: Mold should be treated carefully. Use a mixture of water and bleach to clean the area. If there’s extensive mold growth, you may need to consult with mold remediation professionals.
Q3: Can I paint over water stains?
A: It’s best to repair the plaster properly first. Painting over stains without repairing can lead to further damage and poor aesthetics.
Q4: How long does the repair process take?
A: Depending on the severity of the damage, a full repair (including drying time) may take anywhere from a few days to a week. Ensure you allow adequate drying time for plaster to set.
Q5: Should I consider hiring a professional?
A: If the damage is extensive or you feel unsure about tackling the repair yourself, don’t hesitate to contact a skilled professional. Our team at London Plastering Service can provide you with expert assistance to restore your ceiling effectively.
Conclusion
Repairing a water-damaged plaster ceiling doesn’t have to be a daunting task. With the proper assessment, preparation, and tools, you can restore your ceiling and maintain the integrity of your home. Don’t forget to monitor your ceiling regularly and act quickly at the first sign of damage. If ever in doubt, call in the experts for peace of mind.
For more tips and tricks, visit our Blog for additional plastering guides or explore our Gallery to see how we can transform your spaces.
Ready to tackle that ceiling repair? Get in touch with us today for expert plastering services across London!
Related Plastering Guides & Services
Need Professional Plastering?
Get expert plastering services in London. Free quotes within 60 minutes.