
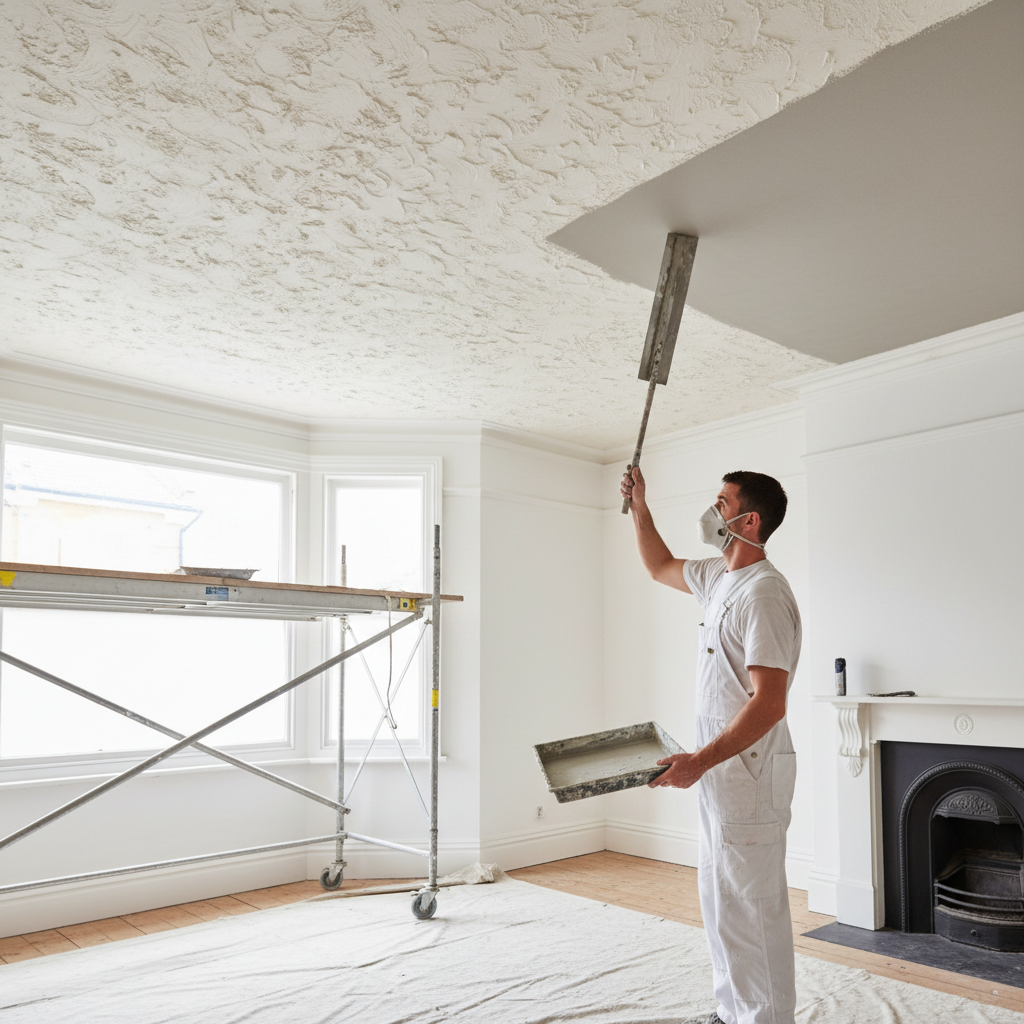
Cost and Process of Plastering Over Artex Ceiling
Plastering Over Artex Ceiling Cost and Process
Imagine you’ve just moved into a charming Victorian townhouse in the heart of Islington. The exposed bricks, high ceilings, and intricate woodwork create a stunning atmosphere until your eyes land on the textured artex ceiling that shouts outdated design. Artex ceilings—which were all the rage in the '70s and '80s—can make your elegant home feel more like a blast from the past. Luckily, plastering over those artex ceilings can breathe new life into your space. Let’s dive into what that involves, including the cost and the steps you need to take for a seamless finish.
Understanding Artex Ceilings
Before we delve into the cost and process of plastering over artex ceilings, let’s first understand what artex is. Artex, a decorative plastering technique, offers patterns that can hide imperfections in ceilings. However, as tastes change, many homeowners find themselves wanting smoother, more modern finishes. The good news is that you don’t have to live with the artex; you can easily cover it.
The Cost of Plastering Over Artex Ceilings
When it comes to plastering over artex ceilings, costs can vary based on several factors. Here’s what to consider:
- Size of the Ceiling: Larger rooms will naturally incur higher costs due to more material and labor.
- Condition of the Artex: If your ceiling has significant damage or is excessively textured, additional preparation may be needed, impacting the cost.
- Location: Plastering prices can vary across London boroughs. Expect rates between £20 and £50 per square meter.
- Professional vs. DIY: Hiring professionals may seem a bit more costly initially, but it can save you both time and potential headaches.
Estimated Costs
As a rough estimate, consider the following for a typical room of 50 square meters:
- Professional Service: £1,000 to £2,500 depending on conditions
- DIY Approach: Materials might run around £300 to £600, but factor in your time and effort!
Steps to Plastering Over an Artex Ceiling
Step 1: Assess the Condition of the Artex
Before you start, check your artex ceiling for any loose areas or extensive damage. If you notice hanging or flaking sections, these will need to be repaired before the plaster can adhere properly.
Step 2: Prepare the Room
- Clear the Area: Remove or cover furniture and flooring to protect them from dust.
- Ensure Adequate Lighting: Good lighting will help you identify imperfections.
Step 3: Clean the Ceiling
Use a damp cloth to wipe down the artex ceiling, removing dust and debris. Let it dry completely before applying any product.
Step 4: Apply a Bonding Agent
To ensure the plaster sticks well to the artex surface, apply a bonding agent, which helps improve adhesion
Step 5: Plastering
- Mix the Plaster: Prepare your plaster according to the manufacturer's guidelines.
- Apply the First Coat: Using a trowel, apply the first coat of plaster evenly. This coat is crucial for filling in the texture of the artex.
- Add Additional Coats: After the first coat dries (about 24 hours), apply one or two more coats for a smooth finish.
Step 6: Finishing Touches
Once the final coat is dry, sand it lightly to achieve a perfect smoothness. Then, you can paint or decorate as desired!
Practical Tips for Homeowners
- Check for Asbestos: Some older artex finishes contain asbestos. If your home was built before 2000, consider having it tested by professionals before proceeding.
- Hire Professionals: For best results, hire a professional plastering service like London Plastering Service. Our team specializes in plastering over artex and other ceiling finishes.
- Budget for Unexpected Costs: Always include a buffer in your budget for unexpected repairs or additional materials.
FAQ
What is the best way to cover an artex ceiling?
The best way to cover an artex ceiling is by applying a layer of plaster over it. This method gives a smooth, modern finish while ensuring that the textured surface is completely concealed. Professionals may also use skimming techniques to achieve the desired look.
Is it necessary to remove artex before plastering?
No, it is not necessary to remove artex before plastering. In most cases, you can plaster directly over it, provided the surface is clean and properly prepared. However, significant damage may require removal or repair before plastering.
How long does plastering over artex take?
Plastering over artex can take anywhere from one to three days, depending on the size of the room and the number of coats required. Typically, one day is needed for preparation and each coat will need time to dry.
Can I DIY plaster over artex, or should I hire a professional?
While a DIY approach is possible, it’s usually recommended to hire a professional for best results. Professionals have the skills and experience to handle complications and ensure a smooth finish.
How do I find local plasterers in London?
You can find local plasterers by searching online directories or visiting pages like PlasterersNearMe for trusted plastering services in your area.
Conclusion
Plastering over your artex ceiling is an excellent way to update your home without the hassle of a complete renovation. By understanding the costs involved, the process itself, and working with a professional like London Plastering Service, you’ll transform your outdated ceilings into beautiful, smooth surfaces that reflect modern standards. Don’t let artex ceilings hold back your interior’s potential—contact us today for a consultation, and let’s discuss turning your vision into reality!
For more tips and guides, check out our Blog for expert advice on plastering and home improvement.
Related Plastering Guides & Services
Need Professional Plastering?
Get expert plastering services in London. Free quotes within 60 minutes.